
Not all quests in Pathfinder: Kingmaker are self-explanatory. We have proven solutions for you – also for puzzles and even for challenging boss battles!
In this guide we tell you
- How to solve particularly tricky quests
- What you need to know to solve puzzles
- How to smash certain bosses & enemies
Pathfinder: Kingmaker isn’t just another role-playing game: It’s incredibly complex. In our ultimate guide to Pathfinder: Kingmaker we have already explained the basics in detail. But the quests, puzzles and of course boss fights will sometimes demand everything from you.
That’s why we’ve put together a helpful guide that offers you many solutions. This article does not claim to be complete and will be updated regularly.
Time limits & Questtimer
There are some quests that have a time limit. For example, you have three months to conquer your barony for the first time and defeat the Stag Lord. A time limit may initially sound like an annoying design decision, but we can assure you that you won’t have any problems with it unless you spend an extreme (!) amount of time on other things.
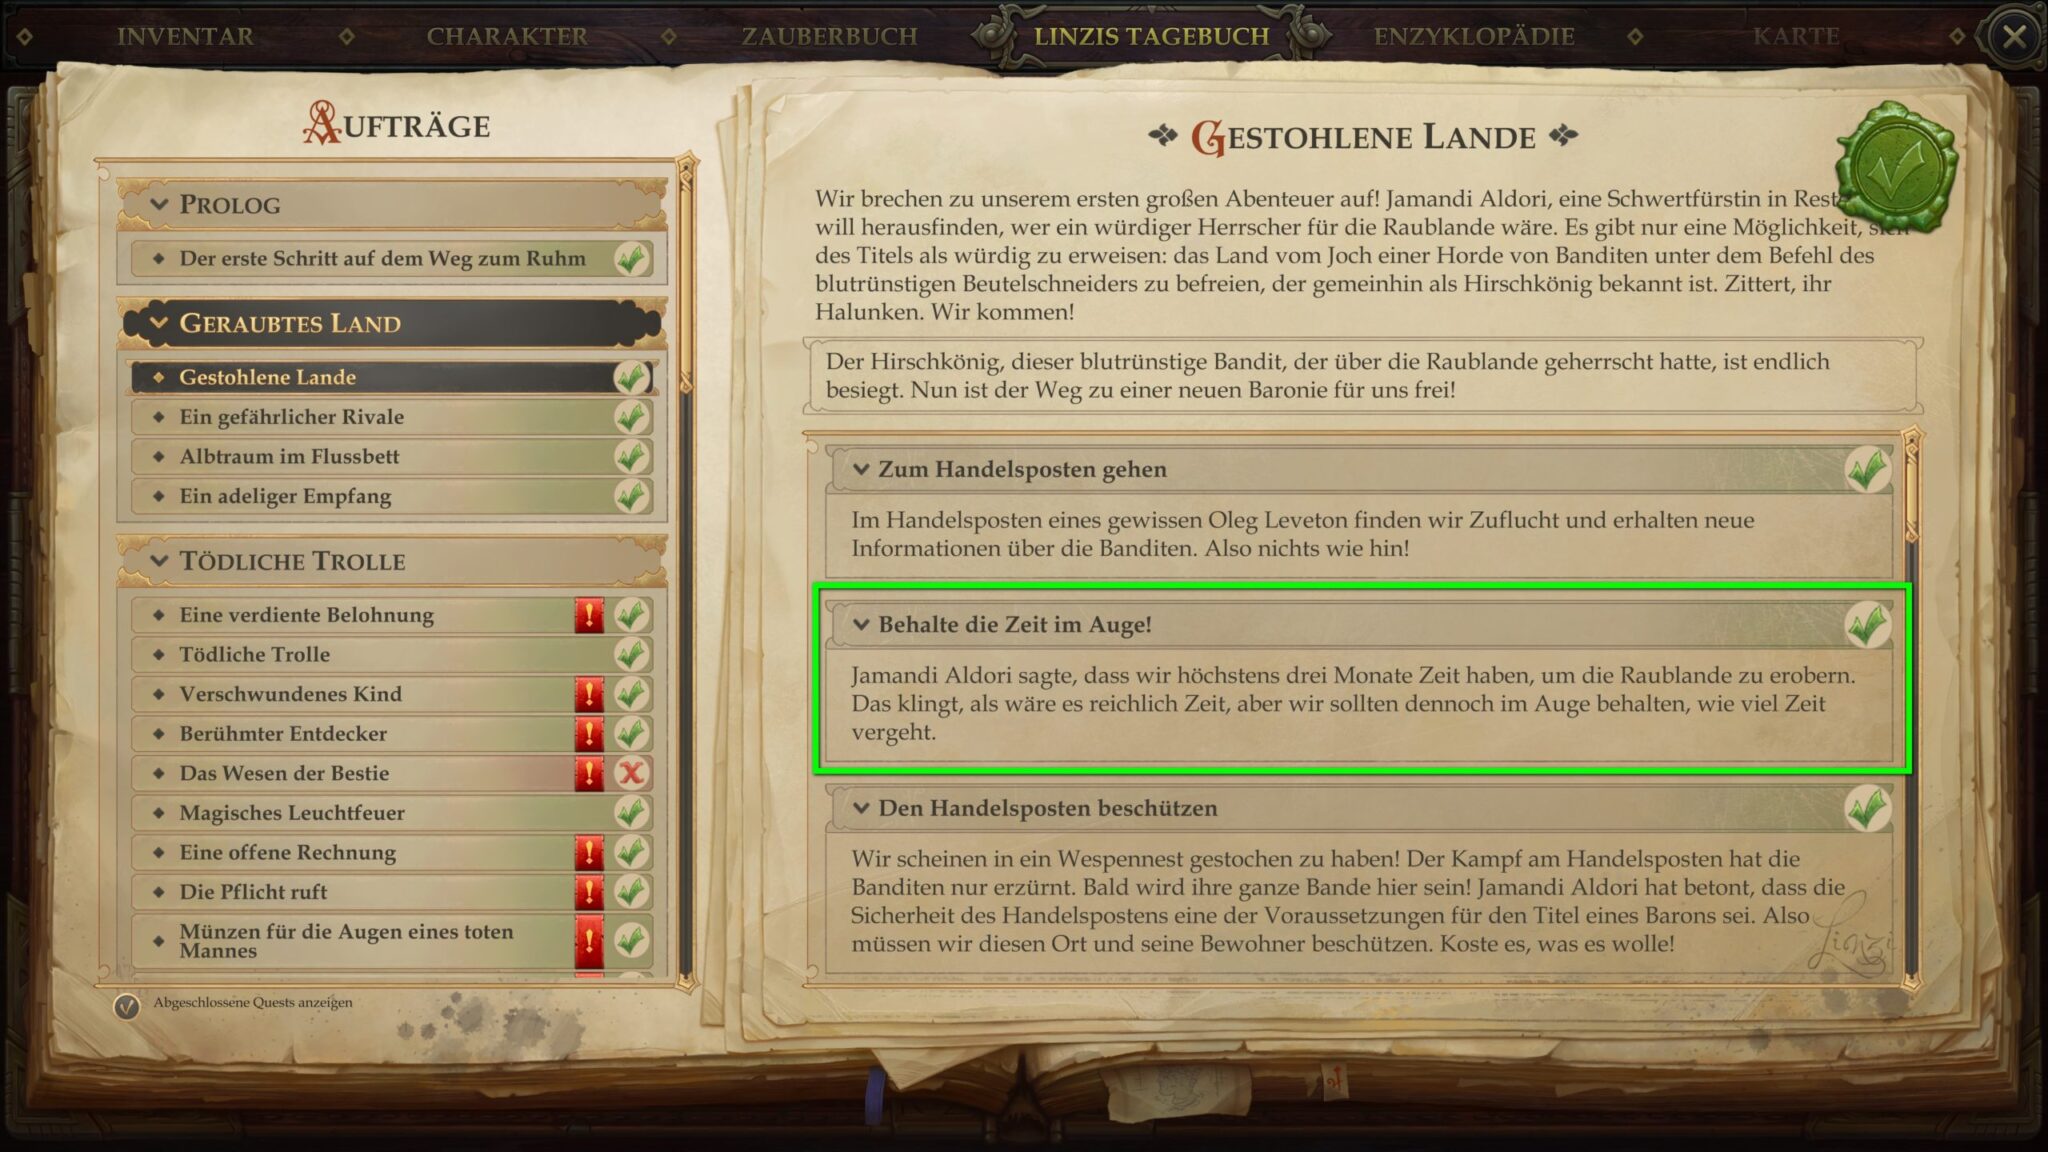
I’m a very relaxed player myself (I finished act 2 after about 50 hours) and conquered my barony after two months. In my experience, other time limits have not had a negative effect either. A reasonably proper time management and some attention in prioritizing quests (if in doubt a quest with a time limit should be preferred!) is sufficient and ensures that the time limits remain only a dramaturgical stylistic element.
Nevertheless, you should follow our tip above and activate the pause every time you leave the computer.
Quest guide for Pathfinder: Kingmaker
Not all quests in Pathfinder: Kingmaker are self-explanatory. For some, you have to pay close attention in conversations because there may be clues in them that Linzi doesn’t note in her diary. Sometimes a quest is simply designed for a search, which is not always helpful because we are in a big open world(map).
Therefore, we have prepared some quests and their solutions, as well as a few puzzles in this guidebook for you. We will update this section in the future and add more quests if needed.
From here on you have to expect heavy spoilers. Read on at your own risk!
A Just Reward
How can I survive the trap of the nymph on my own?
Mission: The nymph asks the baron to come alone to the Verdant Chambers to collect his reward.
Solution
Get healing and buff potions. Wands can also help if your character can use them.
- Important: Your main character needs a few points in athletics and mobility.
Items that increase Strength (affecting Athletics) and Dexterity (affecting Mobility) are helpful as well. For example, you can bring a Belt of Giant Strength (e.g. found at Old Oak on a Troll) and of course the Boots of Elvenkind (+5 on all mobility throws, loot from the Stag Lord). Read also our Pathfinder: Kingmaker Item-Guide.
Travel with your entire party to the Verdant Chambers and enter the map. To the right of the entrance, you’ll find a ravine that can only be crossed with a movement check (DC 22). At least one of your companions should be able to accomplish this for the group. Kill the two wolves on the other side and get the Potions of Invisibility from the corpse. Leave the map at the exit point behind the corpse. On the World Map, go to the Group Manager and remove all party members.
Enter the map now with your main character only. You do not need to enter the fortress behind the courtyard. The nymph appears when you use the interaction point on the tree in the courtyard. Turns out it’s a trap. Once the monsters have been summoned and the nymph disappeared, take a Potion of Invisibility and move to the wall behind the tree. Use as many buffs as you have, or drink as many potions as are useful to you. Then create a savegame.
You have two options now:
Option 1: Fight
You can try to kill the three big monsters one by one. But you won’t make it to the exit, because there’s a Giant Flytrap guarding the exit – and this monster is hardly beatable. Instead, we recommend going around the tree and try to fight the manticore only.
- Pro Tip: Wizards should definitely bring the spell “Phantasmal Killer” (Level Four, Illusion) with them. If you’re lucky, you’ll kill the manticore immediately and be able to sneak up the stairs avoiding the other two monsters.
Two Red Caps patrol upstairs. Try to fight them separately or use an invisibility potion and sneak past them at the right moment. Keep to the right and avoid the “entangling trap” (see picture and our tips for disarming traps). There is another Red Cap on the wall that you have to kill.
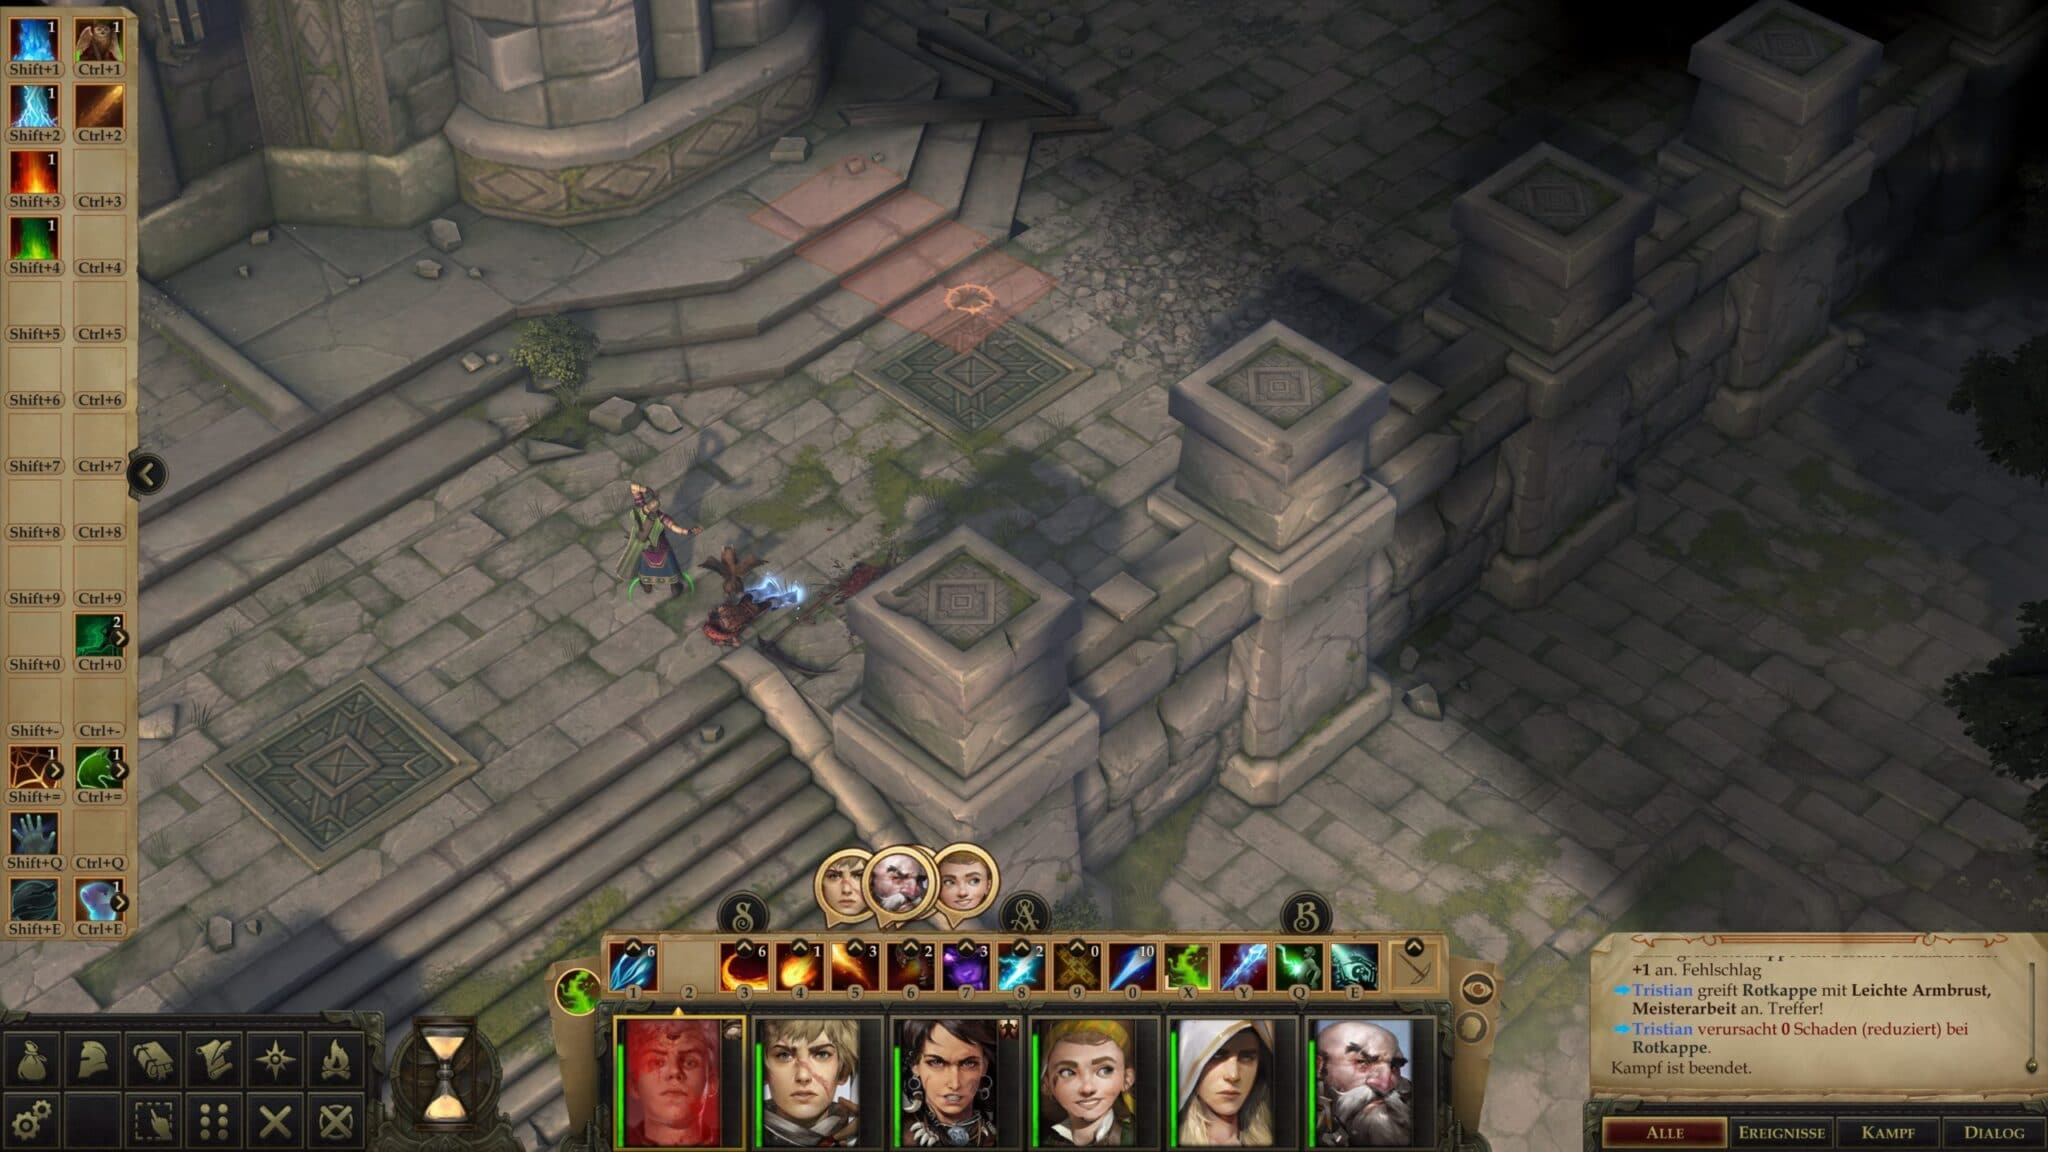
Keep walking until you reach the damaged part of the wall. For safety’s sake, make a quicksave and then try to get down using the tree trunk (mobility check, DC 14). The throw should succeed relatively fast. If necessary, the Boots of Elvenkind will do the trick.
- Note: If you haven’t killed them before with the help of your party, two wolves await you. Prepare well (potions, spells, wands).
Option 2: Climb and fight (a little)
Behind the tree there is a damaged part of the wall, which allows you to climb up – if you succeed the athletics check (DC 22). For some characters (athletics below 3 points) this is hard to do – they have to choose option 1. Everyone else can try and reload the savegame until it works. At the top you have to fight a red cap – it’s good that you’ve strengthened yourself sufficiently before.
Now follow the further instructions from option 1.
Feather Tokens
Mission: The nixie Melianse (Overgrown Pool) asks you to bring her some feather tokens.
Solution
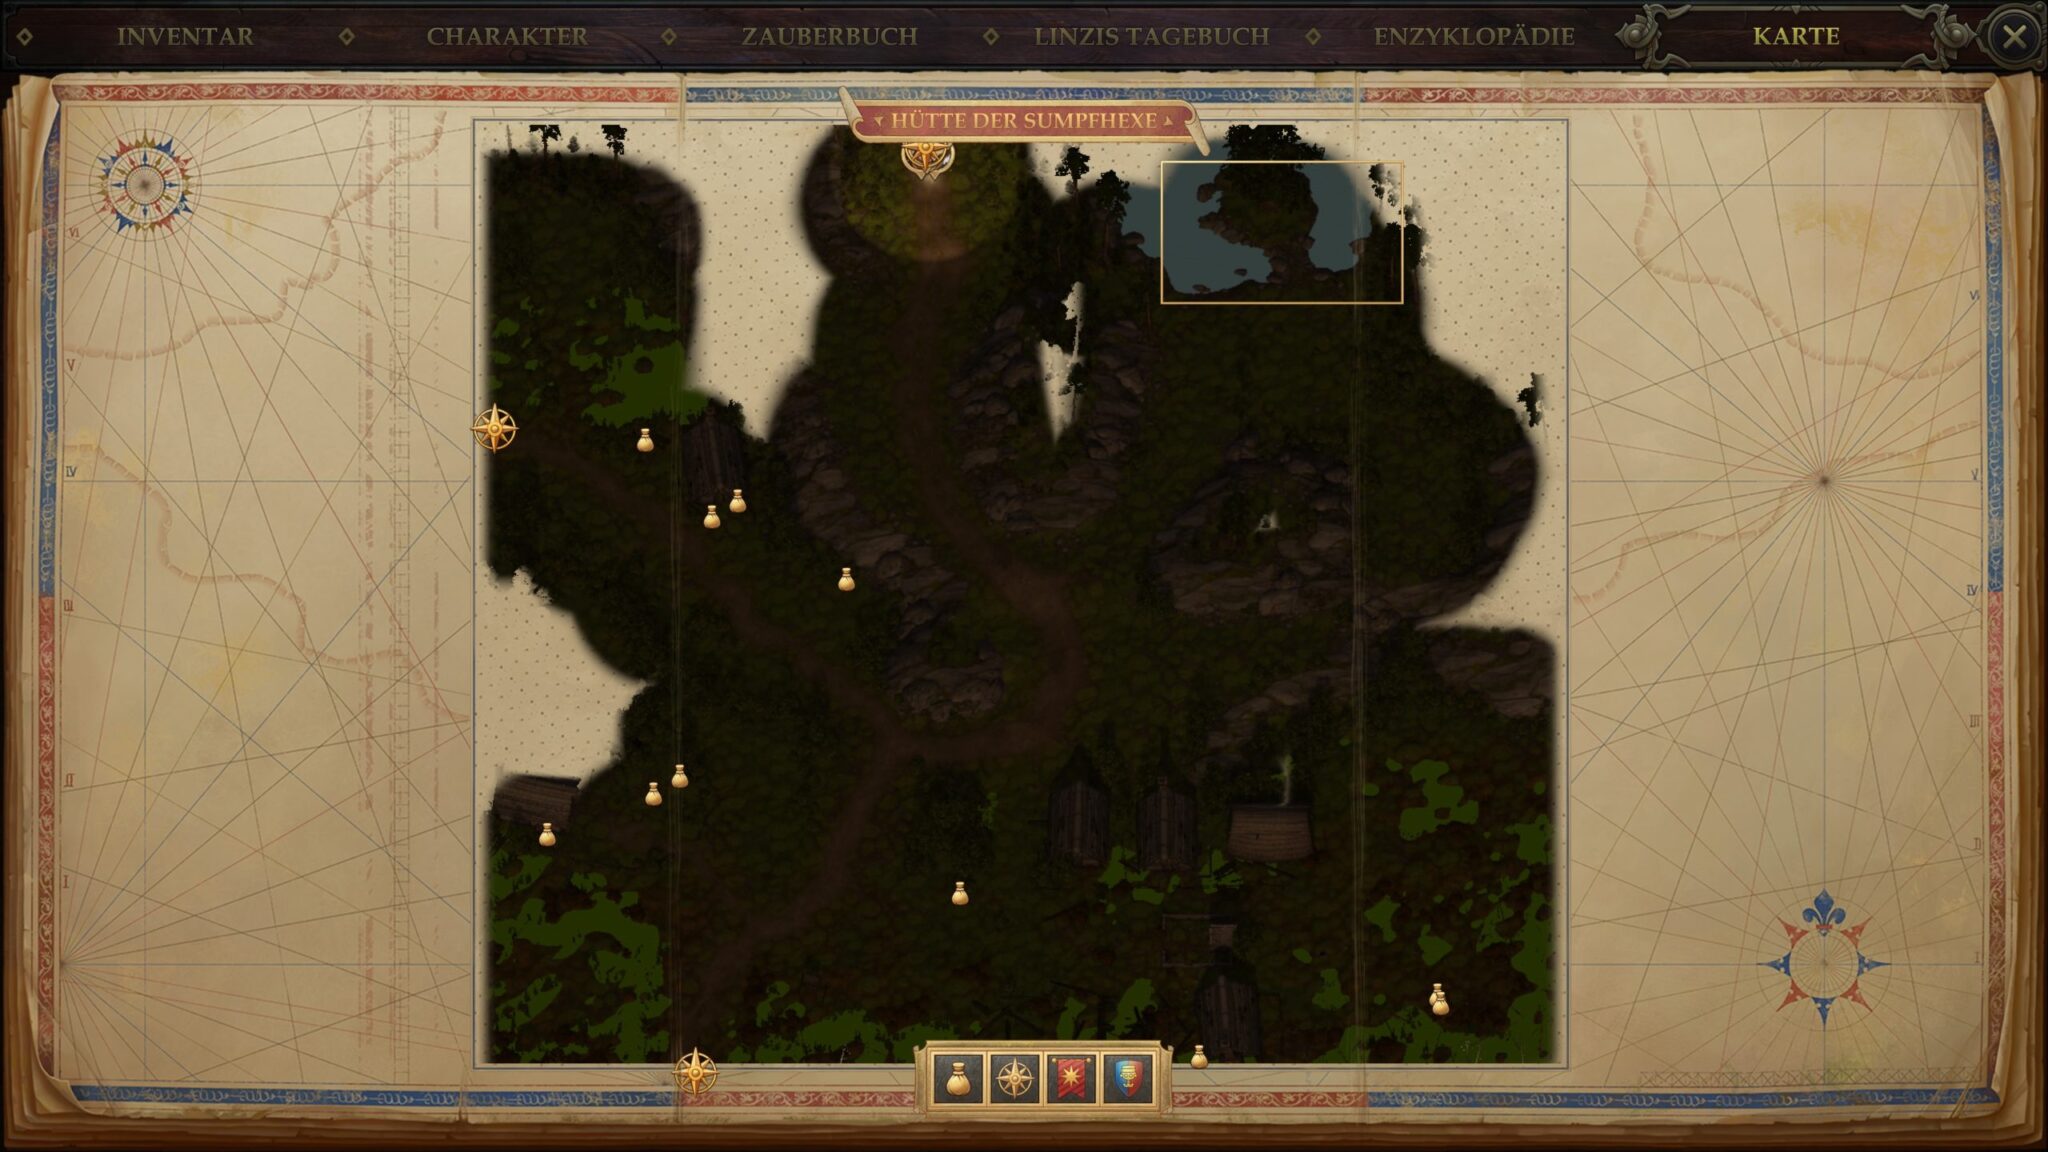
Either you buy the feather tokens in the capital (if you find any there) or you search for the dryad Tiressia. She can be found on the map “Swamp Witch’s Hut” (in the upper right corner). The witch herself (bottom left) will also sell you feather tokens. Another option is shopping at Bartholomew Delgado (Lone House).
Troll Trouble
How can I save Bartholomew Delgado?
Mission: As part of the quest, on the map “Lone House” up north, we arrive at the wizard’s secret laboratory. When we enter it, Delgado is being attacked by three trolls simultaneously. It’s very likely that he won’t survive. However, you can still save him (and possibly make him your advisor later).
Solution
Set up your group just in front of the entrance to the lab and buff your party with everything you have. When you’re ready, all you have to do is strike very fast and very hard.
The spell “Haste” is essential for this task. Since the trolls don’t let go of Delgado, you focus one by one and kill them extremely fast. The time window is very tight. With a little luck, the wizard’s Phantasmal Killer spell can take one or even two trolls out and make things a lot easier.
Guiding Beacon
What can I do with the wizard’s whip?
Mission: When we have found the whip (in the Dwarven Ruins, lower level, in a pile of rubbish), we have to decide what to do with it.
Solution
The whip belongs to Bartholomew Delgado. We can simply give it back to him. However, we can also give the whip to Octavia.
If the dialogue with her doesn’t trigger automatically when we pick up the whip (assuming you have Octavia in your party), go with Octavia to the map “Lone House”. Enter the laboratory of Bartholomew Delgado. Down in the laboratory drop the whip from your inventory on the ground and pick it up again. The dialogue should start and you can give Octavia the whip. What is she planning to do with it?
Easier to Ask Forgiveness…
Where do I find the printing press?
Mission: Linzi has done something and we have to decide how to deal with it.
Solution
If you understand her reasons and forgive her embezzlement, you will find the printing press on the map “Swamp Witch’s Hut”, along the street.
Season of Bloom
How does the magical lantern puzzle work in the First World?
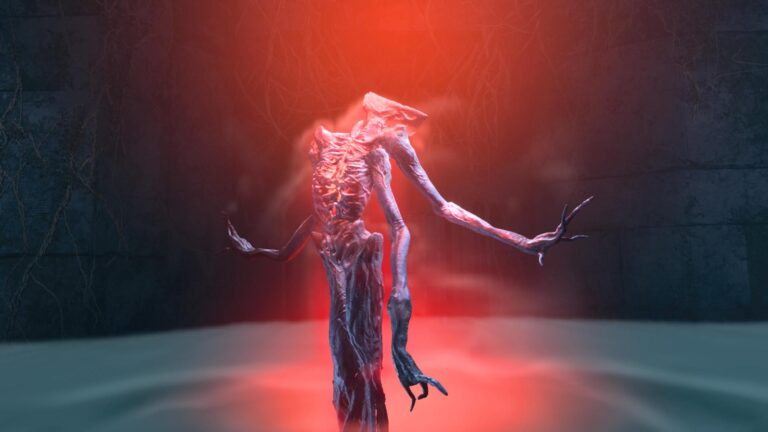
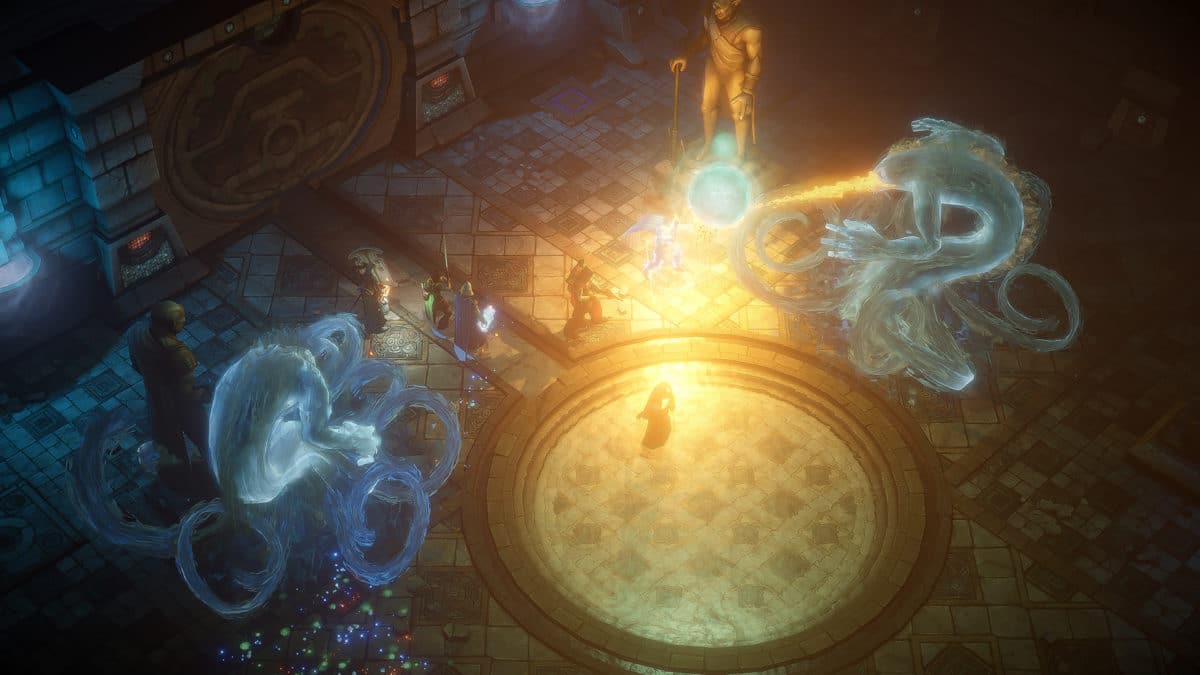
Mission: At the end of the second act we have to travel to the Womb of Lamashtu and look for the seed-bearing flower. After we have fought our way through the tough dungeon, we enter a portal into the First World. Here we meet blue fog-barriers, which teleport us around and seem to make progress impossible.
Solution
First find the bird in the cage in the northeast and take it. Find the camp of the old gnome and get the Magical Lantern from him. Near the gnome is some kind of sacrificial stone. Place the bird in the cage on it. Return to the gnome and interact with the campfire. You will now rest in complete safety (you can use this resting opportunity at any time). After your break, there’s only a little pile of bones left of the bird. Take the bones with you.
Equip the magic lantern (put it in your belt like a potion). Now you can cross the blue fog without being teleported around. Continue your way (Attention: Traps!) and find a larger clearing in the north of the map. After you’ve fought the fights there, remove the lantern from your belt and enter the fog. This will take you to the Everblooming Flower. Interact with the plant and try to destroy it. Unfortunately, it will grow immediately again.
Enter the fog in the north and you will return to the previous level. But this time the level has changed slightly. Search this level with the equipped lantern for a secret passage (perception 25 required) that will take you to a Greater Enraged Owlbear.
Remove the lantern again and walk through the fog. You return to the original level. Equip the lantern again and search for the Pond of Bitter Tears, west of the Old Gnome. Interact with the pond and you can throw in the bird’s bones. Then fill a vial with poisoned water.
Big Confrontation
Go back to the clearing in the north, remove the lantern from your belt and enter the fog. Prepare for a hard fight and use all the buffs you’ve got. Poison the flower with the water. Three portals will open and you’ll have to fight against three Primal Manticores. After you’ve killed them, the old gnome appears and tells you that this flower exists in both worlds and must be destroyed with fire at the same time. To do this, you will need to split up your party.
Make sure that both groups have one healer. In one group we used our main character (wizard), Valerie as tank and Tristian as full healer. The other group included Harrim as a combat cleric and melee fighter, Amiri as a melee damage dealer and Linzi for support and healing. After you have prepared and strengthened yourself (don’t forget potions and wands), speak to the gnome again and choose the dialog option that starts the battles.
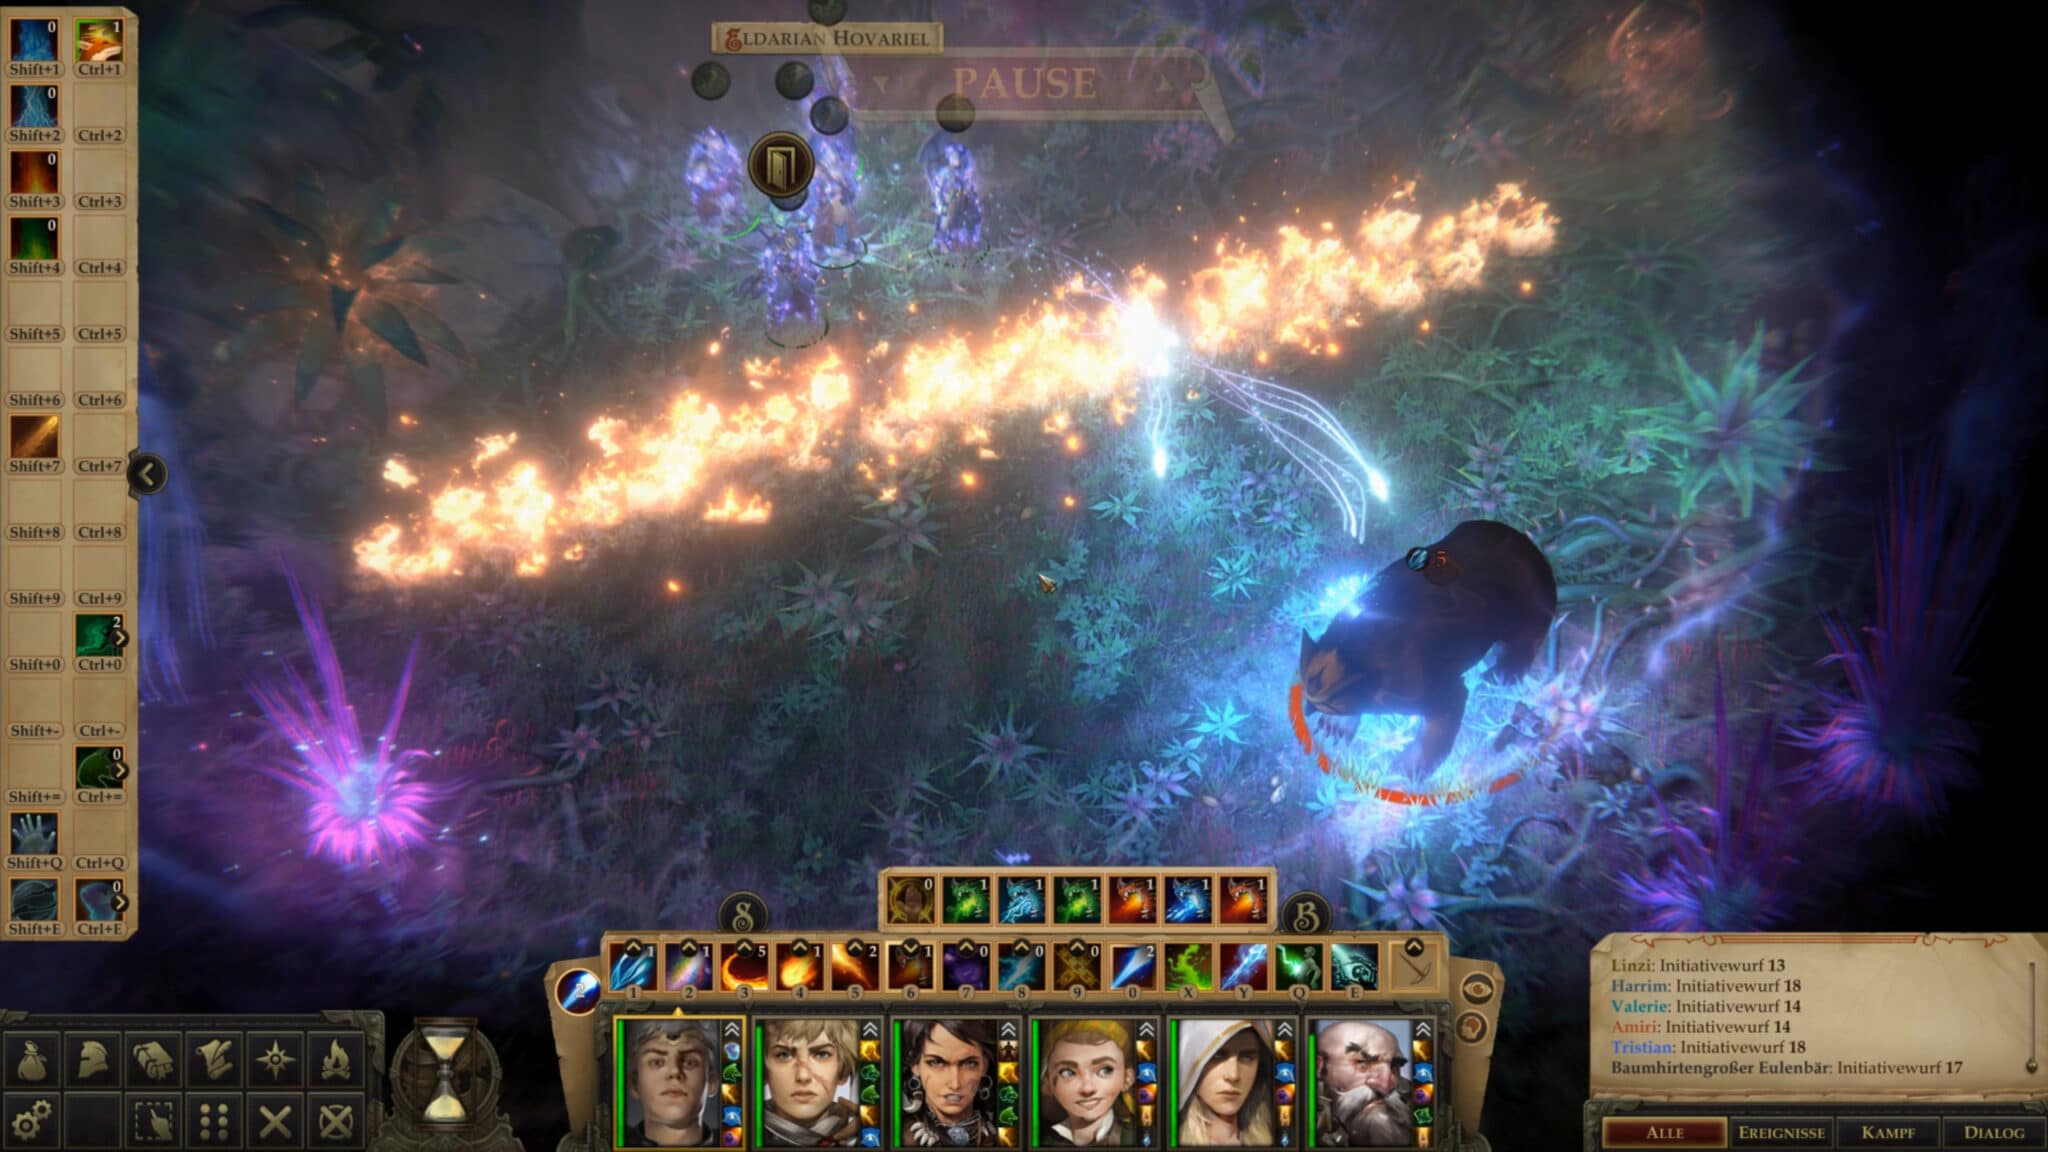
The first group with our main character leads a fight against three owl bears in the First World. Let your best tank take the lead and try to strike as hard as possible (with a bit of luck, a “Phantasmal Killer” from the wizard will balance the situation; the same applies if your wizard is in the other group). Focus one owl bear at a time.
Once the battle is over, the scenery changes to the other group in a previously unexplored area of the Old Sycamore Depths. The first enemy is a Giant Flytrap, which shouldn’t be a big deal. Once dead, however, it is replaced by a Primal Manticore and a Primal Hydra. With a little help from support spells and healing, you should be able to defeat these two monsters as well. After that, all you have to do is destroy the Everblooming Flower’s counterpart in this world with fire and make a decision.
The Lonely Hunter
I found the hunter, but how to proceed with the quest?
Mission: The hunter Ivar calls himself Voice of the Dragon and Protector of Lake Silverstep Village. He questions our authority and we have to clarify the situation.
Solution
After talking to all the villagers and examining the hunter’s cabin in the north-east of the map, we find him on a cliff in the north-west. We learn about his tragic story, but he leaves without giving us a clue what to do next.
Go back to Fisherman Aisel in town and select the (possibly greyed out) dialogue option “Let’s talk about this hunter again… Ivar, right?”. There are new dialog options hidden that reveal a new location on the world map.
Nazrielle‘s Greatest Creation
Where do I find Nazrielle’s missing apprentice?
Mission: Nazrielle wants to forge a fantastic blade for us. But something went wrong and the apprentice who touched the blade went crazy and took off with the weapon. We have to find the apprentice and the blade again.
Solution
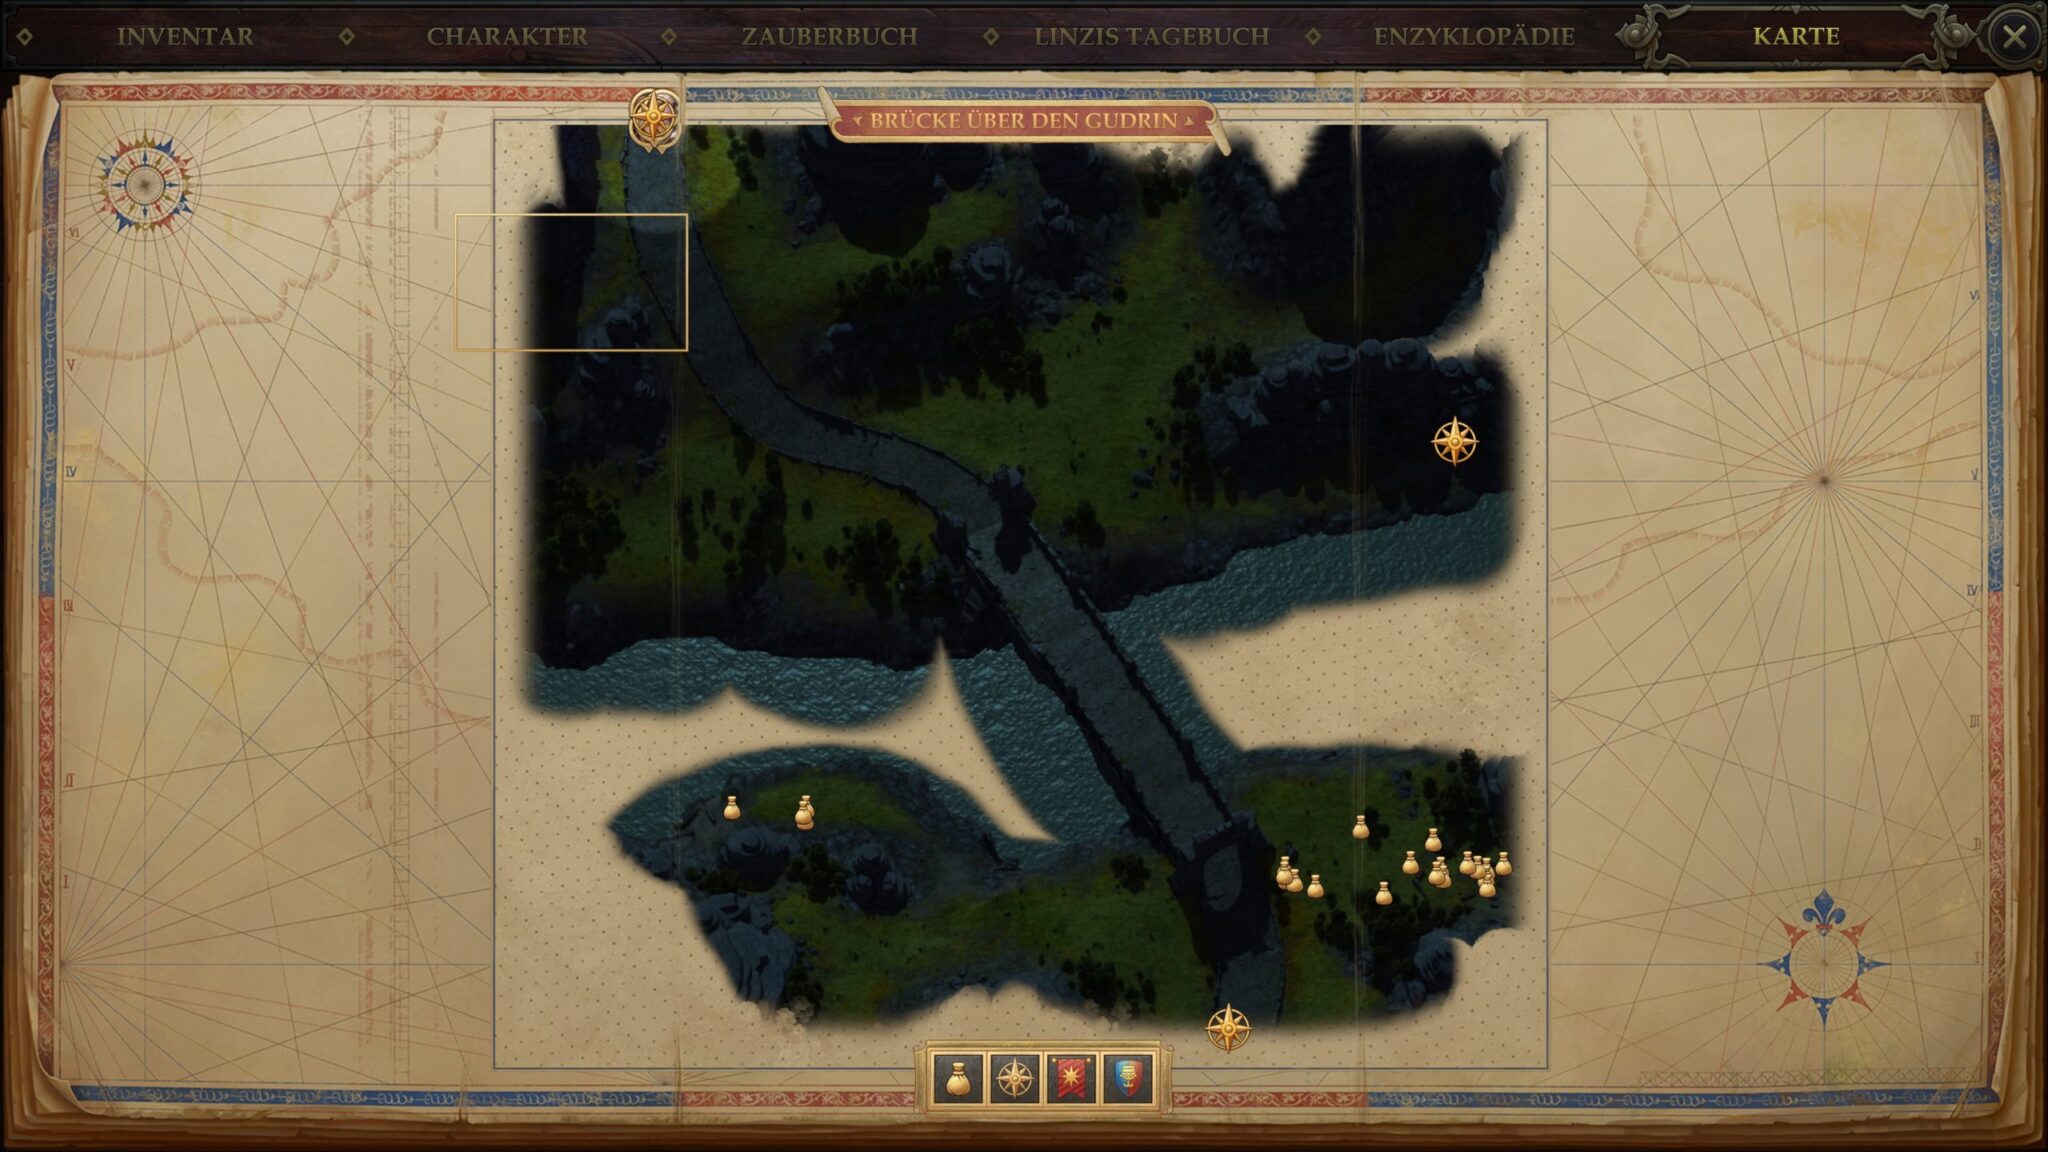
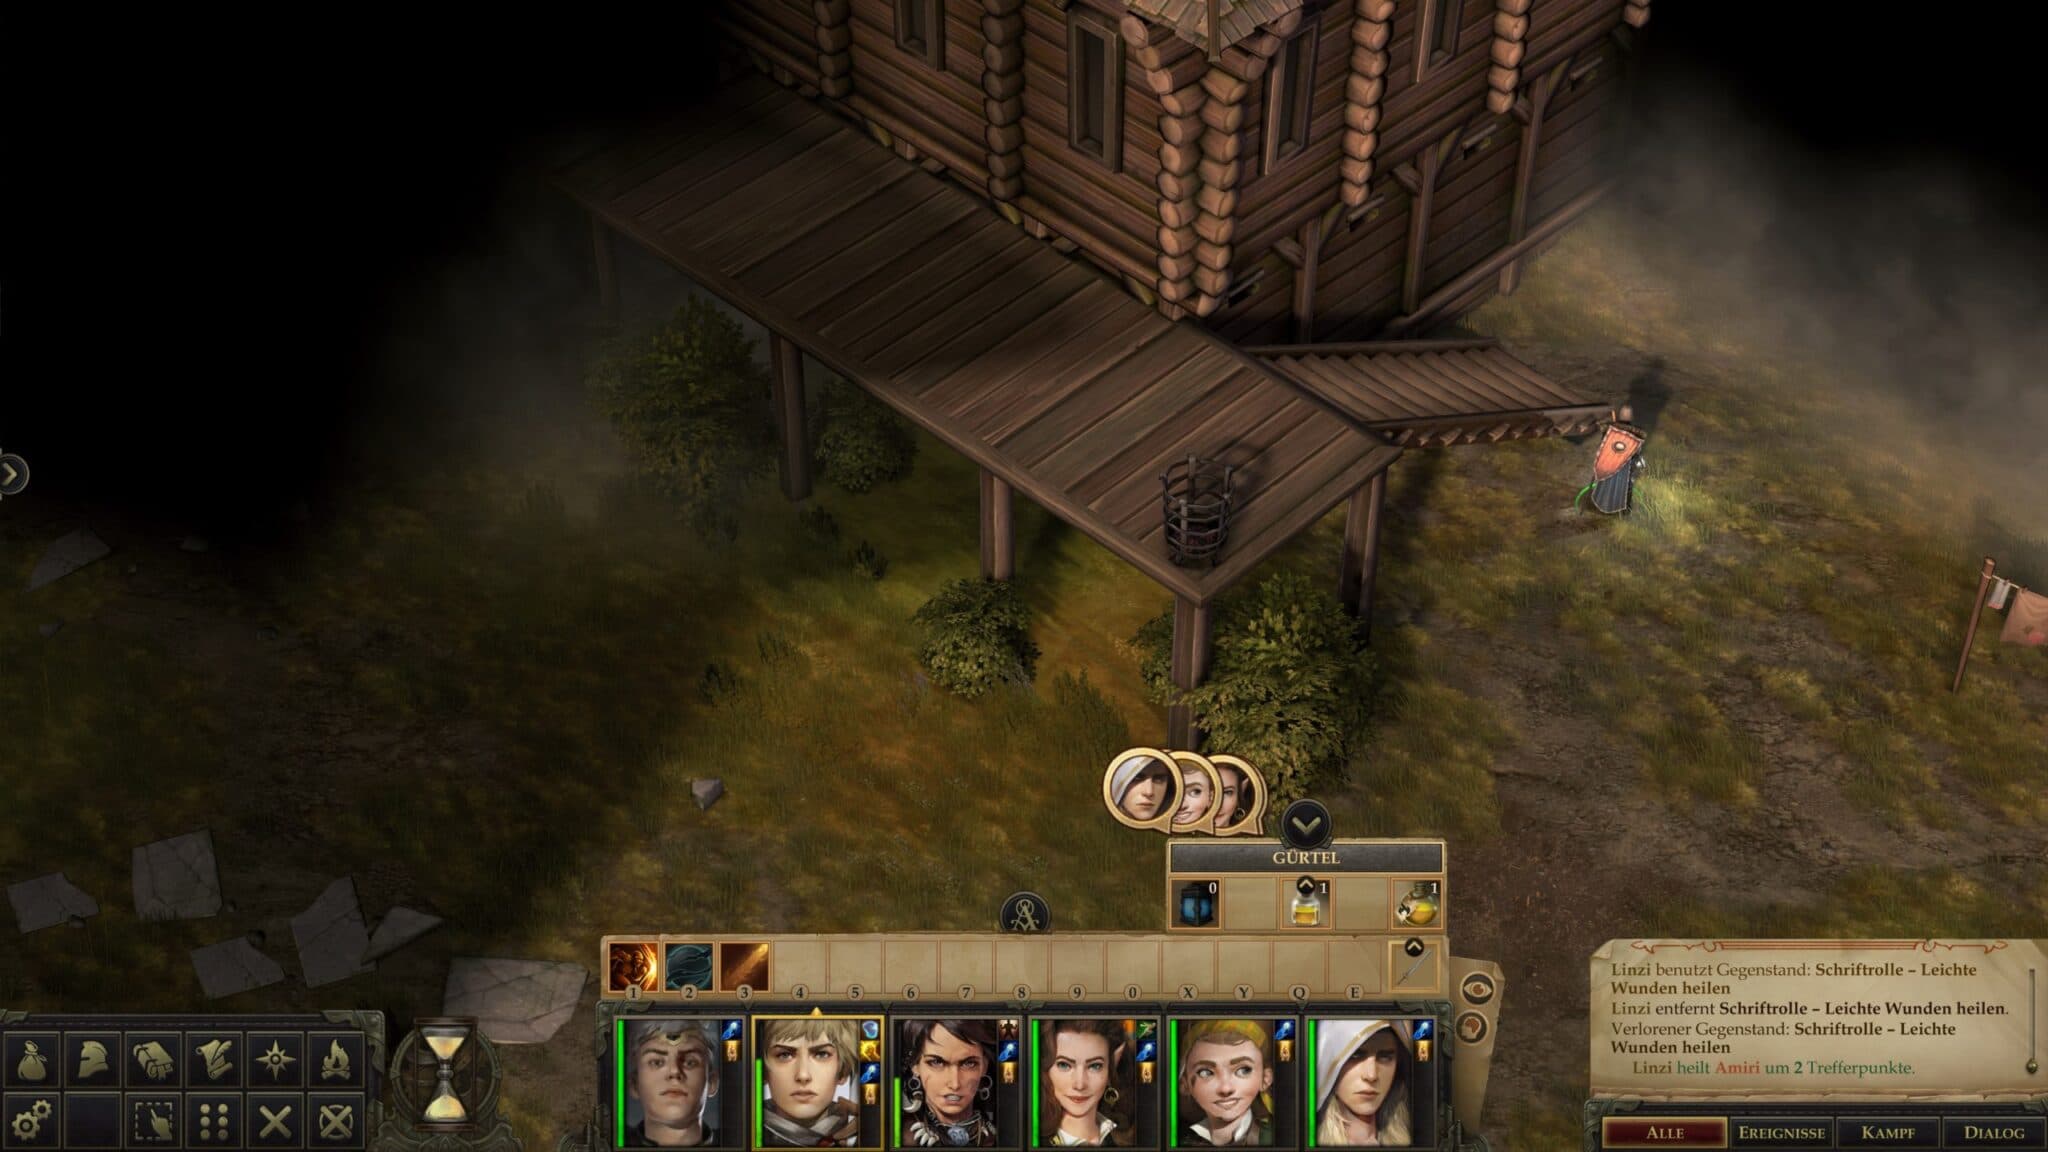
The missing apprentice can be found on the map “Bridge over the Gudrin River”, in the north-west between a couple of rocks.
The Lost Brother
Where is Edrist Hanvaki’s brother?
Mission: Edrist Hanvaki is a noble man who asks us to find his missing brother.
Solution
Tomin Hanvaki is on the map “Shallow Gulch”, above Varnhold. The entrance is east of Nettle’s Crossing.
- Note: When the quest starts, you will not be able to enter Shallow Gulch because the guards of Varnburg are stopping you. About a month later, an event in the Throne Room will start another quest that will allow you access to Varnburg. In the meantime, you should take care of your kingdom and expand it.
Strategies for Boss Battles in Pathfinder: Kingmaker
Hints and tips for fighting can be found in our comprehensive guide to Pathfinder: Kingmaker for beginners and advanced players.
Mite Queen Bdaah and Goblin Chief Sootscale
Solution
The fight against the two can be simplified by focusing fully on Bdaah and later on Sootscale and ignoring the others. As soon as they’re almost dead, they surrender and you can let them go.
Stag Lord in his fort
Solution
Make sure you completely clean up the Stag Lord’s Fort (especially inside on the right, the two bosses Lieutenant Dovran and Auchs) before you go anywhere close to the main hall door (this triggers the final boss fight). If you don’t, the remaining enemies in the fortress will help the Stag Lord and the fight will be extremely difficult.
The Stag Lord fights from an elevated platform at the house and shoots deadly arrows. The access to the platform is on the right at the rear of the house.
Strategy 1
Buff your party completely before moving close to the guards at the main entrance. Have a fighter on top of the platform. The rest of the group take care of the enemies below one by one. Afterwards you focus on the Stag Lord.
- Attention: If you get too close to the cage opposite the Hall of the Stag Lord, an owl bear will be released, which will cause serious problems.
Strategy 2
Open the Owl Bear’s cage when combat begins. Move away and take care of each enemy that might follow. Let the bear do the main work. When the bear is dead (ideally), take care of the rest. If not, the bear will be hurt badly enough for you to deal with him easily. Now kill the Stag Lord and take his equipment.

- Attention: If you enter the Hall of the Stag Lord, stay away from the prisoner or at least save your game beforehand!
Trollboss Hargulka & Kobold Tartuk
Solution
We must fight against Hargulka and Tartuk in the lower levels of the Dwarven Ruins. As usual, you should first buff your group completely. If you own the spell, use “Haste” right before you go into combat or immediately when battle begins after dialogue.
Ignore Tartuk even when he casts spells. Hargulka is extremely fast and strikes extremely hard. The fight has only one real solution: Focus Hargulka and kill him as fast as possible. With a bit of luck, you’ll be able to cast “Hold Person” or other slowdown spells successfully, which will make the fight a lot easier. Besides, kill him as fast as you can and ignore everything else.
Puzzles & Riddles
At this point we offer you the solutions for puzzles and riddles that have nothing or only indirectly to do with quests.
How do I solve the riddle at Talon Peak?
Solution
To open the secret door you have to activate the different switches in the level in the correct order: Middle, Stairs, Left, Right.