This Returnal Guide will tell you everything you need to know about Artifacts, Parasites, Weapons and other items. We also have useful tips regarding the Combat and Movement in the PS5 Rouge Lite.
In this Returnal Guide you will learn:
- How the Loop works in Returnal
- How to advance in the Story
- Which Xenotech Devices you can get and how to use them
- How Artifacts vary from each other
- What to consider when attaching Parasites
- Which Resources are really important
- How to fight and dodge properly
- Everything you need to know about Weapons
Returnal puts you in the shoes of the female astronaut Selene. Trapped in a time loop on an alien planet, you fight against extraterrestrial monsters and explore the secrets of the Sentients. In this guide you will learn everything you need to know to survive on Atropos. For those rushing, here’s a short list covering the most important tips.
Returnal: The most important tips in a nutshell
- Learn from your deaths
Memorize the environment and enemies as best as you can. - Permadeath is not as horrible as it sounds
You don’t lose everything when Selene dies. - There are no checkpoints but there are shortcuts
It is not always necessary to complete all Biomes - Be cautious when entering Secret Chambers
Strong monsters may lurk in there - Return to previous sections with new equipment
Certain areas can only be reached by using the new equipment. - Know your Artifacts
Artifacts can give you significant advantages. - Use the benefits and drawbacks of Parasites
Good combinations can negate the disadvantages. - Increase Selene’s Integrity- but not at all costs
Ignore malignant Silphium and Resin. - Collect resources and use them properly
Obolite and Keys are important, Ether is even more important. - Avoid Malfunctions
They are simply not worth the risk. - Keep your Adrenaline Level up
The Adrenaline rush gives you useful buffs. - Increase the Proficiency value
A high Proficiency value also affects your weapon strength. - Master the Overloading of your weapons
Find the right rhythm and practice in safe sections. - Don’t instantly pick up every new weapon
Having a high weapon level is not that important. - Pay attention to the type of Alt-Fire when choosing Weapons.
Not every mode is suited for every Biome. - Be always on the move
Run, jump and use dash – standing still means death. - Dodge first, shoot later
Learn the enemies’ attacks first and exploit their rhythm. - Kill the small enemies first when entering arena battles.
You can focus on the big ones afterwards. - Keep an eye on the indicators
Don’t let enemies surprise you. - Don’t be afraid of melee combat
The blade is probably the most powerful weapon in this arcade shooter.
The Cycle: Living and Dying in Returnal
Be prepared to die a triple-digit number of on-screen deaths before you reach the end of Returnal. However, dying is very much a part of the learning process in rogue-lite games – so don’t let yourself be discouraged by that.
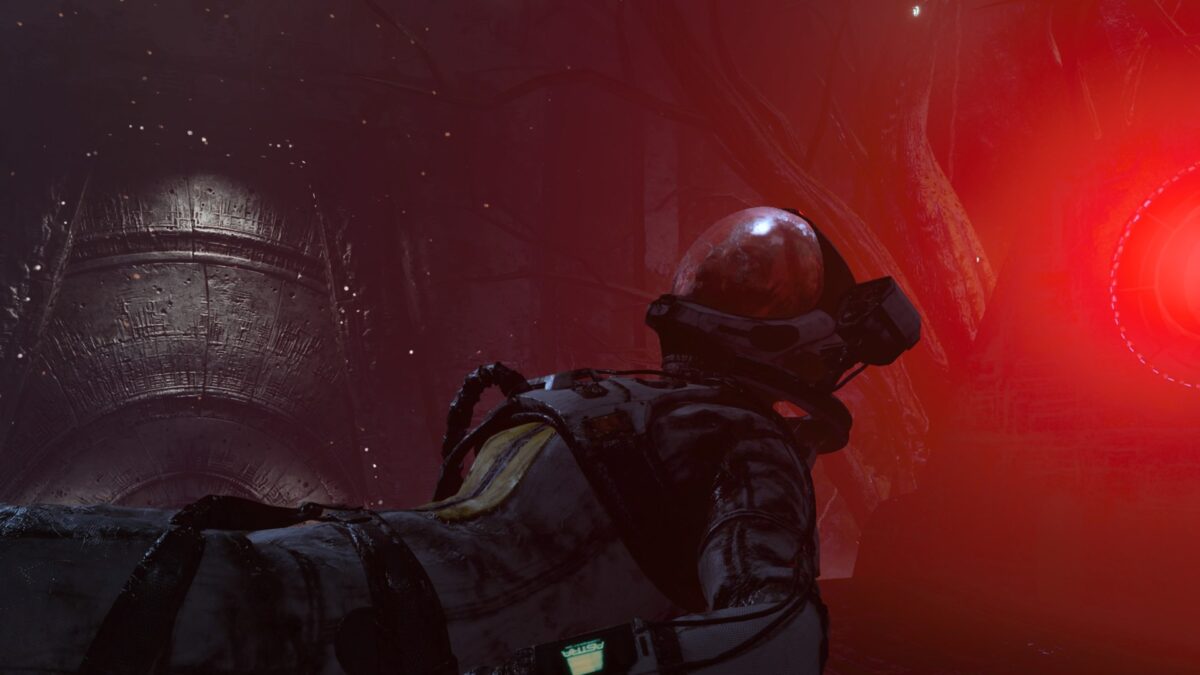
Contrary to games like Assassin’s Creed Valhalla (Walkthrough) or Cyberpunk 2077, you don’t just upgrade the abilities of your character – Returnal puts your actual skills on trial.
- Learn from your deaths
It is crucial that you memorize the attack patterns and weaknesses of the enemies. The more you know about the monsters’ movements, the easier the fight will be. This will help you get through areas where you have repeatedly failed in the first runs a lot quicker in the later phases of the game. Play runs now and then in which you analyze and practice instead of trying to progress as fast as you can.
- Permadeath is not as horrible as it sounds
Permadeath in Returnal is not as definite as it seems at first glance. When Selene dies, she loses almost everything you have achieved during the run. However, there are a few elements that stay.
What you lose when dying
- All resources except Ether
- Artifacts and Personal Items
- Skill Upgrades
- Parasites
- Consumables
- Malfunctions
- Adrenaline
- Proficiency
- Weapons
What you can keep after death
- story progression
- the essential resource Ether
- permanent equipment
- Selene’s pistol in its standard model
The planet Atropos keeps changing with every Cycle. Fixed areas rotate thanks to the procedural generation. So, you never know what awaits you behind the next gate. But as you play more and more runs, you will get to see an increasing number of sections. In addition, the type of gate indicates the kind of area that lies behind it (see “The Environment”). As a result, the number of unpleasant surprises drops as time goes by.
- Important: Returnal only saves when you lose a life. Therefore, always plan on spending one to two hours on a run. If you have to end a run prematurely, simply put the PS5 into sleep mode. This way, you can pick up the game again at the same spot later on.
- There are no checkpoints but there are shortcuts
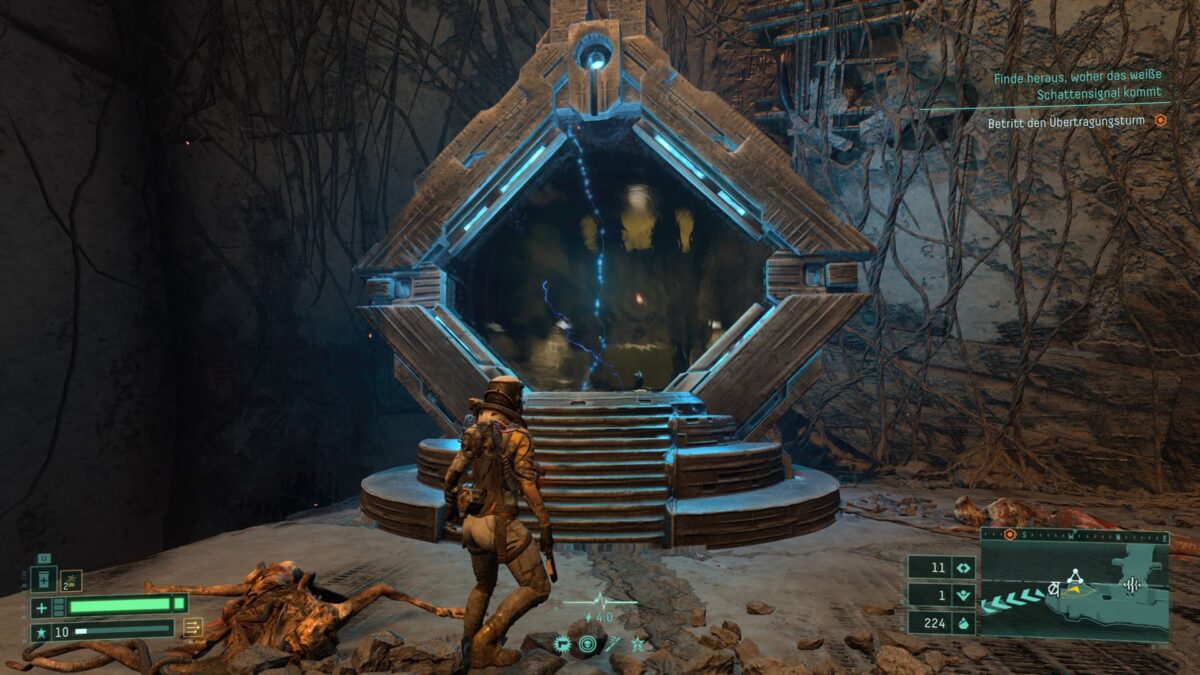
There are no fixed save or checkpoints in Returnal. If Selene dies, you restart from the crash site, regardless of which Biome you were in during death. But even in this case you receive a small compensation: You will obtain permanent equipment items later on, which allows you to take shortcuts to Biomes that have already been unlocked.
In certain instances, portals open up, which take you back to the arena faster after a failed boss fight. There are also Artifacts that give Selene an Extra Life and a Xenotype Device that becomes a one-time use checkpoint in exchange for some Ether. You can read more about that in the following sections.
The Story: How to learn more about the history of Atropos
Returnal tells the story of the planet Atropos and the stranded astronaut Selene mostly through the environment. The following elements must therefore be found: Scout Logs, Xenoglyphs, Xeno-Archives.
- Collect Scout Logs
As you explore Atropos, you’ll repeatedly run into Selene’s corpses from previous Cycles. You’ll often find white glowing audio logs next to her body. Pick them up and play them to learn more about Selene’s experiences within the area.
- Find Ciphers to translate the Xenoglyphs
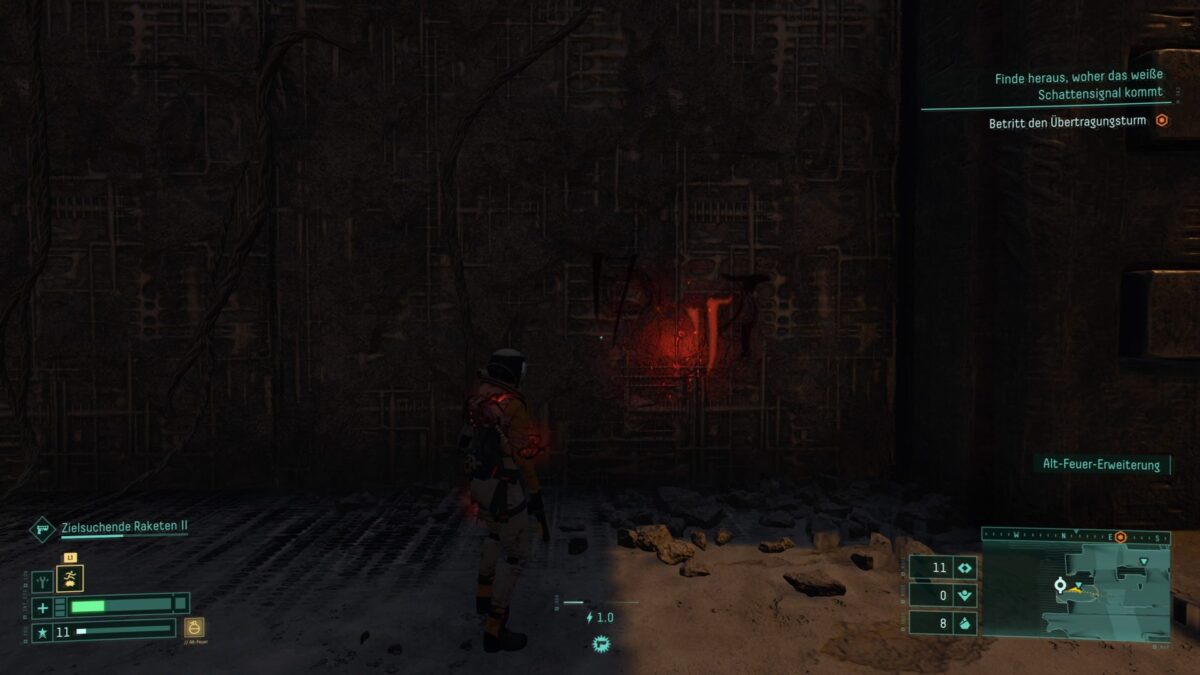
These large stone tablets contain writings of the Sentients. Selene learns more about the history of the planet Atropos and the fate of the lost alien race from these tablets. To fully decipher the alien writings, you must first find the Xenoglyph Ciphers scattered throughout the world. Each Biome hides a certain number of these glowing graffiti. The more you discover, the more accurate the translations will be.
- Tip for Trophy Hunters: The first complete Xenoglyph translation earns you the “Cryptic Translations” Trophy.
- Search the Xeno-Archives
Xeno-Archives are large halls, most of them somewhat difficult to find, where the Sentients keep a record of historical events. Go through the energy dust and activate the respective record. Sometimes there will be hidden areas in the Xeno-Archives that you can only reach by using permanent equipment. You get the Blade, Grappling Hook and other equipment items when entering a new Biome. Returning to this area is always worth the effort.
- Visit Selene’s house regularly
At one point during the exploration of the first Biome you will find Selene’s house, and shortly after that the corresponding key. From this point on, you can enter the house whenever the light is on.

Inside, the game continues from the first-person perspective, and you’ll get to discover more about Selene and her personal history. You’ll receive a new Artifact at the end of each house scene. Make sure to visit it periodically while traveling in the first Biome.
The Environment: Getting Around in Returnal.
If you want to stay alive as long as possible in Returnal, you need to be familiar with your environment. Scan a section with your computer as soon as Selene enters a new area. You can find everything important on the minimap in the lower-right corner.
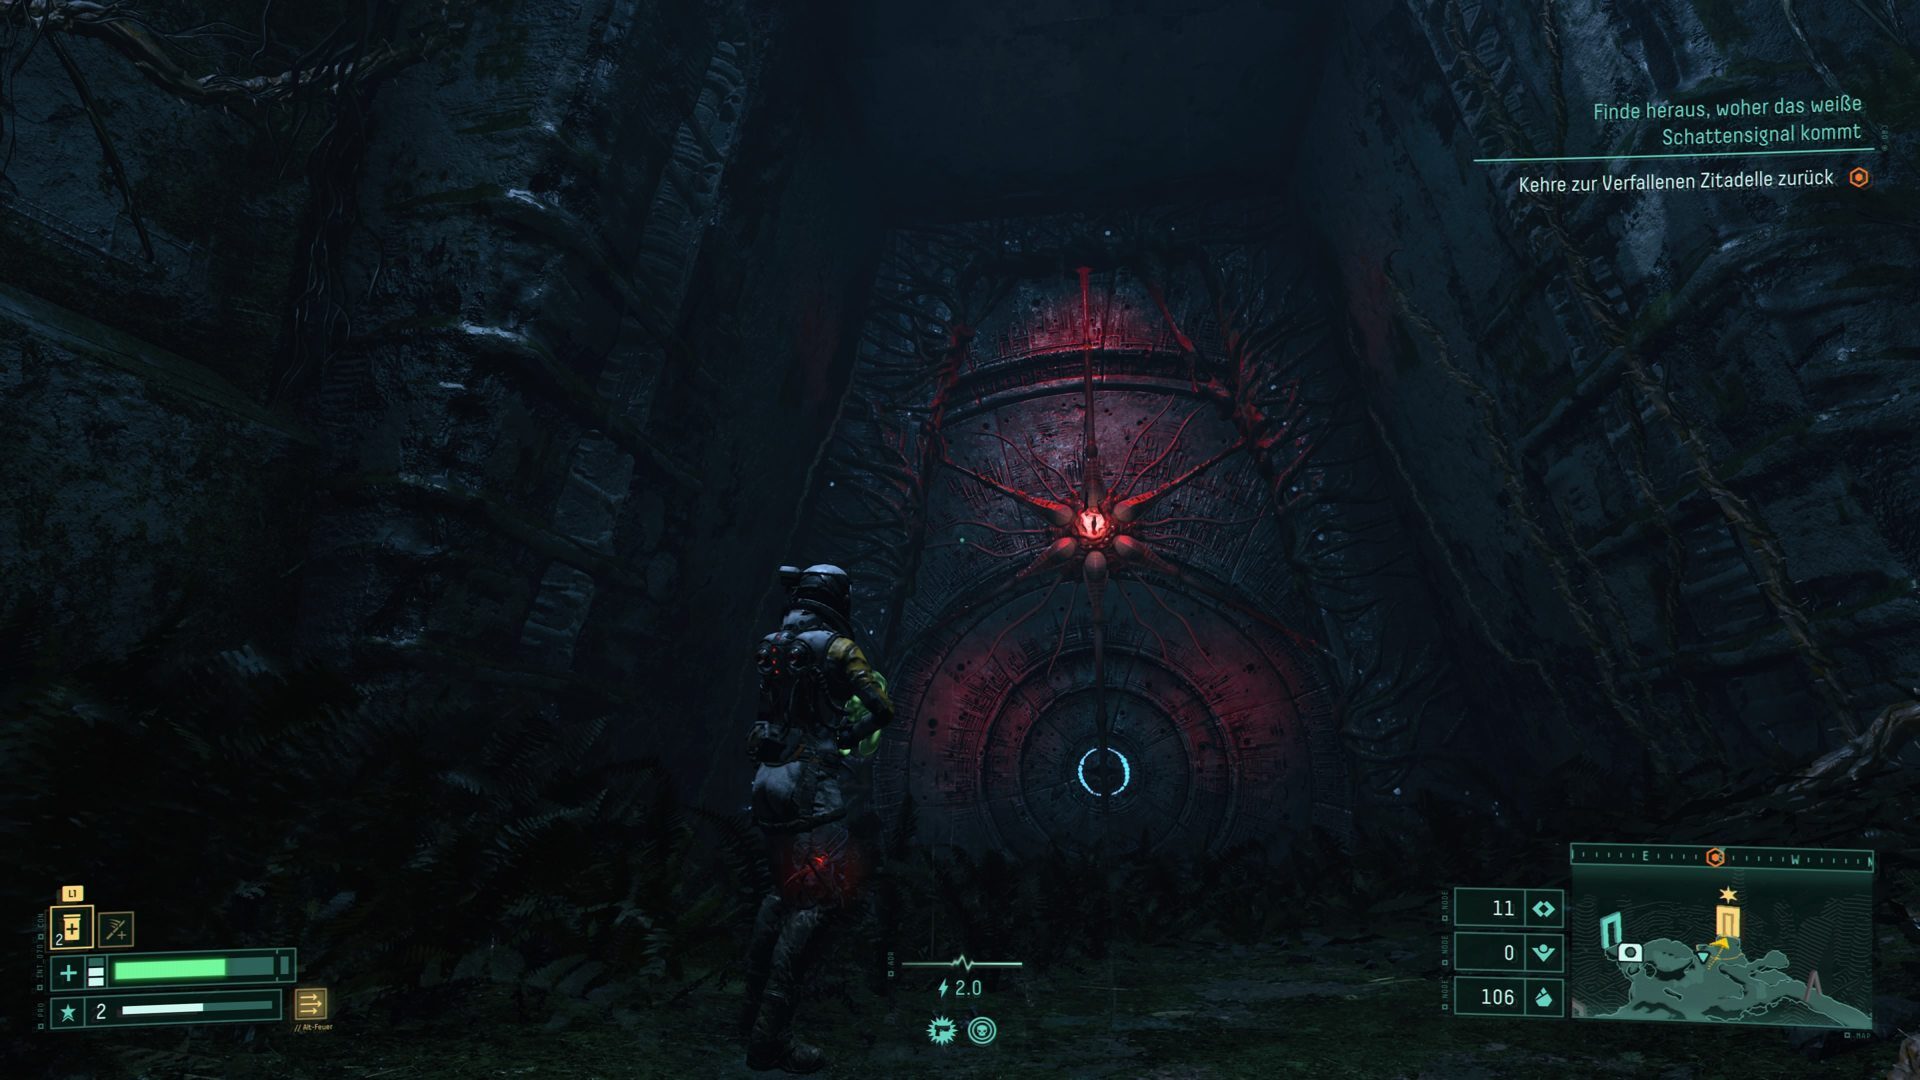
The scanner basically marks gates, items, enemies and Xenotech on the mini-map. You can find the accompanying legend when you open the large map. Below we describe the most important environmental characteristics and items and give tips on how to use them correctly.
- Learn to assess main and secondary routes correctly
The side paths marked on the map with a purple triangle lead to new findings in most cases. Often you will find containers with Artifacts, Weapons or Consumables. However, the path is sometimes filled with danger.
Sometimes you’ll find arenas behind triangular doors. There you’ll have to fight against several waves of enemies. The fight usually starts with many “small” monsters, which get supported by larger ones, which enter the arena gradually. If a green cone of light starts shining through the area, your next step is to find the source and destroy it. The signal emitted by these towers makes all the monsters in the arena invulnerable.
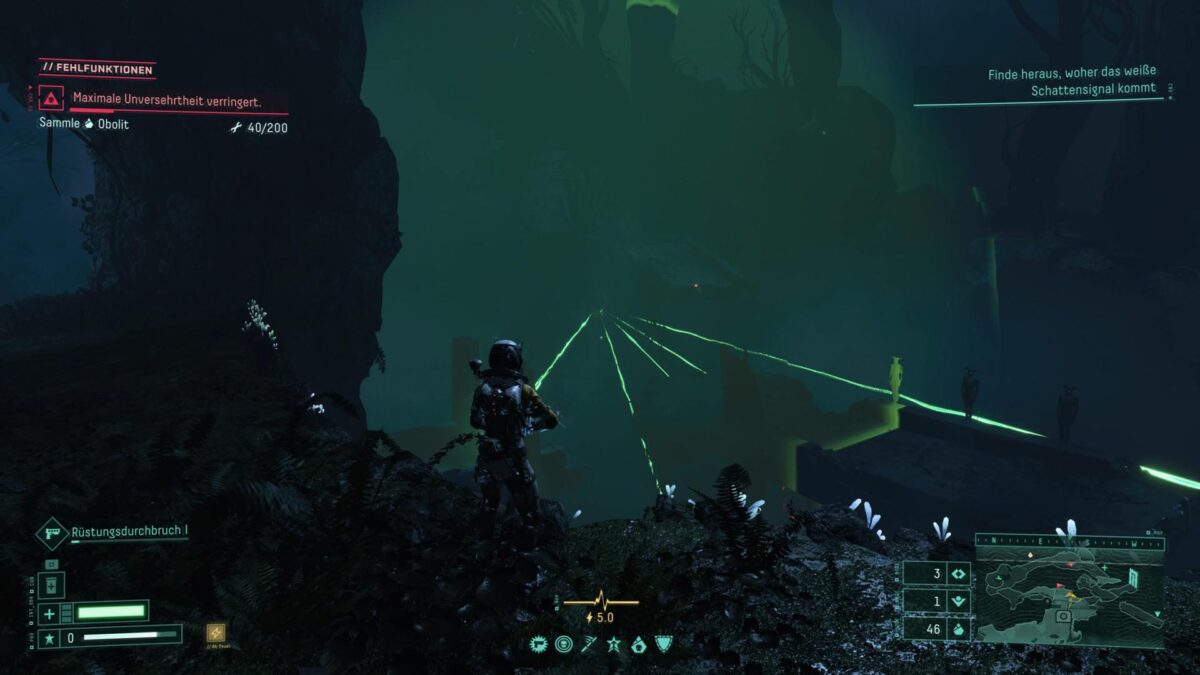
Main paths are displayed as green squares on the map. If a small circle is placed on it, it means that there is a portal or access to another Biome behind the gate. A red square leads to a boss arena. If it’s a yellow star inside the square, then you can only open the gate if you have the Atropian Blade for melee combat.
- Be catious when entering Secret Chambers
Check out every little corner of a section. Occasionally, you will find glowing orbs there. Walk towards them and Selene will fall into a Secret Chamber. There you can find valuable items or resources. Sometimes you will have to solve small environmental puzzles.
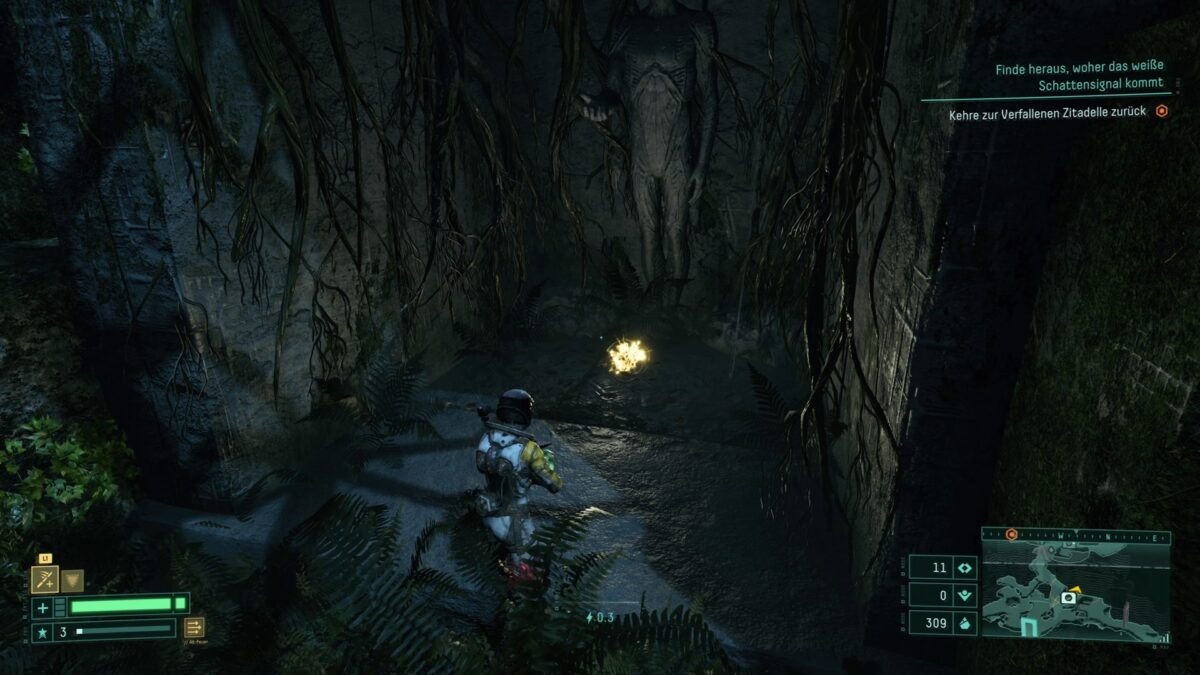
Attention: Sometimes you will encounter a deformed creature in a secret chamber. These are strong special forms of monsters that are typically found in the respective Biome. In the first Biome, for example, this is the deformed Kerberonyx. These enemies are extremely tough, but you’ll receive a very valuable reward for it.
- Return to previous sections with new equipment
As the game progresses, you’ll find permanent equipment that Selene is allowed to keep after death. These include, for example, a melee blade or the Grappling Hook. You can use them to reach objects in remote spots, destroy energy fields, use teleporters or find new story sections. So it’s always worth investing some time into the exploration of already familiar Biomes – even during later runs.
Xenotech Devices: This is how the Translocator, Fabricator, Cthonos and Reconstructor work
Translocators are the fast travel points in Returnal. Selene needs the permanent equipment “Hermetic Transmitter” to use them, which you will receive in the first Biome. Once found, Translocators are automatically activated and can be used as often as you like for teleportation between the particular stations.
Proximity Translocators do not allow you to select a destination. They send Selene straight to a specified destination within that section.
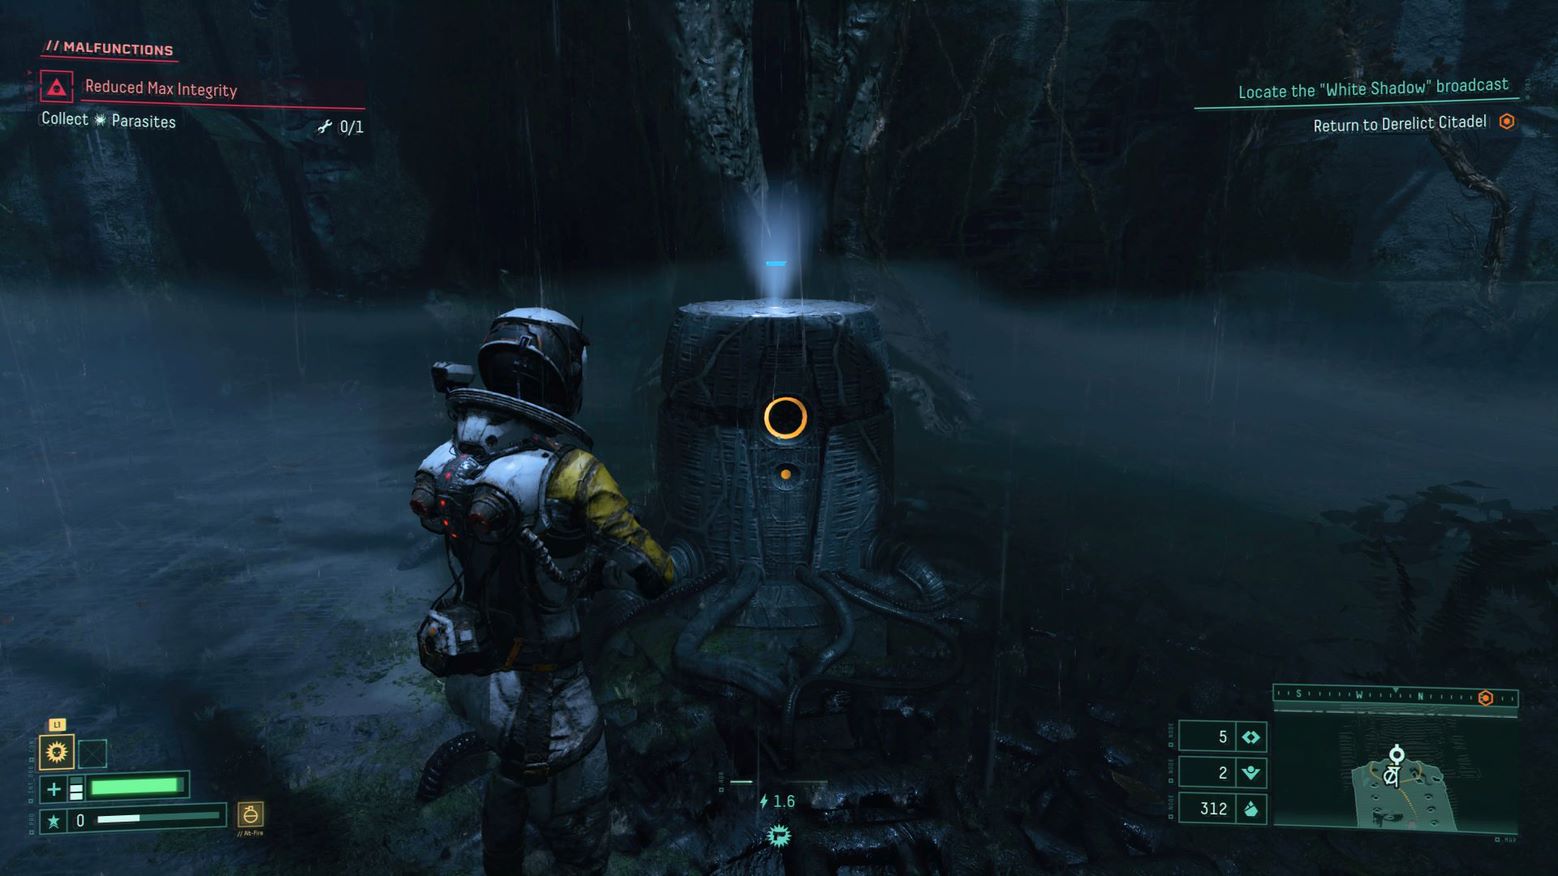
Fabricators are located in closed and safe sections. Other useful Xenotech devices are also found at these trading points. Fabricators allow you to produce various items in exchange for the resource Obolite. However, the selection of items is limited and changes with every new run.
Loaded Fabricators are located in secret areas and have already produced a random item when you arrive. You can pick it up for free. However, the device breaks after that. The trade points usually also have a device called “Obolite Supply“. Here you can exchange Ether for Obolite. The exchange rate is bad, though, and not worth it.
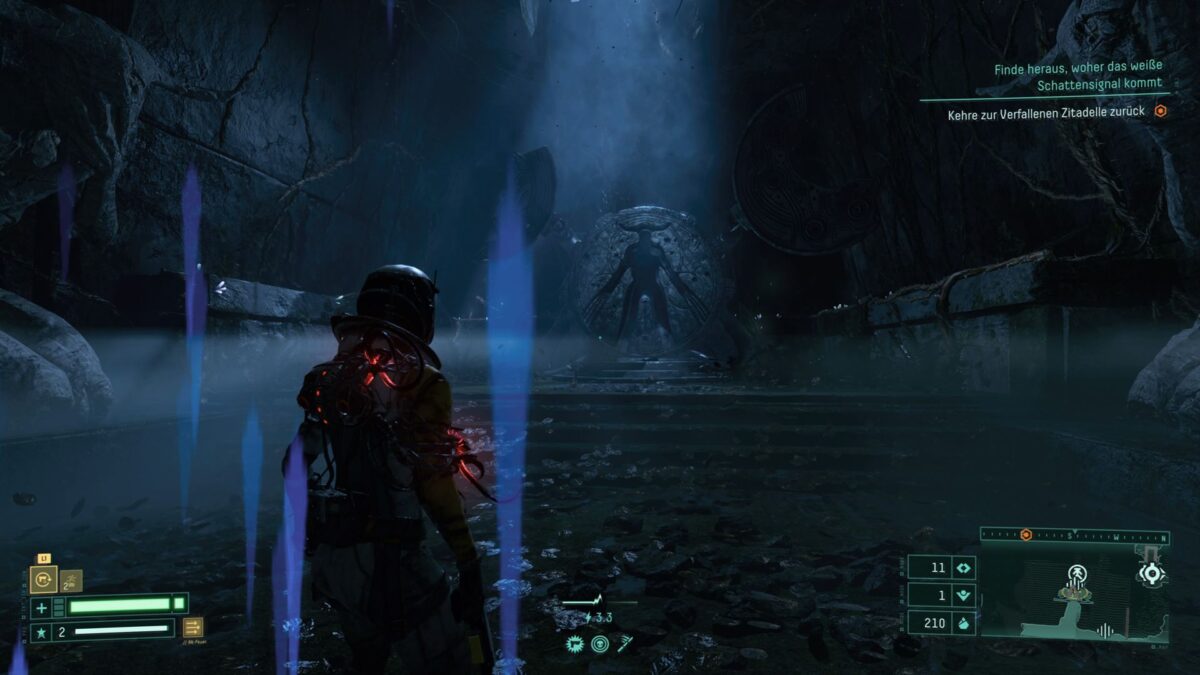
The Reconstructor creates a clone of Selene and brings her back after death. The device is basically an one-time use checkpoint. Reconstructors cost six pieces of Ether and only operate in the Biome in which they are located. If you activate a Reconstructor in Biome 1, but die in Biome 2, the invested Ether is simply gone and Selene ends up at the crash site again. All progress is lost as well.
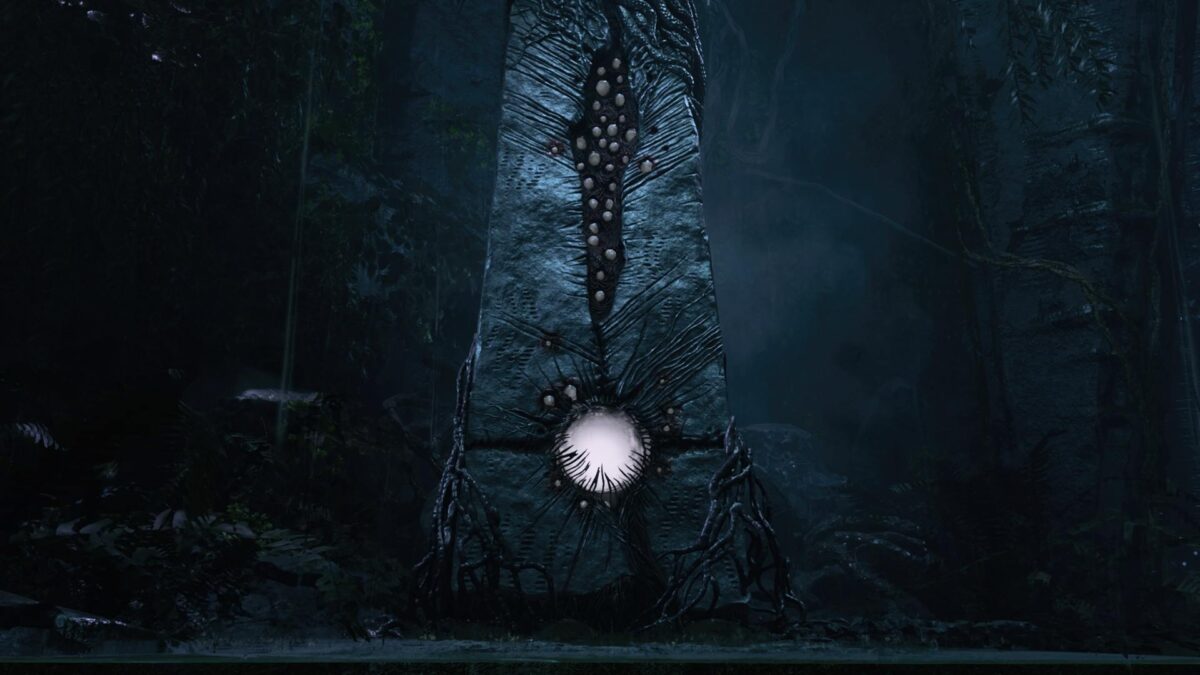
Cthonos is the weird vibrating stone at the crash site. If you fill it with the resource Ether, it will unlock a new item that you can find in the world from that point on. Cthonos requires three pieces of Ether at the beginning, but he’ll demand more later on.
You can find useful items such as Weapons, Parasites, or Artifacts in Containers. Malignant or extremely malignant containers contain more valuable items, but they infect Selene with the “Malignancy” status with a variable probability when opened. This causes a malfunction in her suit. This Malignancy can be cleansed by paying a certain amount of Ether before opening it.
A Xenophagus is a Xenotech burial container that contains resources or items. However, when you open it, several enemies, mostly flying ones, can appear. They drop more Obolite than usual upon death.
Items in Returnal: Everything you need to know about Artifacts, Parasites & Resources
Artifacts provide Selene with various perks and are therefore some of the most valuable items in Returnal. However, they are non-permanent items and are lost after each death.
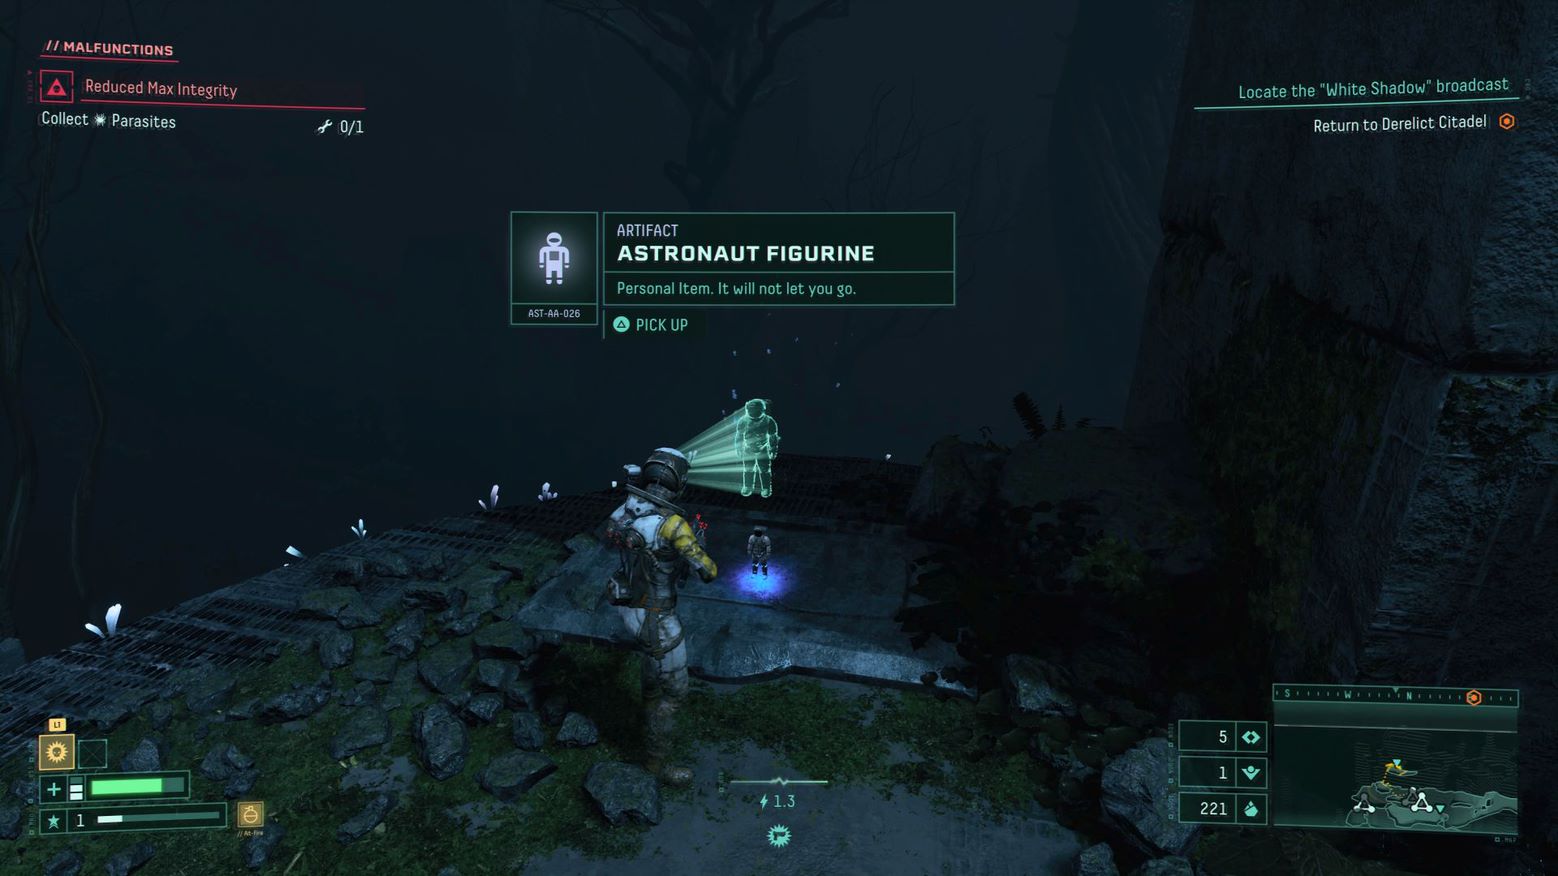
Focused exploration is hardly possible, as the planet reallocates them each time you start a new run. With a little experience, however, you will learn in which sections you may have a greater chance of obtaining good findings.
Artifacts can be divided into the following categories:
- Artifacts: Grant mostly combat, protection, and resource bonuses.
- Suit Artifacts: Primarily address suit properties such as Integrity, Alt-Fire, Adrenaline, or Overload
- Skill Upgrades: Increase maximum Integrity, Weapon Damage, or Protection
- Personal Items: Have unusual, often powerful effects
- Use the benefits and drawbacks of Parasites
Parasites present a great opportunity for experimentation in Returnal. Each of the little critters offers an advantage and a disadvantage at the same time. Selene can simultaneously attach up to five parasites to her body.
- Tip for Trophy Hunters: Fill all Parasite slots at the once and the game will reward you with the “Irreversibly Contaminated” Trophy.
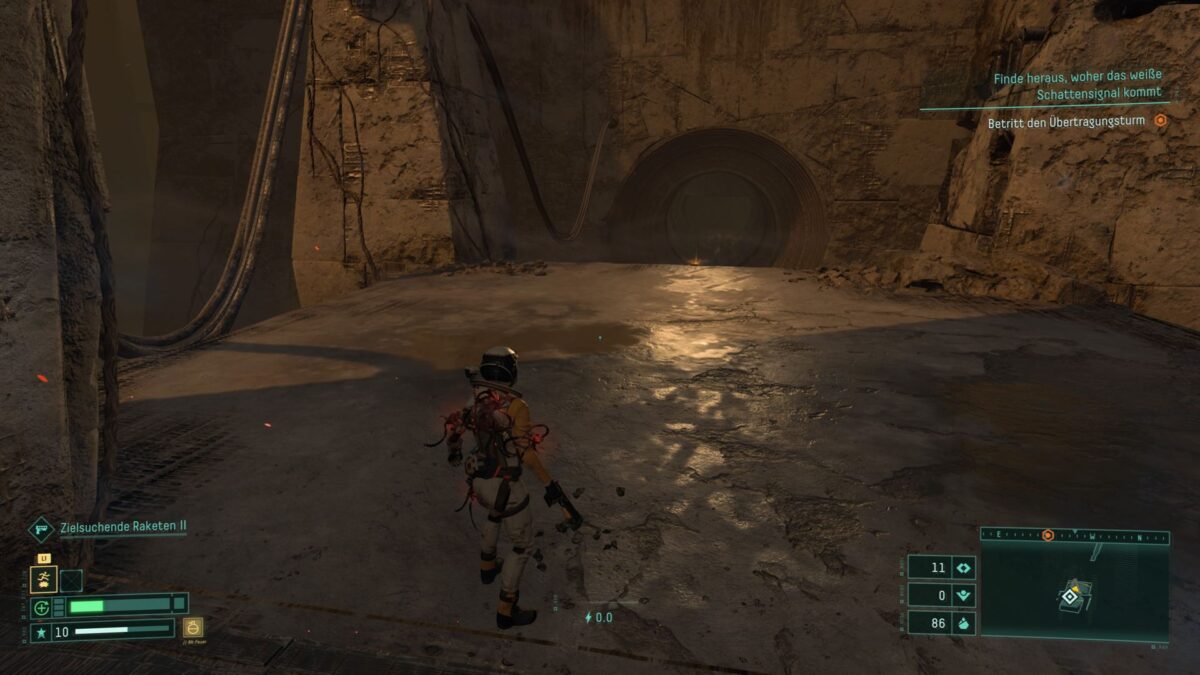
With a little luck and skill, one Parasite might negate the disadvantage of another Paraste. Some negative effects are not relevant for your play style. For example, if you generally avoid malignant items and containers, it won’t really matter if one of your Parasites causes malfunctions to become fatal.
Some Parasites will detach themselves once the advantage kicks in. You can get rid of Parasites with permanent advantages or disadvantages only by using an Extermination Sphere (consumable item) or one of the rare Parasite Extractors.
Attention: The Xenotech device “Parasite Extractor” detaches a random Parasite. You cannot choose which one you want to remove.
- Increases Selene’s Integrity – but not at all costs
Selene’s life energy is gauged in the form of “Integrity” in Returnal. You can increase this value over the course of the game. To do so, collect as much Silphium as possible. This repairs moderate to large amounts of damage, depending on the size of the stone. When the bar is full, any additional Silphium you collect will slowly increase the maximum Integrity.
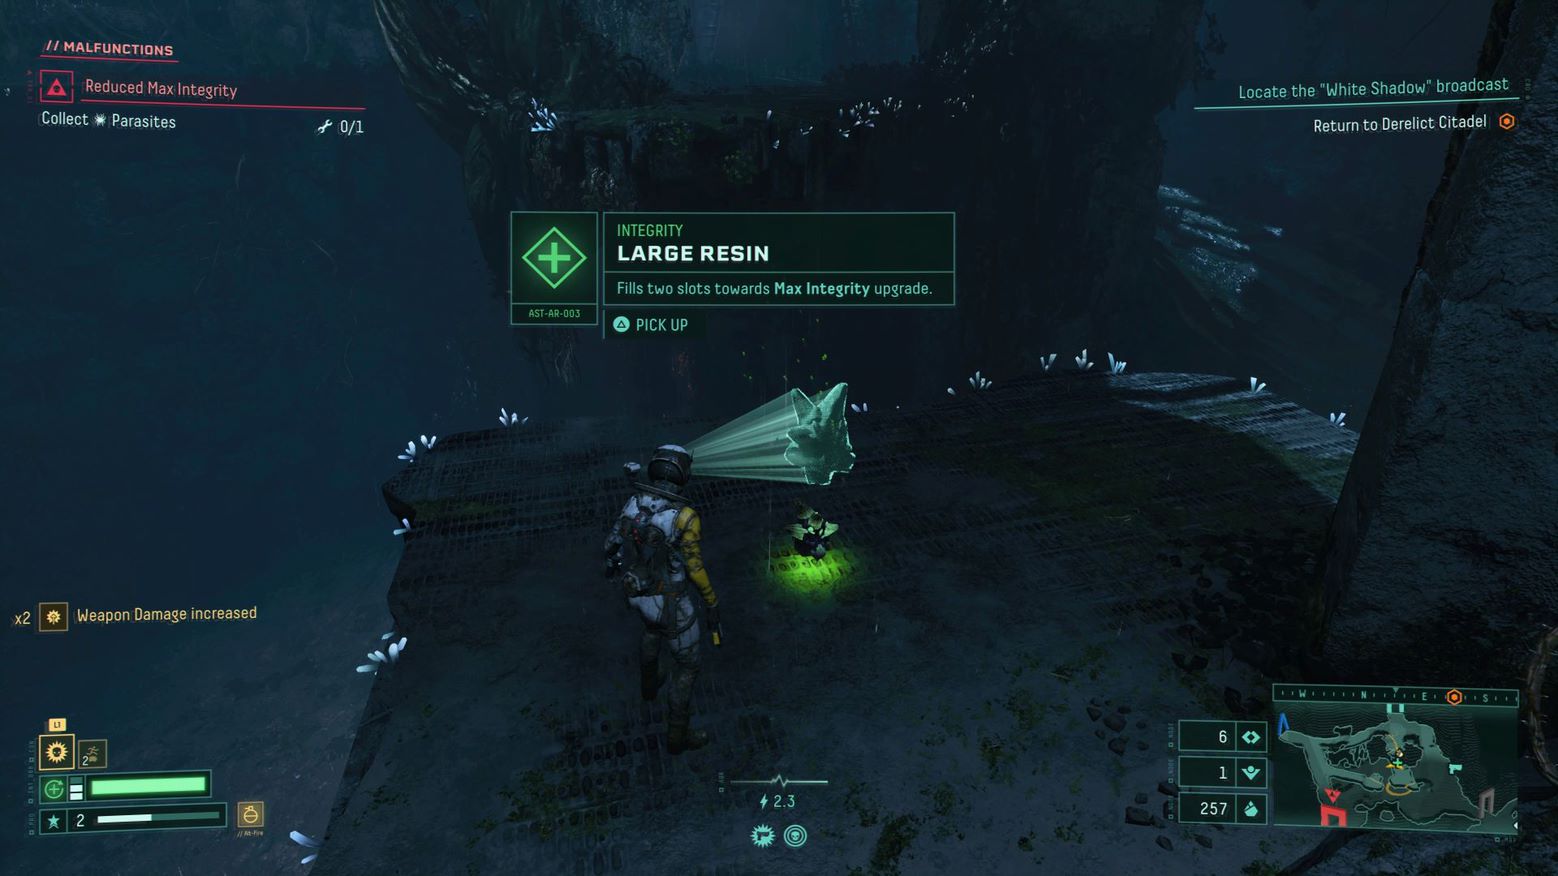
Silphium Resin does not give you health, but it builds up Selene’s shield. This value is displayed in the form of small bars to the left of the Integrity bar. Once all three slots are filled, the next stone you pick up increases the maximum Integrity.
Both Silphium and Resin come in a malignant variety as well. In this case, the stones are covered in a purple poison cloud. As with the containers, you can clean them by paying Ether before using them. If not, there remains a variable chance that Selene’s suit will either malfunction or damage her directly. Pure and malignant Silphium and Silphium Resin are marked as small green crosses on the mini-map.
Think twice before picking up a malignant item. In most cases, it’s not worth gambling. Take the risk only if you carry items for repairing or for restoring health.
- Use Consumables wisely
Consumable items can be used only once. They can trigger an attack, restore Selene’s Integrity, or teleport her to a secret location. The special effects can be crucial in boss fights, so use them wisely. At the beginning, you have room for only one item, but later on, you’ll be able to store more. You can stack items of the same type at any time.
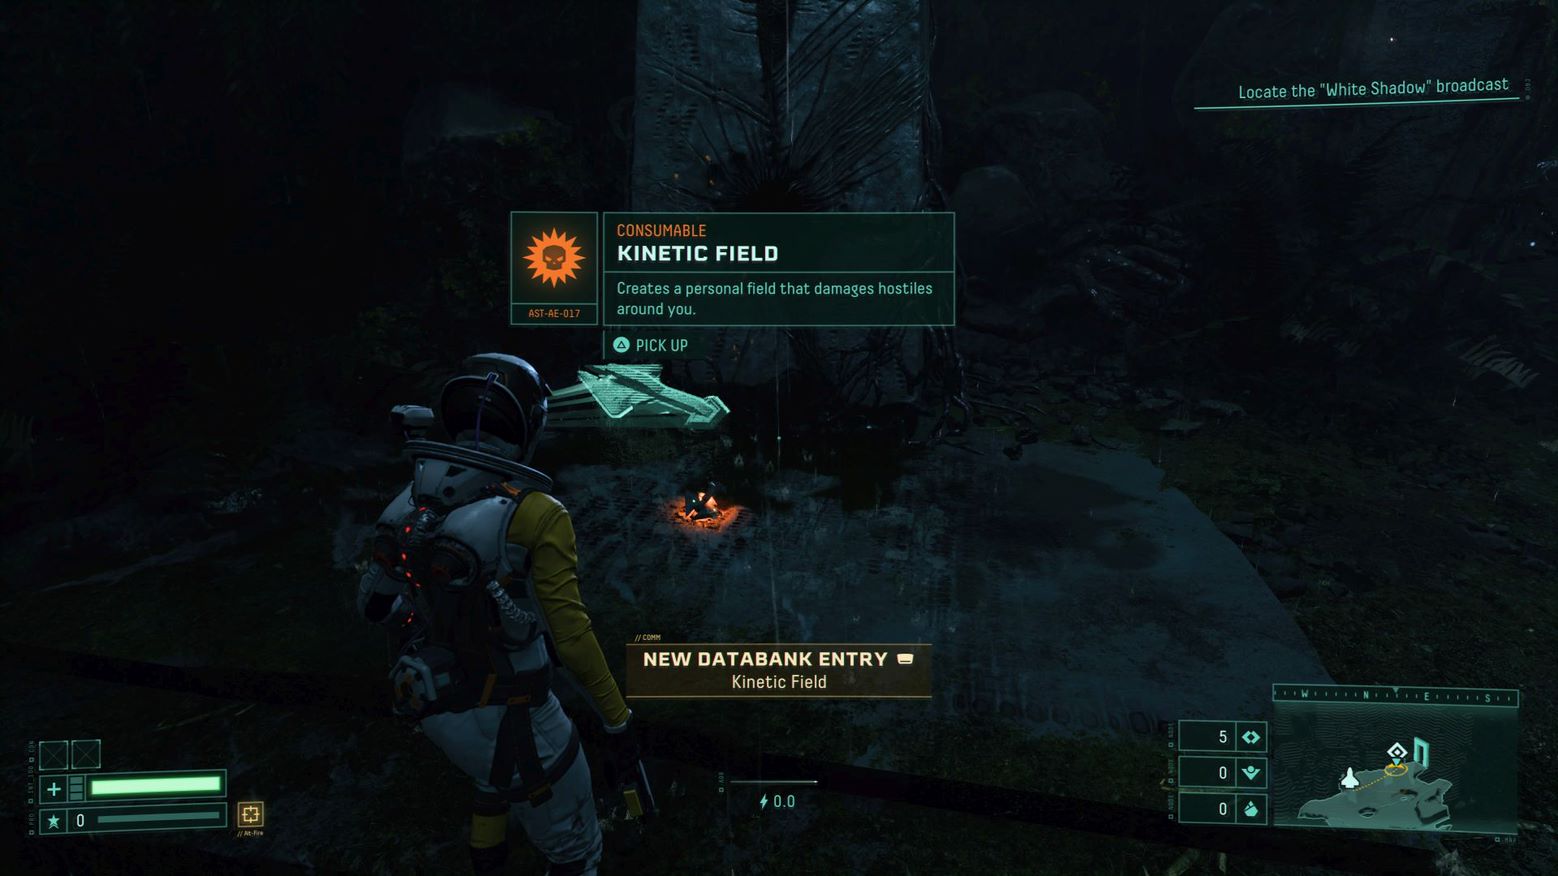
If your carrying capacity is already exhausted, you can still swap the items for new ones. The dropped item will not disappear. Try to memorize the location of the dropped item. Maybe it will come in handy later on.
Resources in Returnal: How to use Ether and Obolite correctly
There are five types of resources in Returnal: Obolite, Ether, Atropian Keys, Calibrators and Datacubes. Obolites are the small yellow balls that are dropped by killed enemies. They also appear as yellow stones or chunks scattered throughout the environment. You can only break the latter with the Atropian Blade.
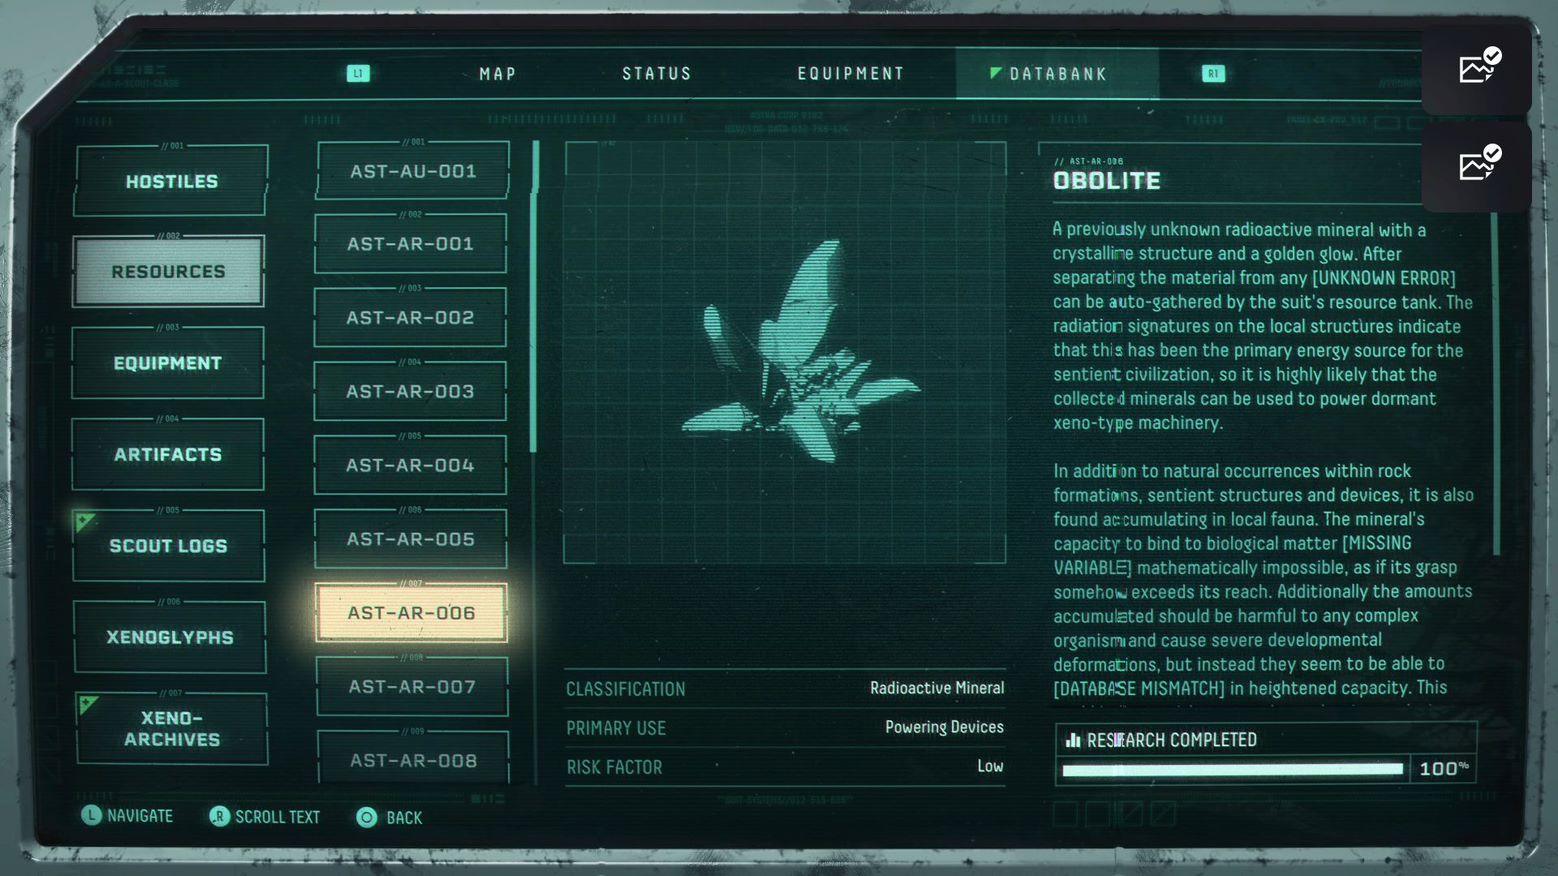
Occasionally, you will come across statues of the Sentients. Destroy them if their eyes glow to release the Obolite stored inside them. Containers and Xenophagus burial containers sometimes also contain Obolite. There are also peaceful enemy types that don’t attack, but drop lots of Obolite when you kill them.
- Collect resources and uses them properly
Collect as much Obolite as you can! It’s incredibly annoying when you’re standing in front of a Fabricator in the last third of a Biome, and you’re missing only a handful of yellow orbs to get the Astronaut Figurine (an extra life). Sure, you could kill a few monsters quickly. But these are the very moments in which Returnal likes to punish you by death.
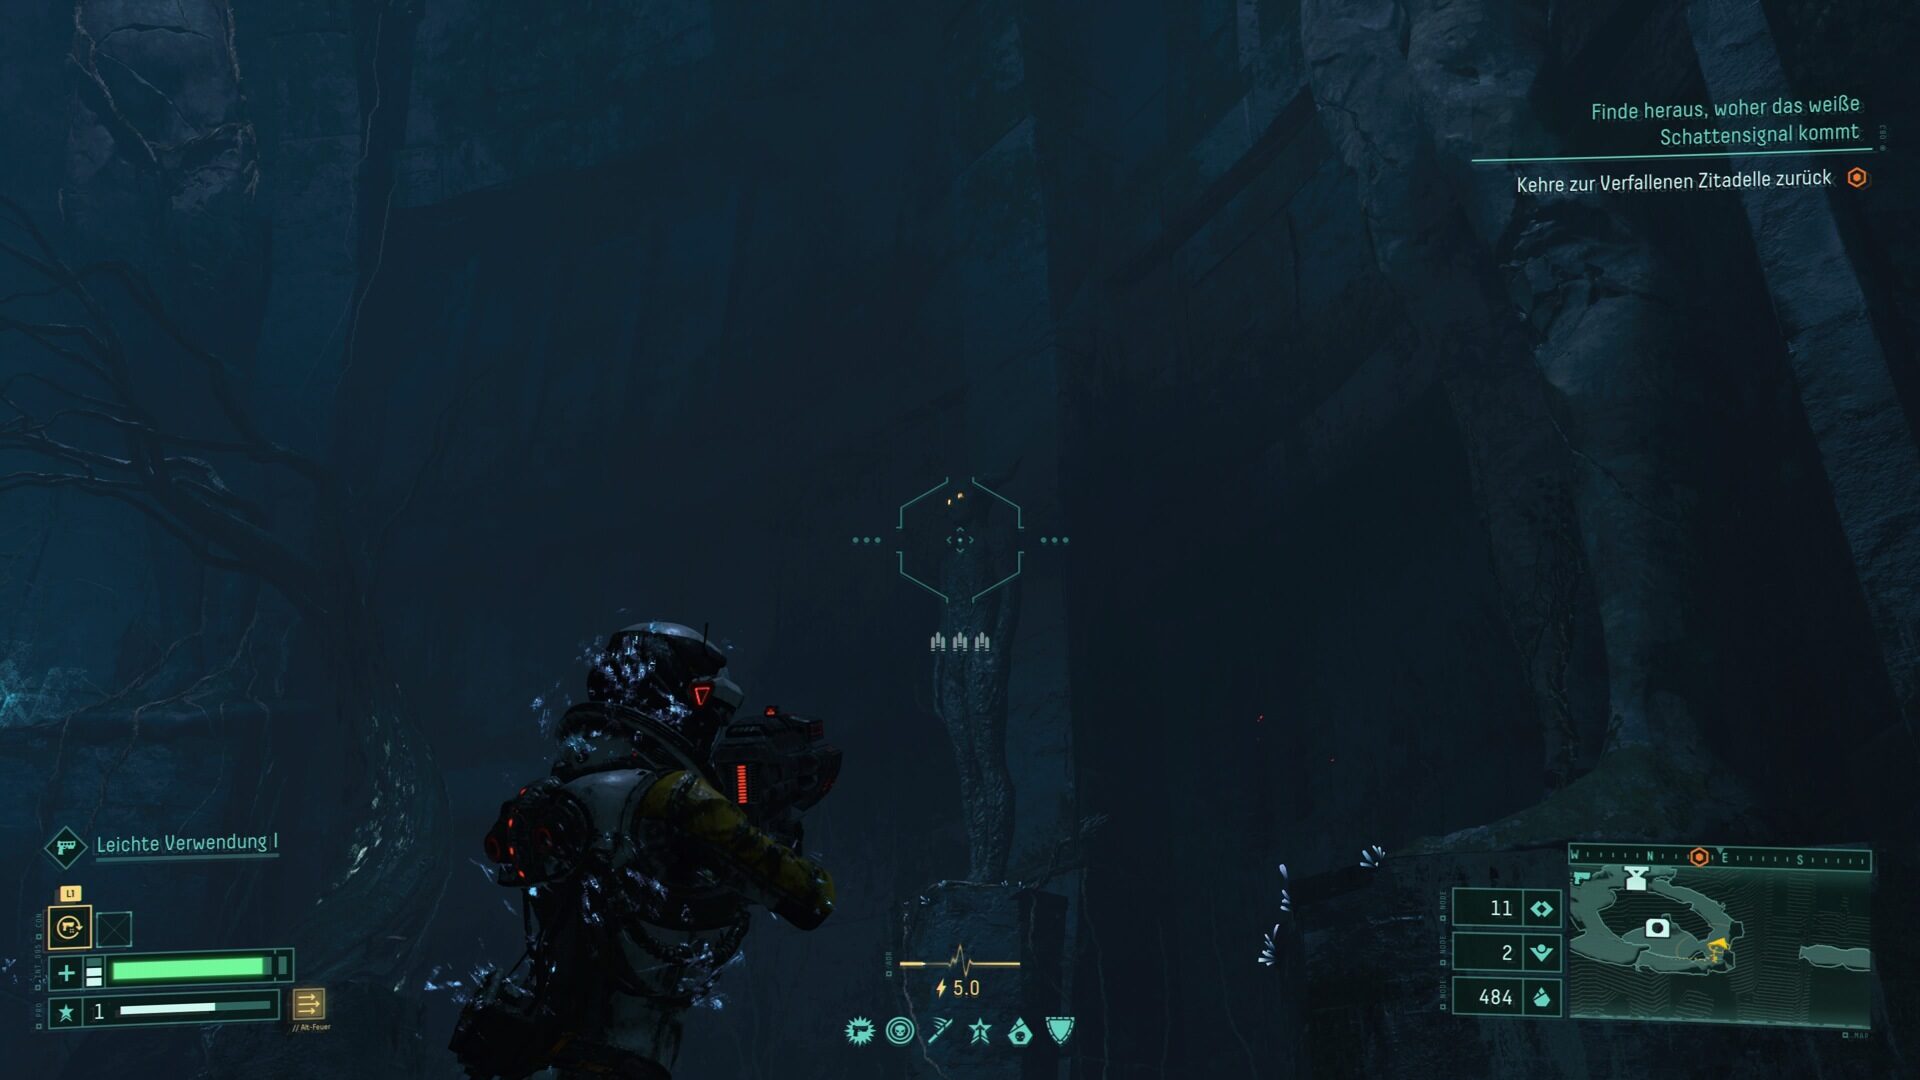
Ether is a very rare and extremely precious resource. For example, it offers you the chance to activate a unique checkpoint in the form of the Reconstructor or to unlock new Artifacts in the Stone of Cthonos. Objects and containers infected with harmfulness can also be cleaned up by paying Ether.
Save those rare stones and choose carefully what you use them for. Ether is the only resource you get to keep after death.

You need Atropian Keys to unlock sealed containers or gates. They also liquify some objects, which allows you to obtain Silphium. The keys can also be infested with Malignancy. Datacubes are extremely rare. Use them in the designated Xenotech device at the transition to the next Biome to unlock a special item. Use the various Calibrators to increase Selene’s Proficiency value. There are different sizes that grant small to large amounts of Proficiency.
Selene’s Suit: Malfunction, Adrenaline and Proficiency
Selene’s suit can malfunction due to various triggers. These include Parasites, malignant items and containers, and some Xenotech devices.
- Avoid Malfunctions
Malfunctions lead to “debuffs”. For example, they reduce Damage, Protection or Health values. Each malfunction can be repaired by solving a specific task such as finding a set amount of Obolite.
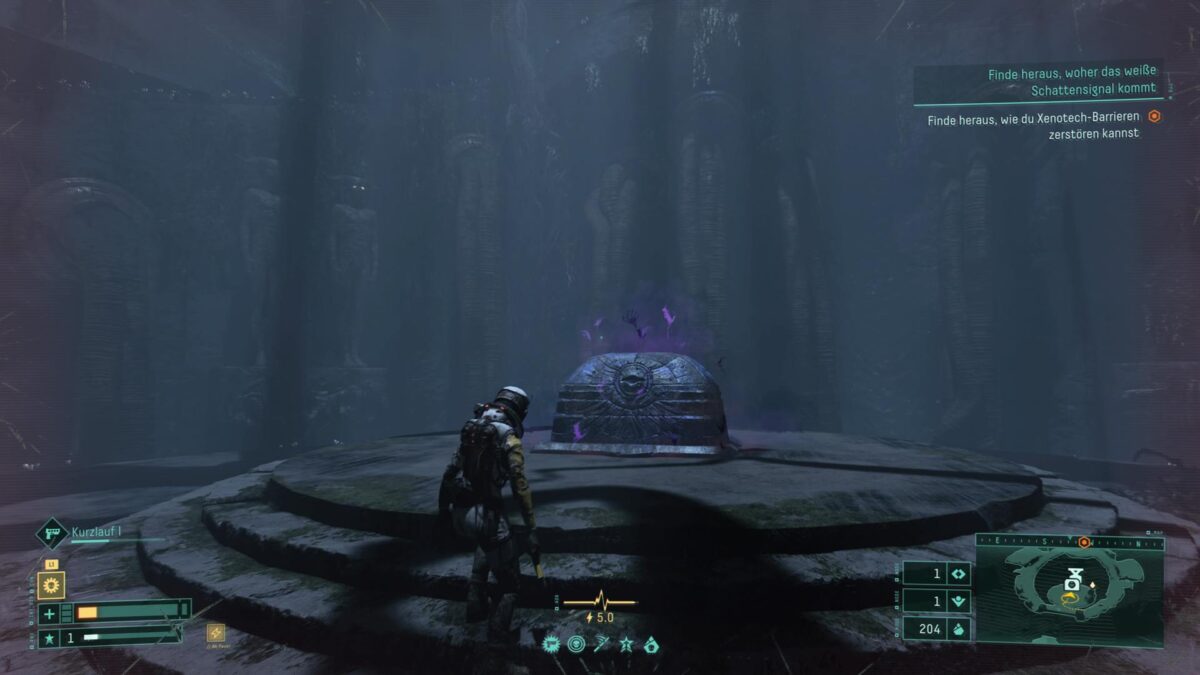
More than three malfunctions at once are fatal. As a result, you will lose one of your valuable Artifacts. Some Parasites also trigger fatal malfunctions under certain circumstances. So don’t take the risk of a malfunction unless you’re carrying an item that will repair it immediately.
- Keep your Adrenaline Level up
Integrity is rewarded in Returnal. The more enemies you kill while remaining unharmed, the higher Selene’s Adrenaline level will rise. This will gradually unlock various buffs that will make you stronger.
The Adrenaline value is divided into five levels that grant the following bonuses:
- Increased Overload
- Enhancend Vision
- Enhancend Melee Attack
- Enhancend Proficiency
- Enhancend Obolite Gain
For every three enemies you kill, your Adrenaline level rises by one. If you suffer a hit, it drops back to zero. The “Enhancend Vision” bonus marks enemies. This allows you to spot them through walls. Some consumable items fully replenish the Adrenaline level instantly. Artifacts can reduce the required number of kills for an increment, malfunctions or Parasites trigger the opposite effect.
- Increase the Proficiency value
Proficiency measures Selene’s combat capability per cycle. The higher this value, the more damage she inflicts. If you are killed, the Proficiency drops back to zero. Calibrators, some Parasites, and consumables increase Proficiency, as does every single kill.
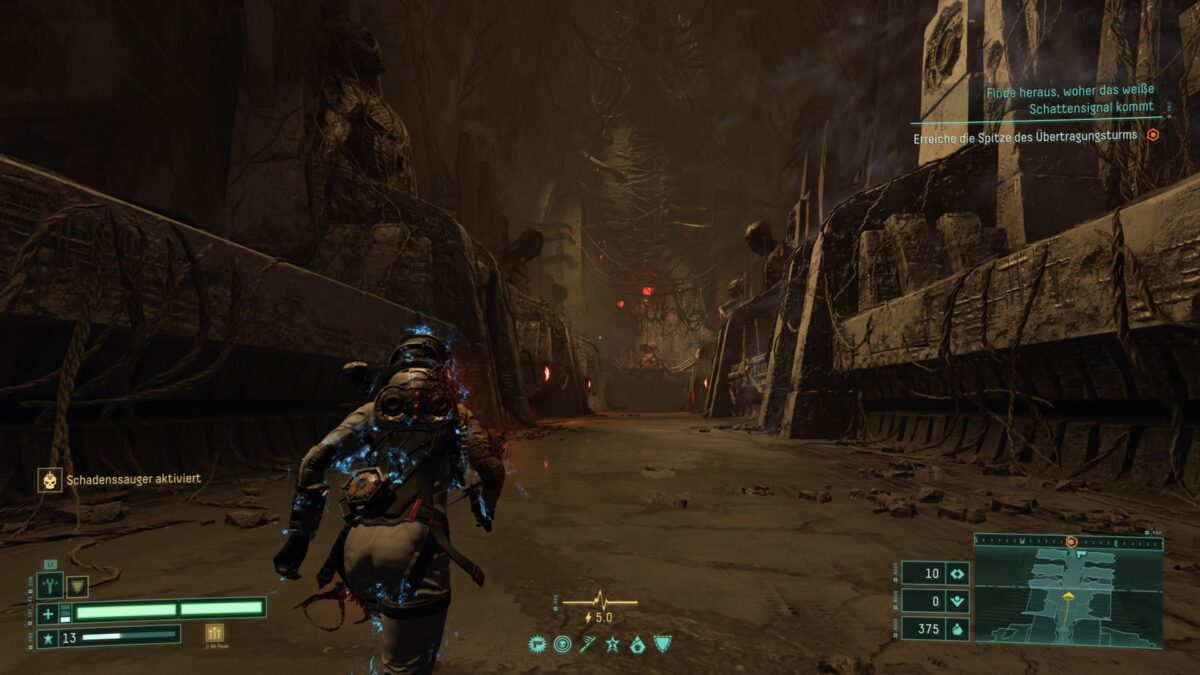
Try to boost the value as much as possible over the course of a Biome. There’s no point in sprinting through an already explored Biome and showing up in the next one with a low Proficiency value. This will only make your life more difficult than necessary.
In addition, the level of Proficiency determines the minimum level of the weapons you will find. You should therefore leave some containers locked for the time being and only open them once you’re reaching the end of the Biome. This will secure you a better starting position for a boss fight or the next Biome by giving you a stronger weapon.
Returnal: Weapons Guide
The first time Selene comes across one of her corpses in Returnal, she’ll retrieve her SD-M8 handgun. From now on, she will have this weapon at her side in its standard variant, no matter how many times she dies. You’ll also find various Xenotype Weapons on Atropos, which resemble shotguns, machine guns or rocket launchers in their design.
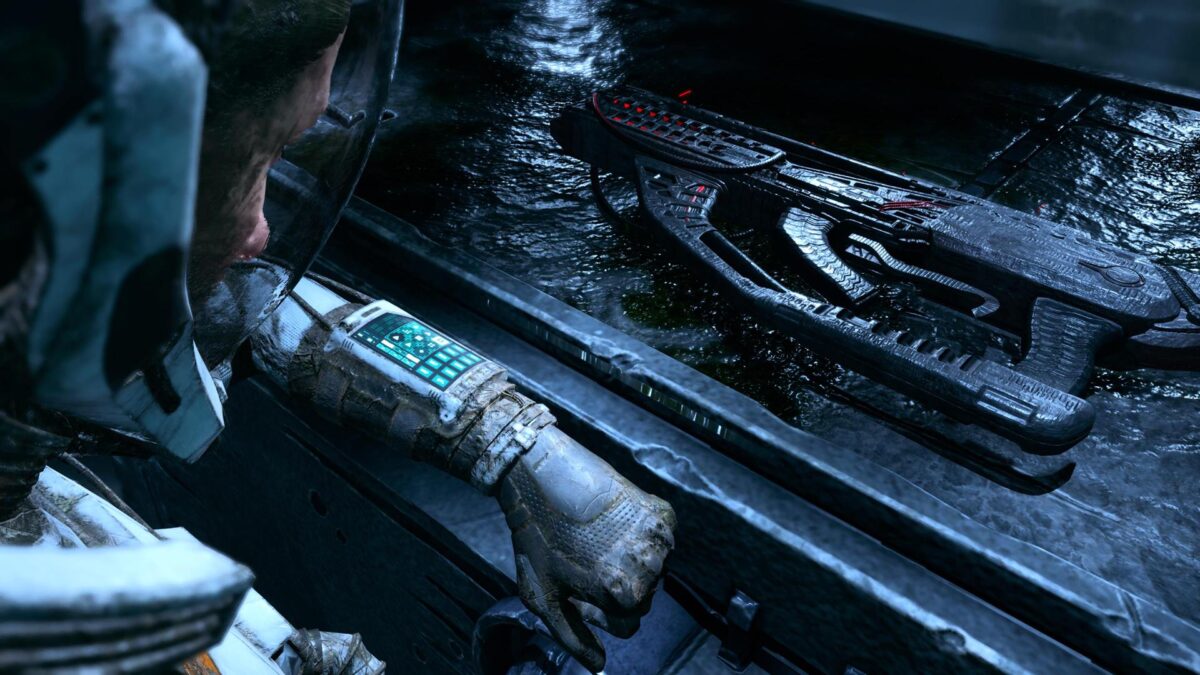
They are placed in containers or shortly before boss encounters. Particularly nasty enemies in the arenas also drop weapons as rewards. Selene can only carry one firearm at a time. So if you find a new gun, exchange it for the previous one, which will then remain at the spot you dropped it at – basically, like consumables.
- Master the Overloading of your weapons
Ammo scarcity is not a thing in Returnal. All weapons recharge automatically. However, when a magazine is emptied, you get a chance to overload. This makes the weapon briefly more effective. As soon as you fire the last bullet, a bar fills up in the crosshairs. If it is within the rectangular mark, press the R2 key quickly. If you miss the right moment, reloading will take a bit longer. Practice in safe areas and find the perfect trigger rhythm for each weapon.
- Do not instantly pick up every new weapon
With each Biome, new types of weapons are added. Each of them has different stats and properties, which can vary depending on the Proficiency level. If you increase the Proficiency value while using a firearm, new attributes will eventually be unlocked. This makes it worthwhile to keep a weapon for a longer period of time.
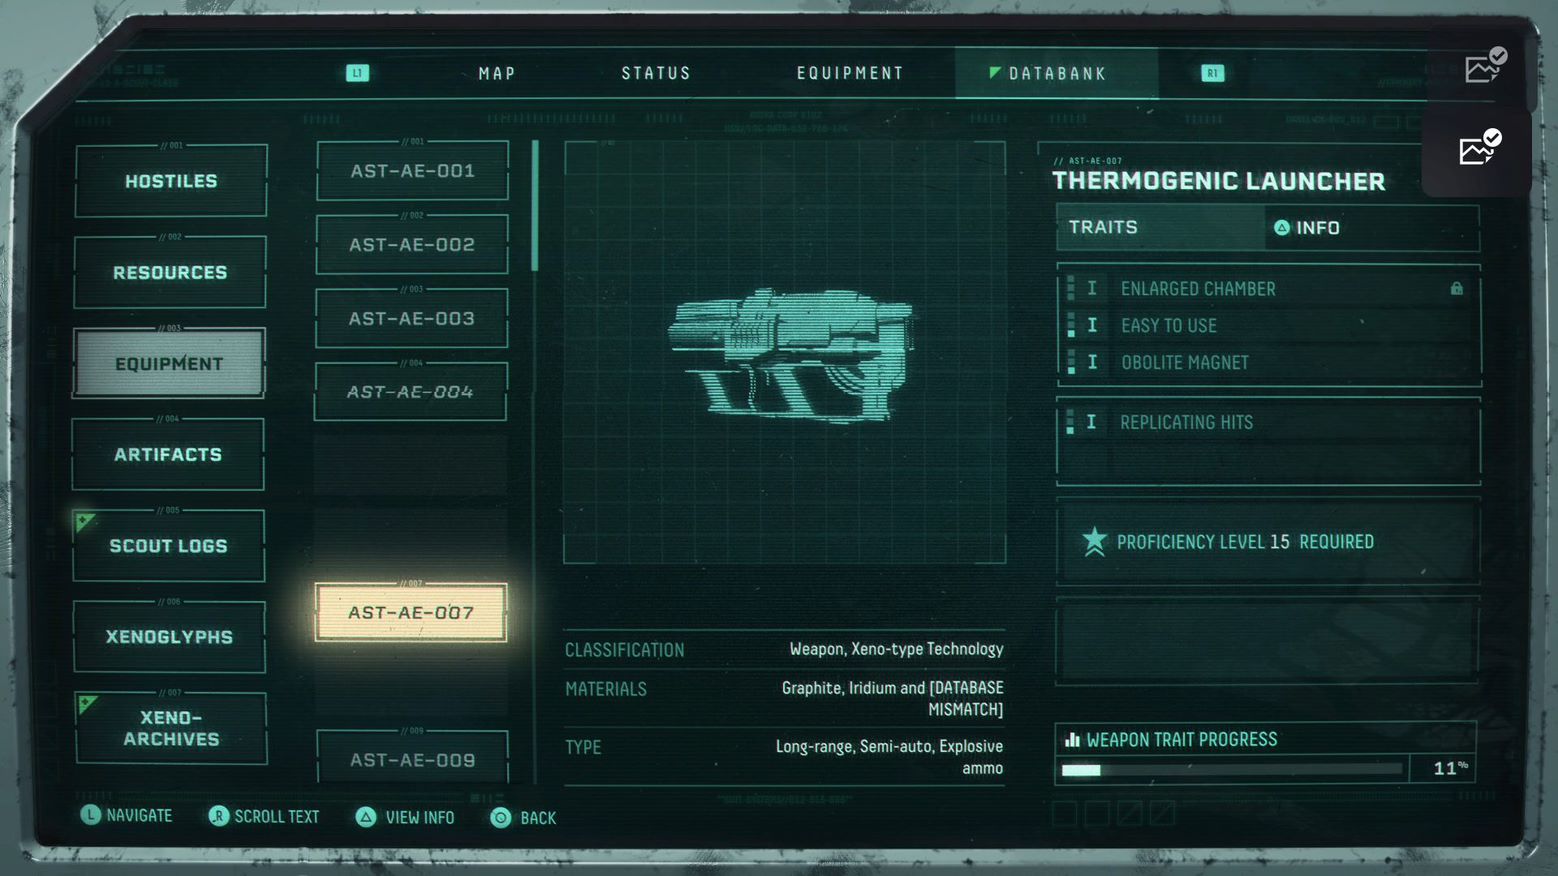
The type of weapon may also be crucial. If you’ve taken an interest in melee combat, a “Spitmaw Blaster” with greater punch at close range is a better choice. Even if you prefer a high rate of fire like the “Tachyomatic Carbine”, which gives submachine gun vibes.
Handguns are not to be underestimated – even during later runs. If you have a quick trigger finger, you can reach high fire rates with pistols. In addition, they are often equipped with homing missiles, which are one of the most powerful projectile types ever.
- Pay attention to the type of alt fire when choosing Weapons.
The permanent equipment item “Atropian Weapon Charger” grants each weapon a different alternate firing mode. You trigger it by fully pressing the L2 button. Each alt-fire mode comes with a set cooldown time. So once used, you’ll have to wait a short time until the mode is available again.
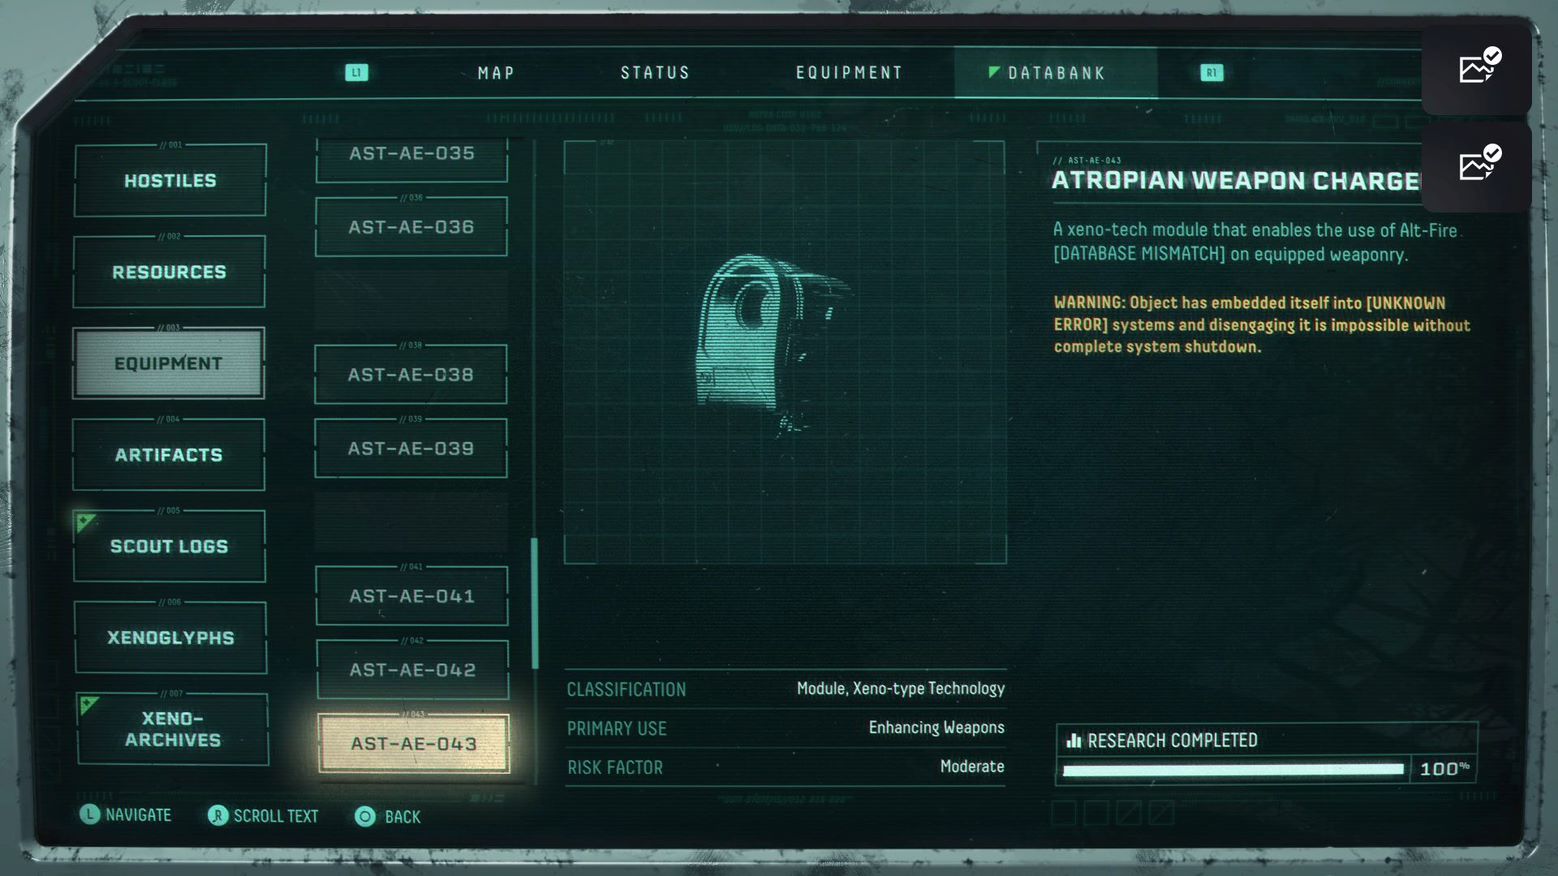
You might encounter many flying enemies in some areas, for example. A target-seeking fire mode like “Trackerswarm” can make all the difference. The cooldown of Alt-Fire can be shortened with Artifacts and Items. Malfunctions and Parasites can also extend the cooldown time significantly.
Combat & Movement in Returnal
Despite all the useful information about Items, Xenotech and the planet Atropos, the most important element in Returnal has to be the combat. Only those who learn how to defeat the alien monsters have a chance to break the time loop.
- Be always on the move
Standing still takes Selene to the grave, or more accurately, back to the crash site. Always stay on the move, especially in the densely populated arenas, and sprint by pressing the R3 button. Try to anticipate the trajectories of the projectiles and jump between the energy shells.
You will receive the vertical Dash ability early in the game. Activate the jetpack with the circle button. Hold it down and the Dash will last longer. You can use it to cross wide chasms, dodge attacks, and glide through energy fields. Selene is invulnerable during the Dash.
- Dodge first, shoot later
Take a good look at new enemies and memorize their attack patterns. Pay attention to the formations and trajectories of projectiles. Learn how to dodge attacks and attack only when you’ve memorized the short breaks. Learning the right rhythm is crucial in Returnal.
- Utilize the environment
Many arenas offer cover options in case you want to slow down the pace of the battle for a short moment. However, be aware that most walls are destructible and can be knocked down by enemy projectiles.

Gates cannot be opened by monsters. Use this mechanism to your advantage. Charge the Alt-Fire when the gate is closed and take one step forward. Shoot as soon as the gate opens and take a step back afterwards.
This way you can use the closing gate as a shield. Individual enemies can also be separated from the herd this way. Lure them out of narrow arenas and into wider areas. It’s easier to avoid their attacks there and you can focus on individual monsters.
- Kill the small enemies first when entering arena battles.
Multiple waves of enemies await you, especially in enclosed arenas. Different types of monsters come into play. Kill the numerous small enemies first, before you turn your attention to the big ones. Those usually require your full attention.
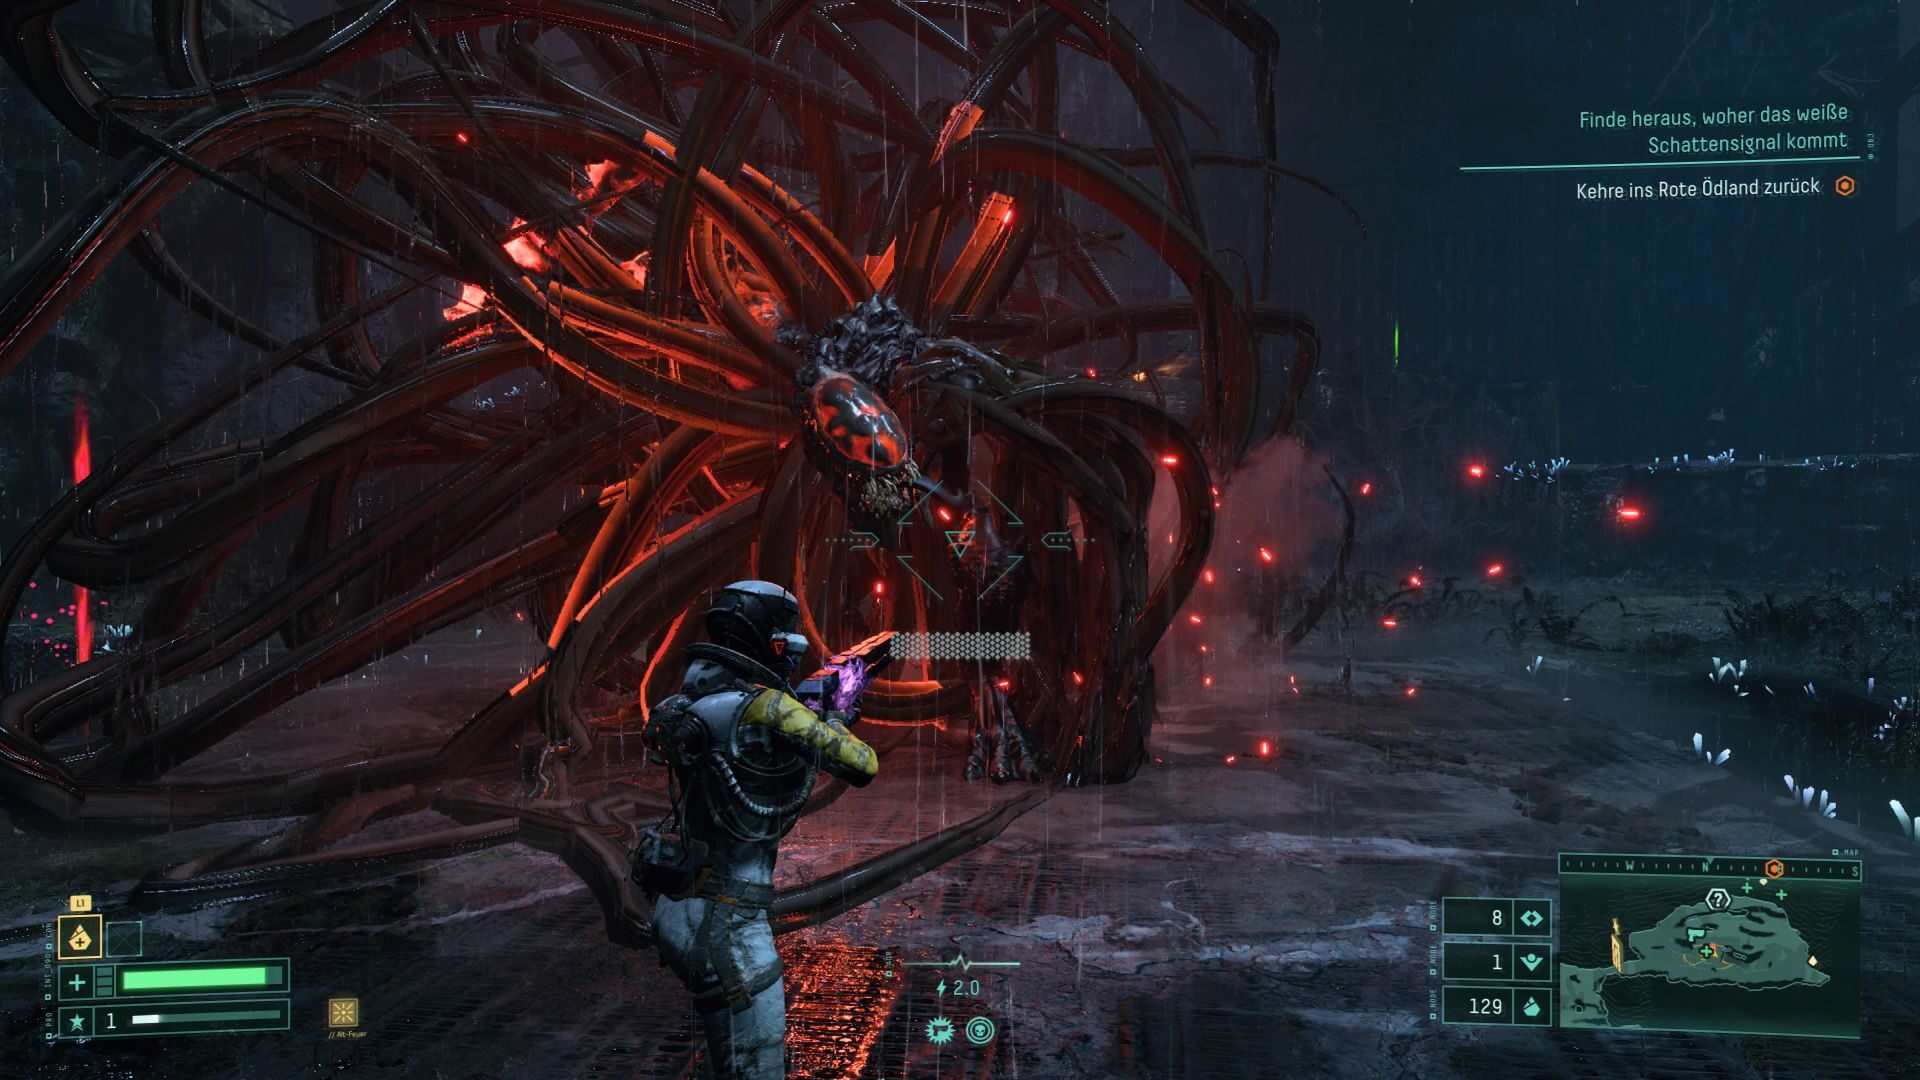
Nothing is worse than taking a deadly blow from the side while you’ve almost brought a massive bruiser to its knees.
- Keep an eye on the indicators
During combat, an easy-to-miss indicator appears around Selene. The glowing semicircle shows from which direction danger is approaching her. If it is green, an enemy is moving towards you. If it turns red, an attack is about to happen. Evade it immediately by dashing.
- Special hint: Use the 3D sound of the PlayStation 5 headset to get a clearer sense of the location of enemies.
- Don’t be afraid of melee combat
Once you’ve acquired the Atropian Blade, you’ll be able to unleash melee attacks in Returnal. Of course, you’ll have to get close enough to the enemies to do this. However, the benefits outweigh the risks. The blade is so powerful that you can take down even large enemies with just one or two blows. It can also be used to destroy turrets or monsters covered in a red energy shield. So learn to use it quickly – it’s well worth it.

