


Grace or Leon? Stealth or all-out action? Resident Evil Requiem is built around two entirely different approaches to survival. This guide takes you through the game’s core mechanics, step by step—showing you exactly how to make it out of Raccoon City and the Rhodes Hill Care Center in one piece.
Resident Evil Requiem, the ninth installment in Capcom’s storied survival-horror franchise, isn’t content to let you coast on old instincts. This time, you’re handed two playable protagonists—each with their own distinct gameplay mechanics that force you to rethink your approach from the ground up. The game weaves in a dense crafting loop centered on infected blood, layers in devious puzzles, and punctuates the tension with boss fights where raw firepower won’t carry you. Smart tactical decisions are non-negotiable.
This comprehensive guide breaks down every major mechanic at play, giving you the clarity you’ll need to start making good choices right out of the gate. Whether you’re learning the nuances of each character’s toolkit, optimizing your approach to the blood-based crafting system, or sizing up each encounter for the right tactical response, you’ll find all the essentials here to survive—and thrive—in Requiem’s relentless world.
- Note: We’ll be expanding this guide continuously—so it’s worth checking back often!
- Guides may include light spoilers. Don’t worry—any sections that touch story details are tucked into spoiler boxes you’ll have to open manually to see.
9 quick tips to start strong
- Shoot the legs first, not the head—this applies to both Grace and Leon, and it saves ammo.
- Watch enemies before you move—especially in Grace’s sections, patience pays off.
- Always pick up metal and green herbs—they’re the backbone of ammo and healing.
- Check the map often and mark locked doors for later once you have the right key. Some items are hard to spot visually, but they’ll still show up on the map after you’ve passed close enough.
- Save shotgun shells for truly dangerous encounters.
- Practice parrying on standard zombies before you try it on bosses.
- Grab hip pouches as early as possible—the extra inventory space pays off for the entire run.
- Reading documents is a double win: they don’t just add story context—they often include codes for safes and other puzzles.
- Complete challenges to earn valuable bonuses. With just 500 ability points (AP), you can unlock the first bonus weapon for Leon: the Matilda IMP.
Resident Evil Requiem: Essential settings before your first run
Difficulty: Which one fits you?
Resident Evil Requiem offers four difficulty settings—and they don’t just change damage. They fundamentally reshape how the game plays:
| Difficulty | Description | What to expect |
|---|---|---|
| Casual (Easy) | Relax and focus on story and puzzles | Reduced damage, plentiful resources, low threat |
| Standard (Modern) | Balanced challenge | Dangerous enemies, tight resources, autosave for both characters |
| Standard (Classic) | Classic Resident Evil experience | Save only with ink ribbons at typewriters, little to no autosave for Grace |
| Nightmare (Insanity) | Ultimate challenge (unlocks after your first completion) | Tougher enemies, changed safe combinations, different item placements |
For your first run, we recommend Standard (Modern). Enemies are dangerous enough to keep tension high, resources stay scarce enough to force real decisions, and autosaves prevent the kind of progress loss that turns horror into frustration. If you’re here mainly for the story, “Easy” is absolutely a valid choice. Standard (Classic) is geared toward PlayStation-era veterans who miss the old ink-ribbon saving system.
- Important: When you die, you can adjust the difficulty at any time without having to restart from scratch.
Camera perspective: first-person or third-person?
Resident Evil Requiem is the first entry in the series that lets you freely choose between first-person and third-person for both characters. The default setup puts Grace in first-person and Leon in over-the-shoulder—and for good reason:
- First-person for Grace amps up the claustrophobia and vulnerability of her sections, making everything more intense—and scarier. The downside: the first-person camera has aggressive head bobbing that can trigger nausea for motion-sensitive players.
If you struggle with motion sickness or simply want better awareness, you can switch Grace to third-person at any time—you’ll lose a bit of horror atmosphere, but you’ll gain practical control and visibility. Capcom also includes plenty of configuration options for both camera styles—just select the respective option in the menu.
- Third-person for Leon offers excellent visibility in combat and feels responsive and snappy.
With Leon, it’s worth trying both perspectives. Some sections simply feel better in first-person, while others play smoother over-the-shoulder. In general, though, both options are viable.
Optimize your controller settings
The most important control tweak is the right-stick dead zone. Out of the box, it’s set so high that camera movement feels sluggish and imprecise. Lower the dead zone to somewhere between three and seven—depending on your controller’s condition. It dramatically improves aim and look responsiveness.
Other recommended adjustments:
- Set camera acceleration to minimum—or turn it off completely—for immediate, linear camera movement.
- Slightly increase reticle slowdown if you struggle with precision aiming—it gently reduces sensitivity over targets without feeling like full aim assist.
- Reduce or disable head bobbing if needed.
Also worth checking before you start:
Two protagonists, two completely different playstyles
The core of Resident Evil Requiem is how it splits the story between two characters—not just narratively, but mechanically. FBI analyst Grace Ashcroft and veteran agent Leon S. Kennedy approach survival from opposite ends of the spectrum.
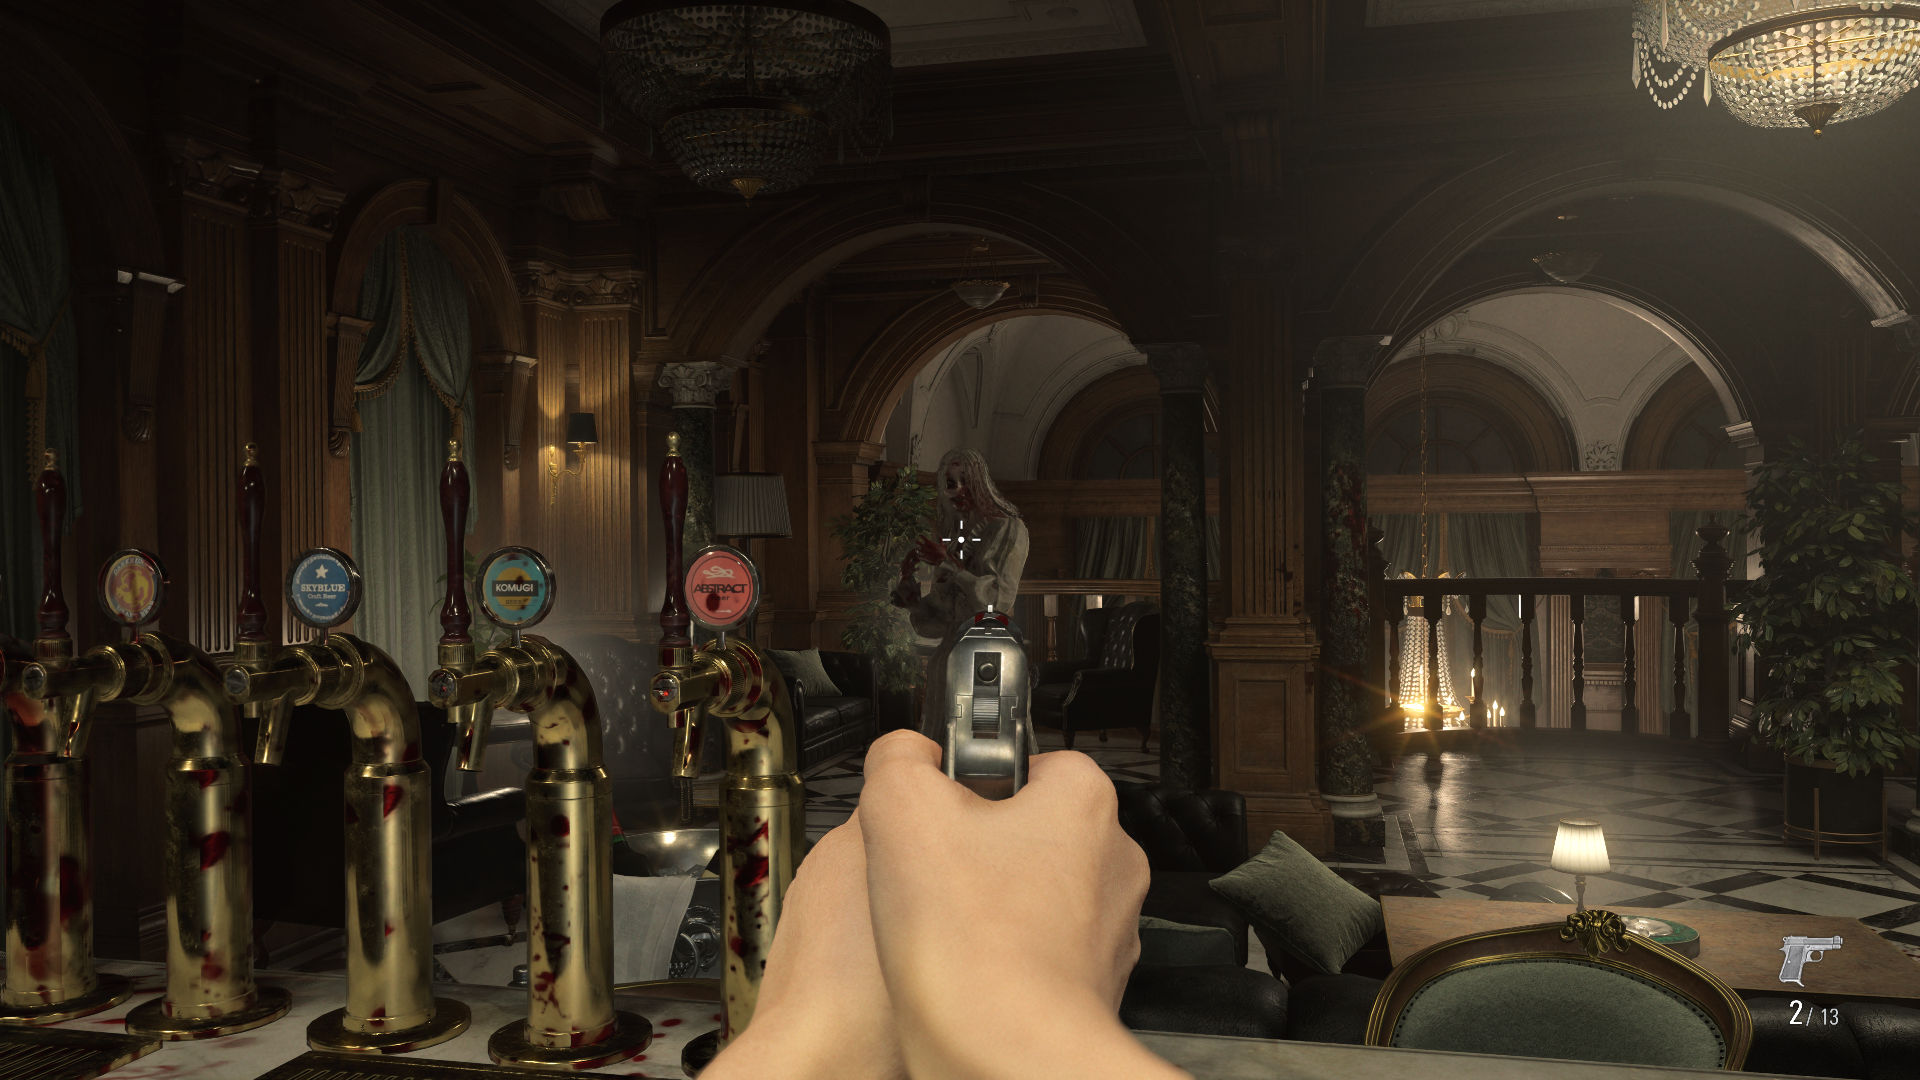
- Grace Ashcroft: Grace never received full combat training, so she relies on stealth, resource conservation, and smart use of her surroundings. Direct combat is rarely a good option—and you should only consider it when escape is truly impossible. Grace plays like classic survival horror, where every bullet and every resource matters.

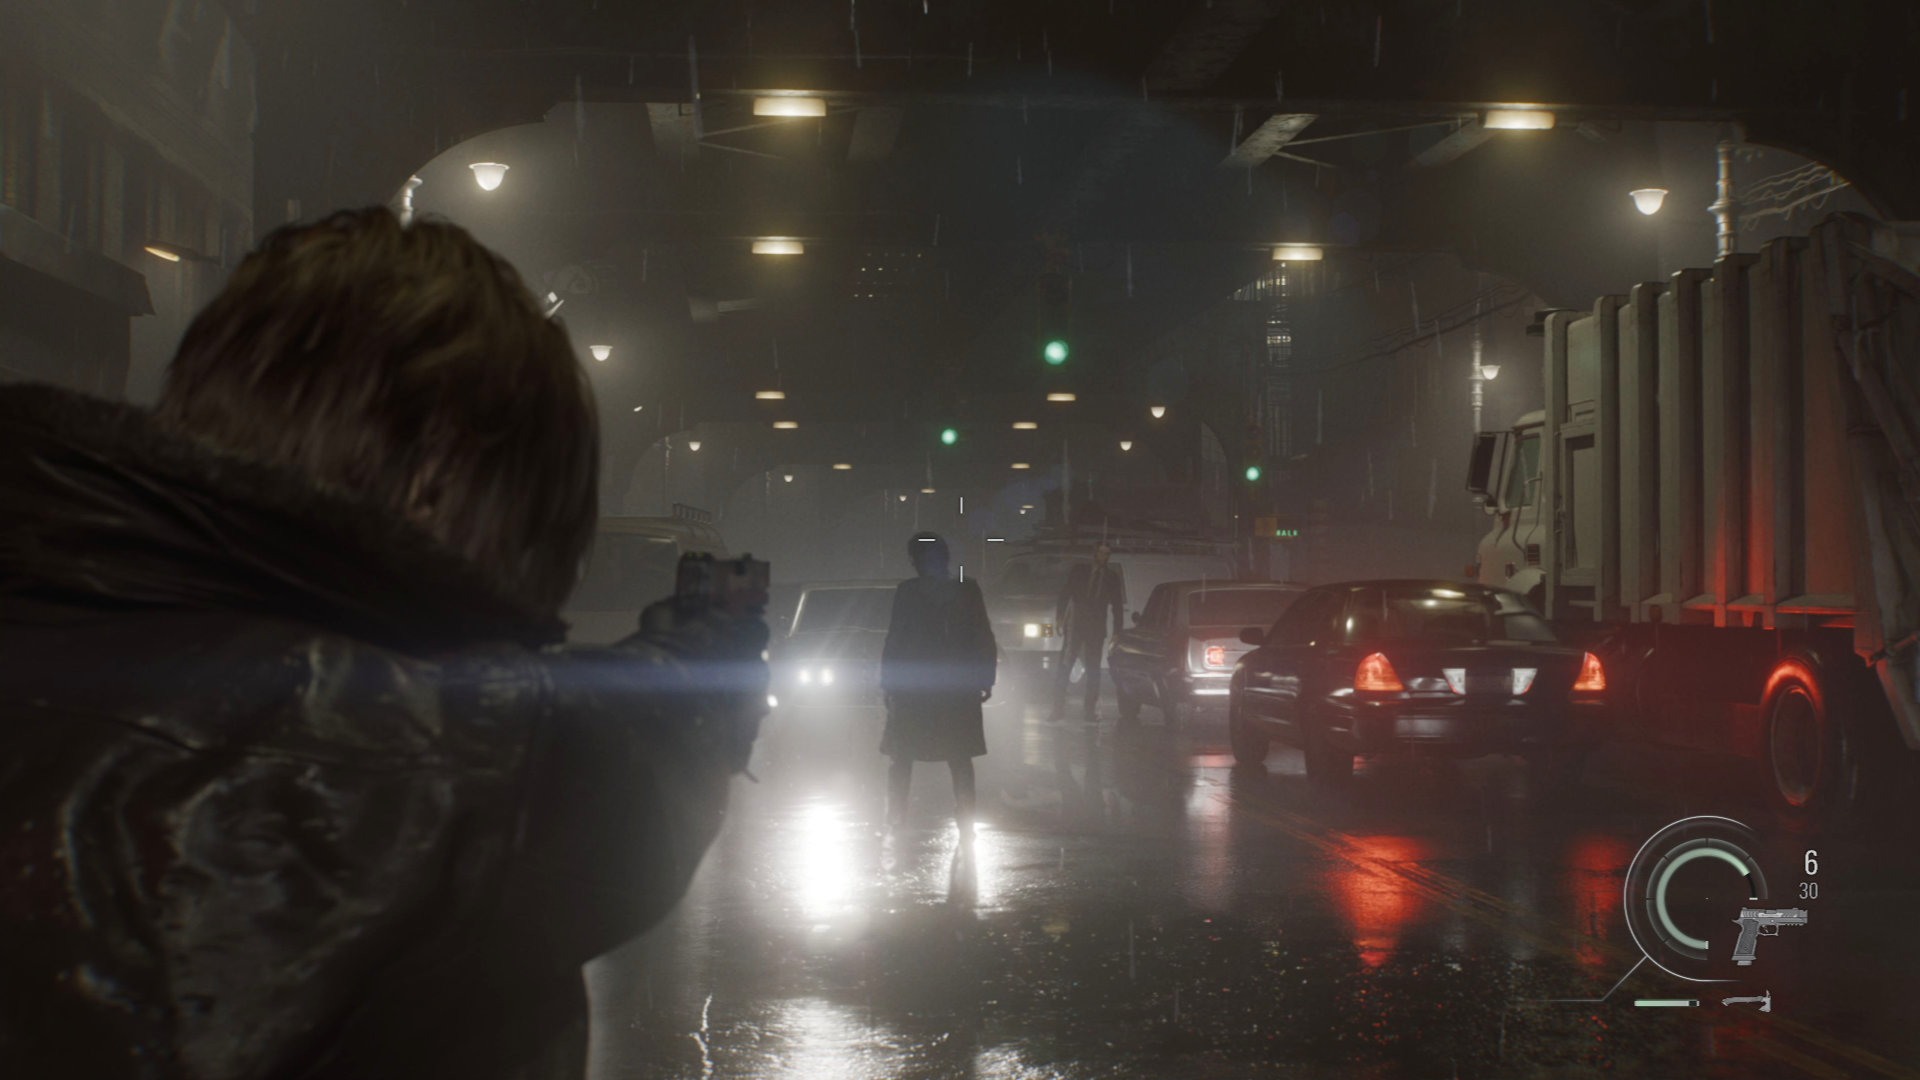
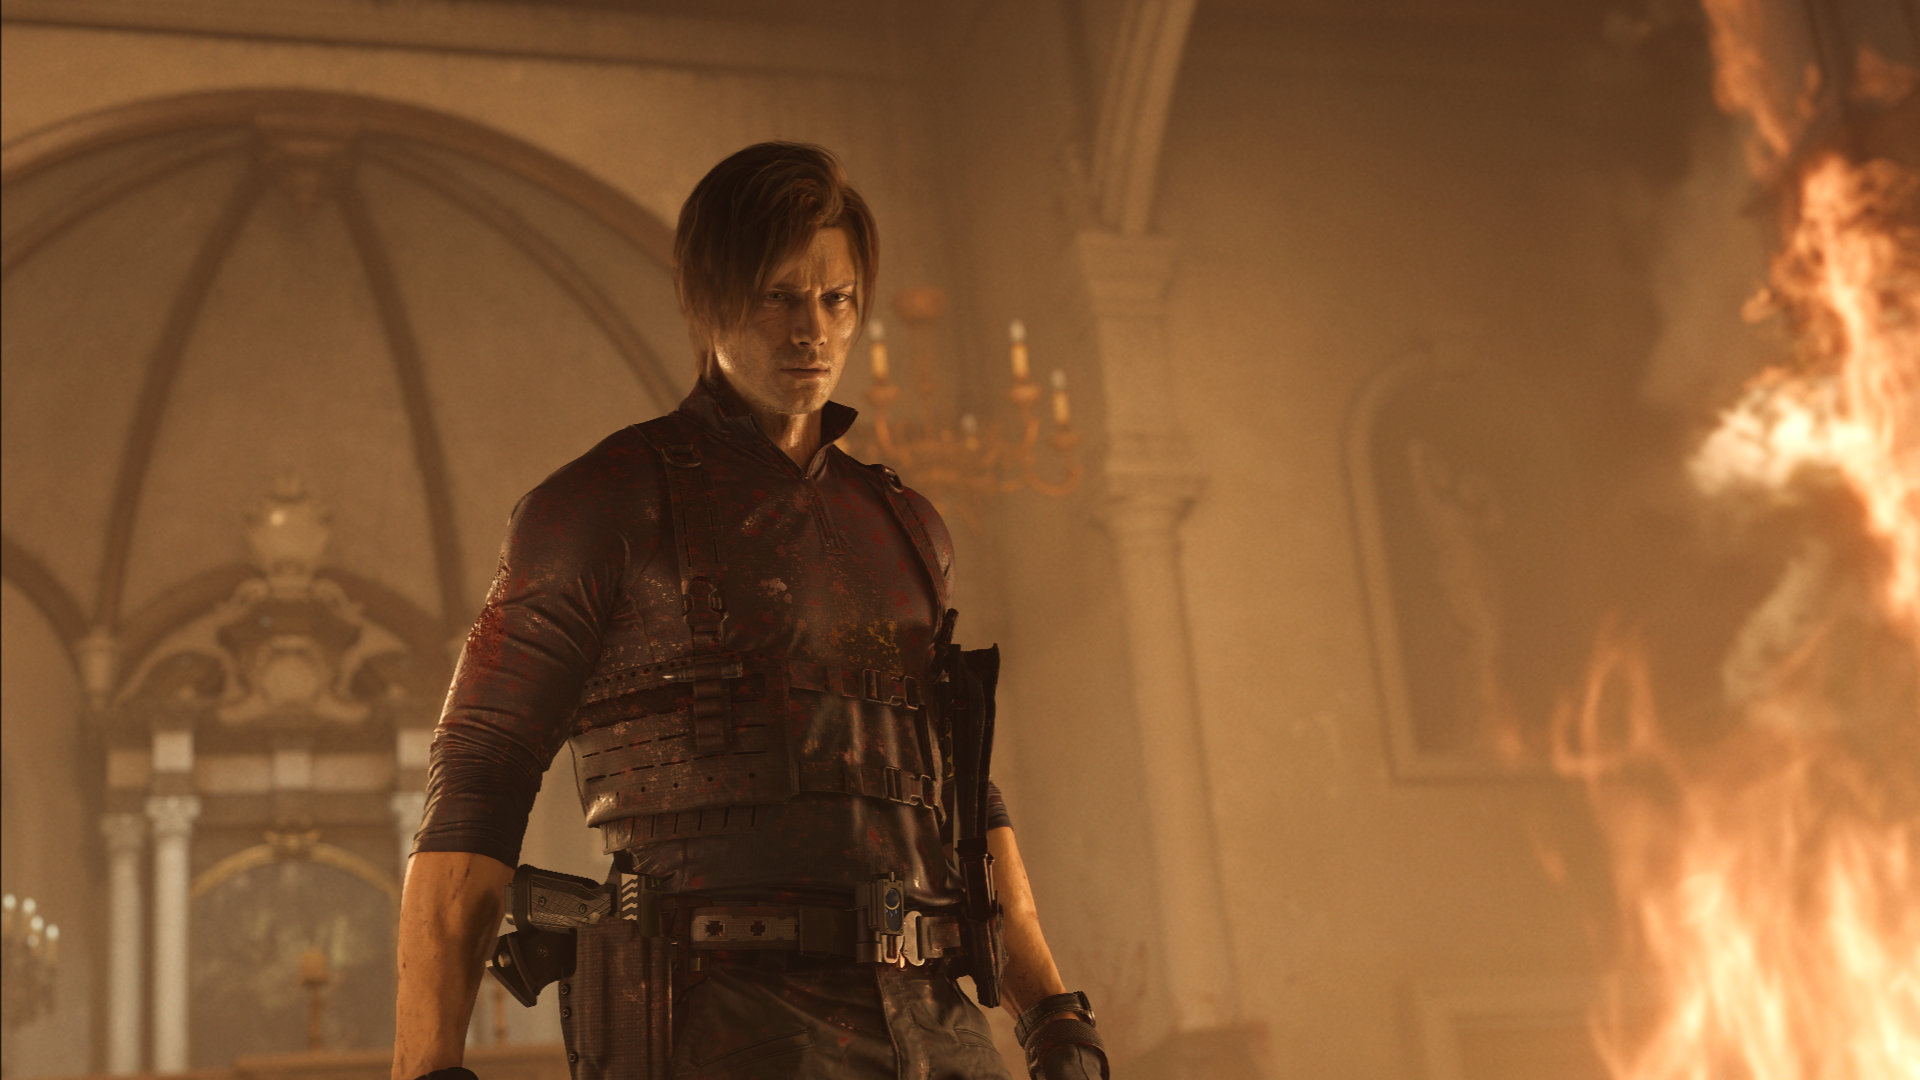
- Leon S. Kennedy: As Leon, you return to Raccoon City for the first time since the original T-virus outbreak. His sections play like an action-focused third-person shooter where you actively fight enemies and clear areas. Aggressive play is rewarded with credits. Leon has a much larger arsenal, his own parry mechanic using an axe, and the suitcase-style inventory system familiar from Resident Evil 4.
Switching between the protagonists creates a fascinating rhythm: Grace’s chapters make you feel hunted and fragile, while Leon’s campaign rewards you with power and tactical dominance. Don’t think of them as mere variations of the same game—treat them as two distinct experiences with their own rules. That mindset is the single most important strategic lesson for your first hours.
Tips for Grace: Survive through stealth, conserving resources, and controlling the space
Stealth isn’t optional—it’s mandatory
Grace doesn’t have Leon’s training or his arsenal. For her, combat should always be the last resort. Instead, everything revolves around sneaking, observing, and using the environment to your advantage.
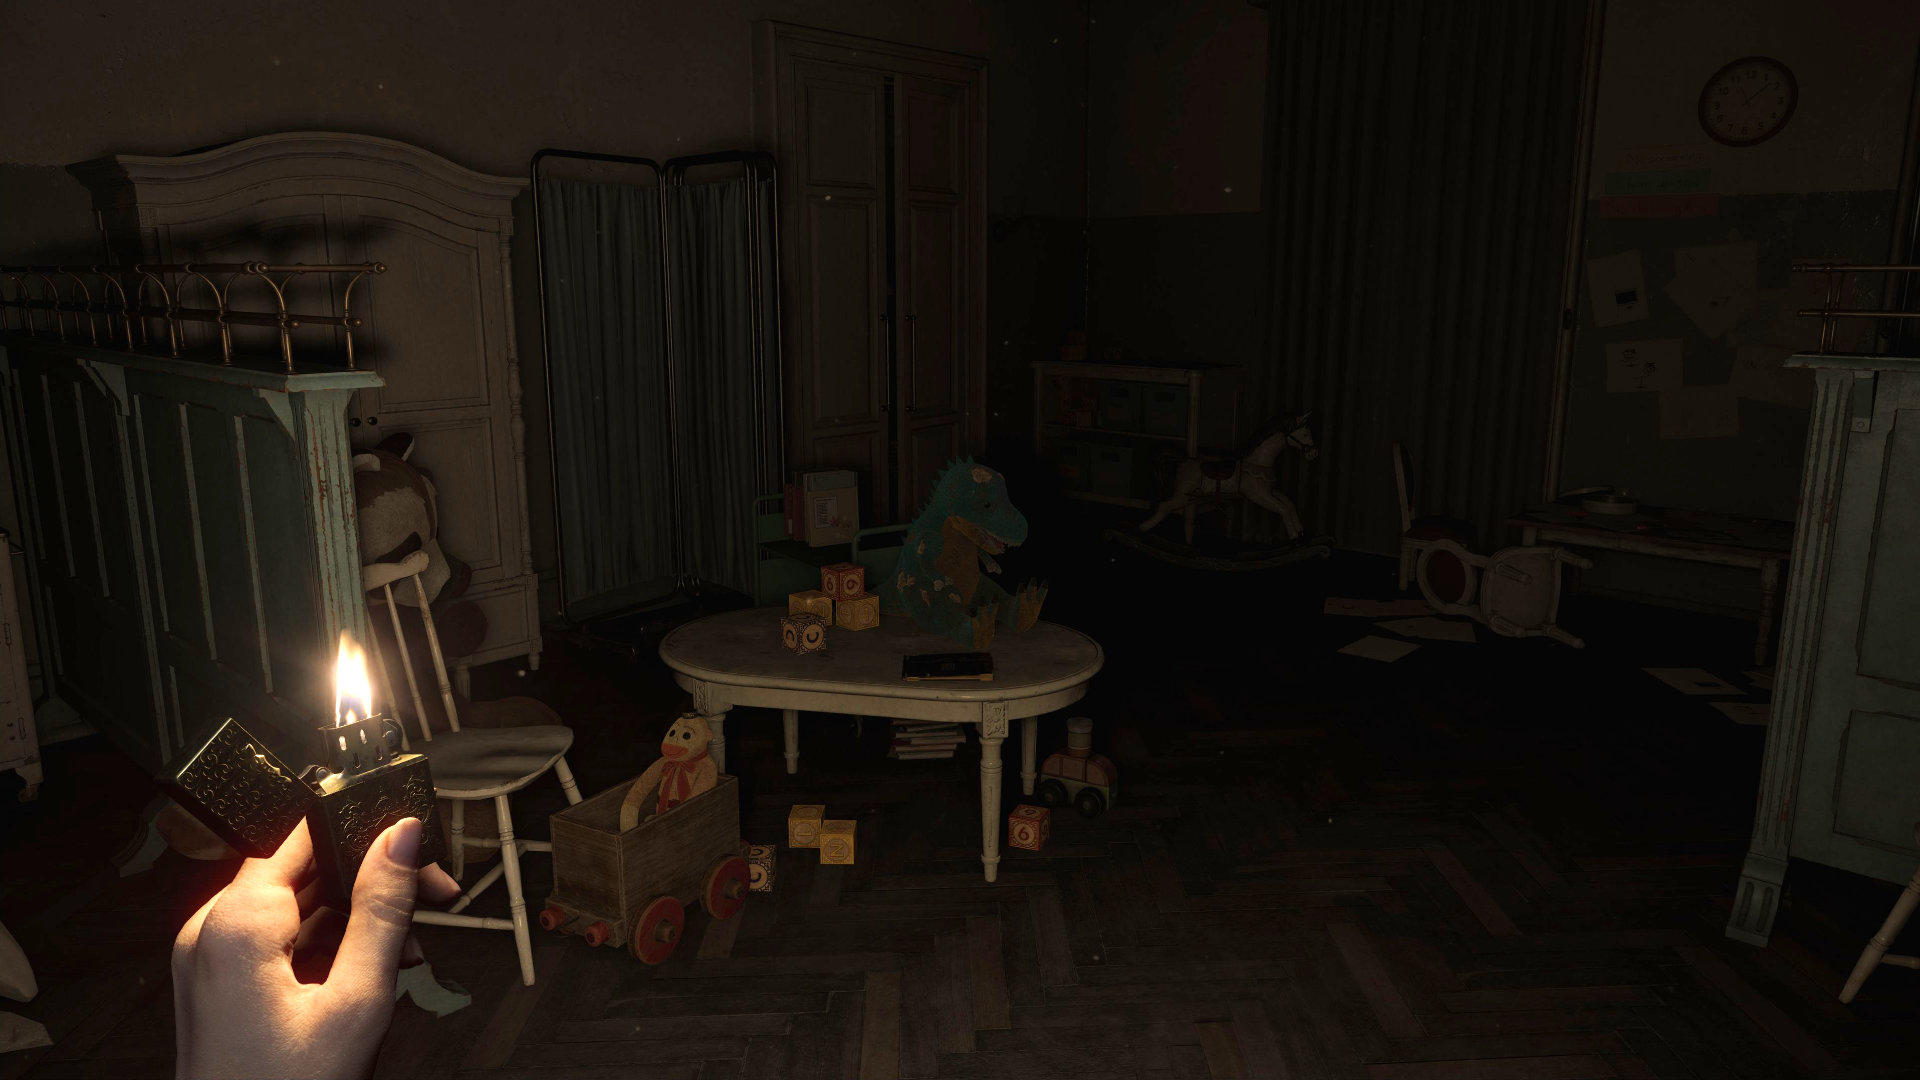
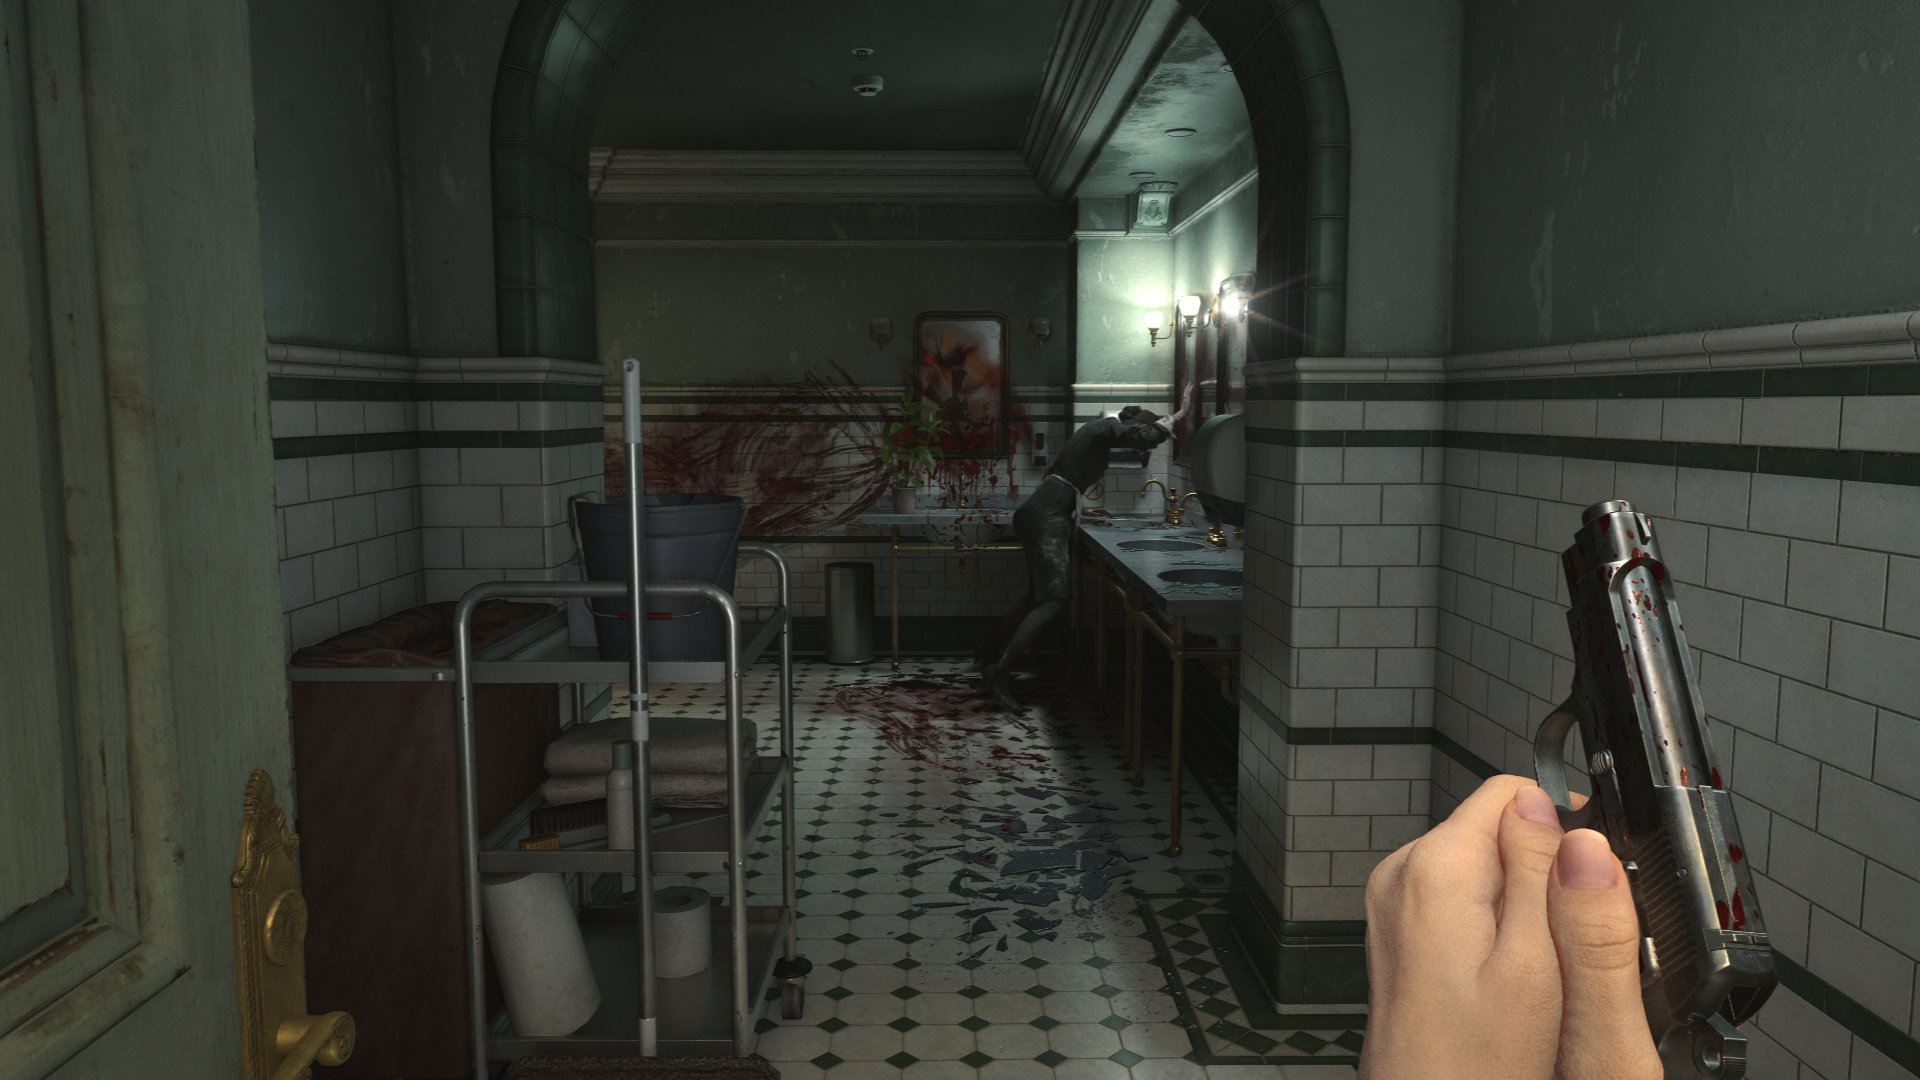
The infected in the Care Center retain fragments of who they used to be—and they follow predictable behavior patterns: undead cleaners endlessly scrub the same bloody stains, the cook chops rotten meat in the kitchen, and janitors patrol hallways to make sure lights aren’t left burning.
That behavior opens multiple ways to slip past unnoticed:
- Study patrol routes: Take a moment to watch enemies before moving. Their routines are consistent—and readable.
- Throw empty bottles: Noise distracts the infected and pulls them away while you sneak in the other direction. If one undead is complaining about headaches and noise, toss a bottle at a different one nearby—and suddenly your problem is half as bad.
- Use light sources: Many infected react to light—some are drawn in, others repelled, depending on mutation state. Learn the difference and turn it into an advantage.
Using these methods, you can cross areas packed with dozens of enemies without firing a single shot.
When fighting is unavoidable
If you can’t avoid a fight, aim for the legs with Grace. A leg shot staggers infected and drops them to their knees, buying you time for a quick melee shove—or a clean escape. It saves precious ammo while still accomplishing your real goal: creating an opening to get out.
Hemolytic Injectors are worth their weight in gold. You’ll find the syringe for the “special medication” as Grace in the sanatorium’s East Wing when you enter the labs for the first time. They let you sneak up on infected and eliminate them from behind. The toxin makes the decaying bodies explode—and leaves no corpse behind. That matters because killed infected can reanimate as a mutated, stronger version (“Blister Heads”). If you took down an especially annoying enemy, consider giving them a hemolysis injection too—just to be absolutely sure.
Grace’s inventory: Smart management and expanding with hip pouches
Grace has far less inventory space than Leon, which forces tough choices: what do you carry, and what do you stash in item boxes? Rare hip pouches expand your inventory. Try to grab these upgrades as early as possible so you’re not constantly jogging back and forth to storage.
There are four hip pouches total:
More inventory management tips:
- Always take scrap and green herbs—scrap enables ammo crafting, and herbs combine into healing items.
- Lockpicks are crucial—they open locked drawers with valuable materials and collectibles.
- Always collect ancient coins—they’re the upgrade currency for capacity expansions in the Parlor.
- You don’t need to keep documents in your inventory: read them and drop them—your character keeps the information.
Tips for Leon: Tactical combat, parrying, and mastering your weapons
Aggression as a core principle
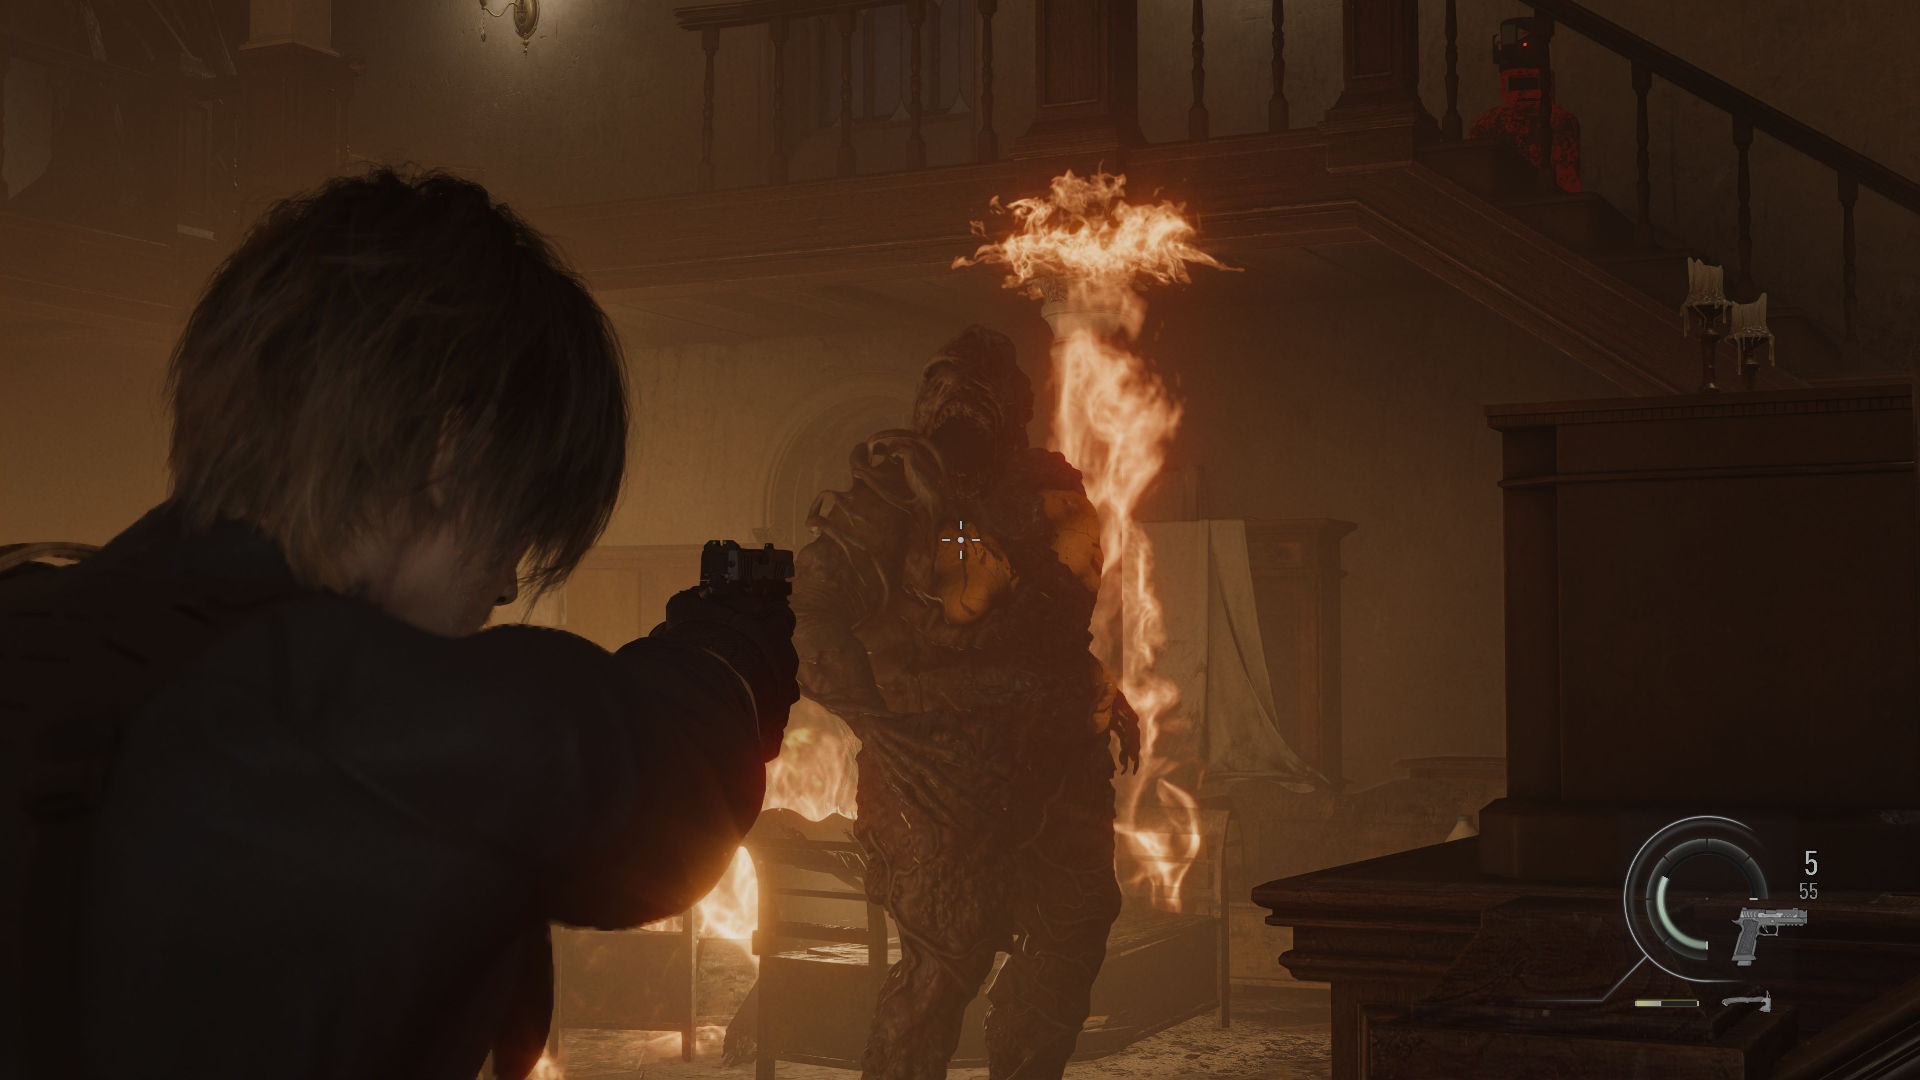
Leon’s sections—especially in the ruins of Raccoon City—are built as an action-focused shooter. Unlike Grace, his scenarios are designed around clearing enemies to move forward. Leon has the training and gear to fight infected and mutated creatures head-on.
Master the parry mechanic
Leon’s most important close-range tool is his axe parry. If you hit the parry button at the exact moment an enemy attack connects, Leon negates all incoming damage and instantly leaves the enemy open for a brutal counter.
Key parry details:
- Timing is everything: Press it on impact—not before, not after.
- High risk, high reward: Miss the timing and you eat full damage.
- Watch axe durability: The axe loses durability with use. When it gets too dull, it becomes less effective—and you’ll need to sharpen it.
- Practice on standard zombies: Get the timing down on basic enemies before you try it on bigger monsters.
Leg shots and the shove mechanic
The leg-shot strategy is excellent with Leon too: shots to the legs stagger enemies and create openings for axe finishers. It saves ammo—especially against armored enemies where headshots would be wasted.
The shove mechanic complements this perfectly: after one or two hits on an enemy, a quick melee button press lets you strike to create space and interrupt incoming attacks. The shoot–shove–shoot–shove rhythm is great for crowd control—even if your parry timing isn’t perfect.
Also important: Leon frequently faces armed infected. Identify them immediately and shoot the arm holding the weapon. That prevents them from using it—and you can even knock it right out of their hand.
Weapon choice and upgrade priorities
Different enemies demand different tools. Here are the key weapon types and what they’re best at:
Weapon Strengths Best use Handguns Ammo efficient, reliable damage Standard zombies, regular encounters Shotguns High damage, crowd control Stronger enemies, groups Sniper rifles Precision elimination at range Priority targets, certain boss fights Requiem Revolver Massive damage, penetrates multiple enemies Late-game fights, temporarily stunning large “unstoppable” threats
Save shotgun ammo for the encounters that actually matter—don’t waste it on regular zombies. The Requiem Revolver is Leon’s most powerful weapon, and it can even temporarily stun otherwise unstoppable enemies.
The crafting system in Resident Evil Requiem: Infected blood as your lifeline
Leon’s crafting: Weapon tuning, not consumables
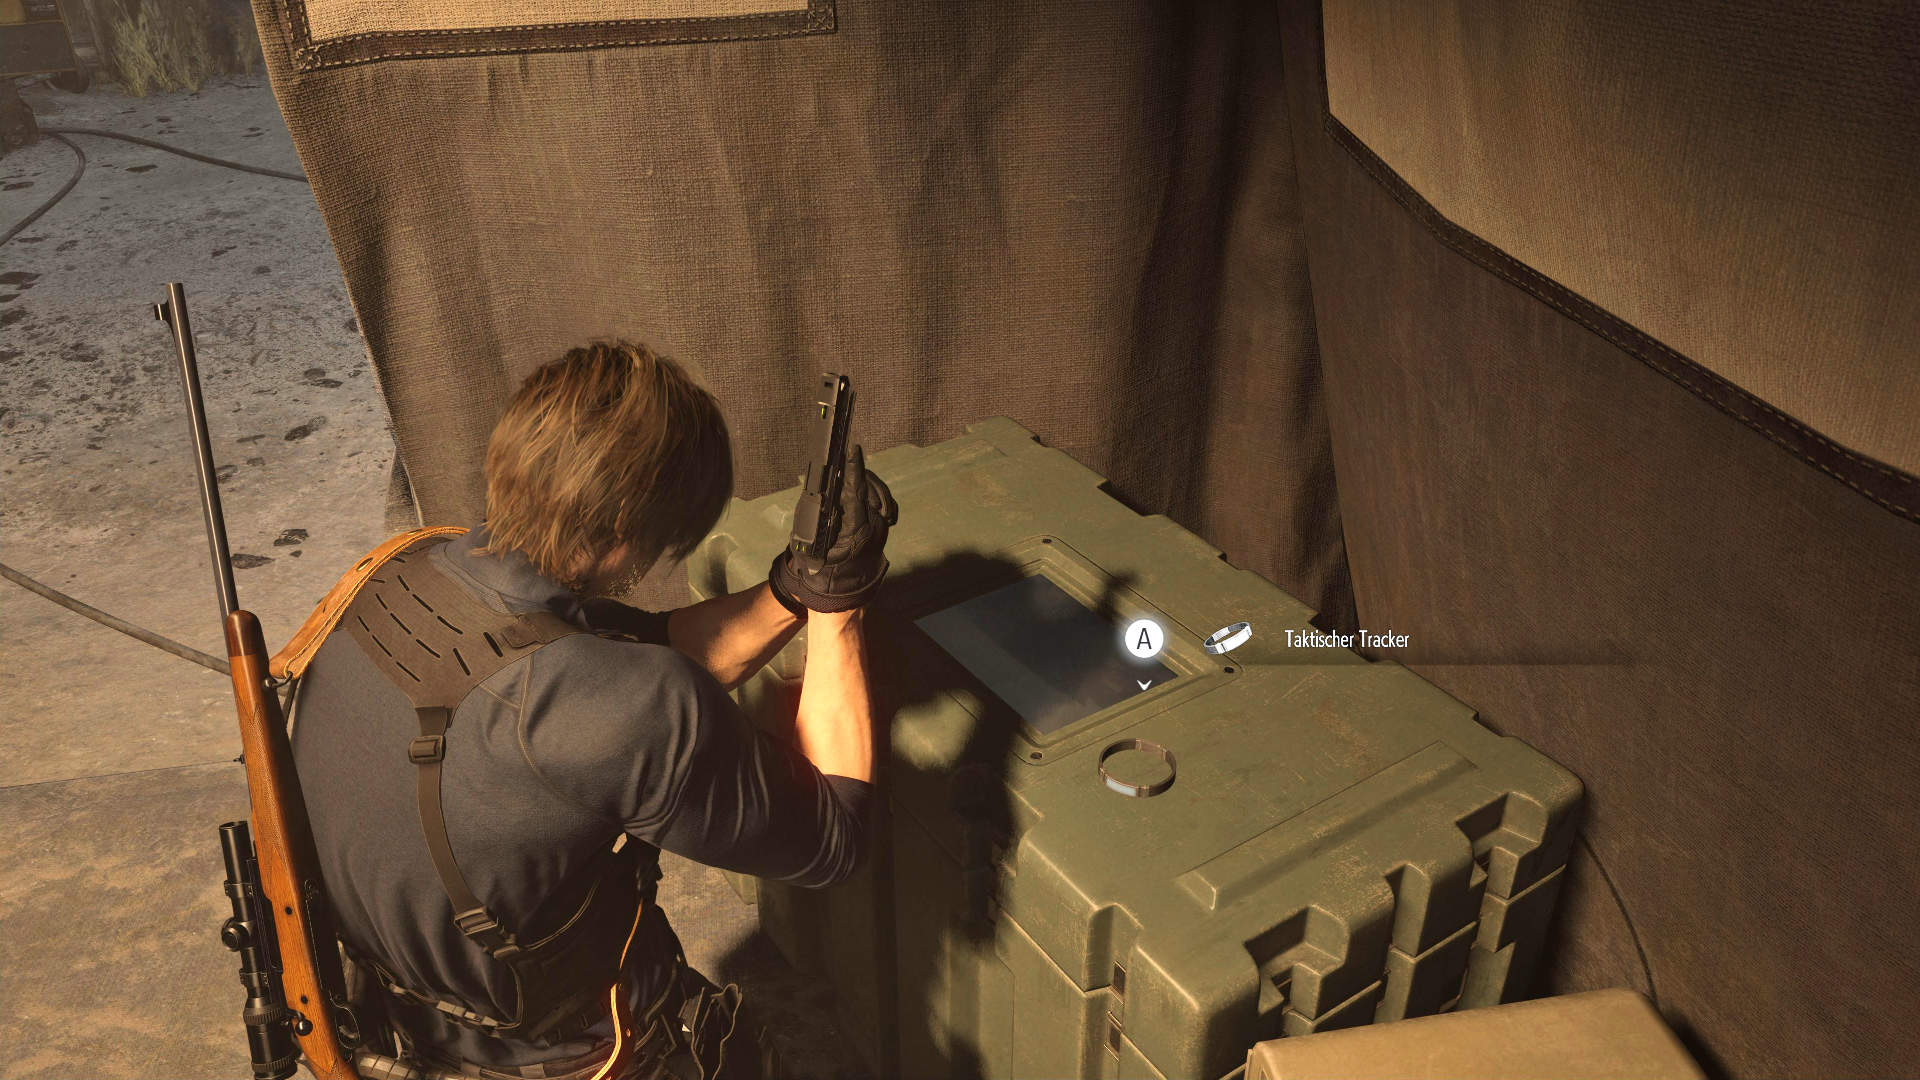
Leon can’t craft using blood. Instead, he finds supplies in the environment, buys items from supply boxes using earned credits, modifies his weapons, and combines materials. Mods are attachments—scopes, suppressors, extended mags—that improve specific aspects of your gun’s performance.
Leon’s craftable Items:
- Handgun Ammo (10x ): 1x Scrap + 1x Gunpowder (Small)
- Shotgun Shells (3x): 1x Scrap + 1x Gunpowder (Large)
- Rifle Ammo (5x ): 2x Scrap + 1x Gunpowder (Large)
- Machine Gun Ammo (40x ): 2x Scrap + 1x Gunpowder (Small)
- Hand Grenade: 1x Scrap + 2x Gunpowder (Large)
- Stacked Hand Grenade: 2x Hand Grenade
- Mixed Herb (G+G): 2x Green Herbs
- Mixed Herb (G+G+G): 3x Green Herbs or 1x G+G + 1x Green Herb
When upgrading weapons, prioritize damage and stability first. After that, increase the fire rate and magazine capacity. If you find talismans, you can push certain stats beyond their normal caps.
Grace’s blood-based crafting
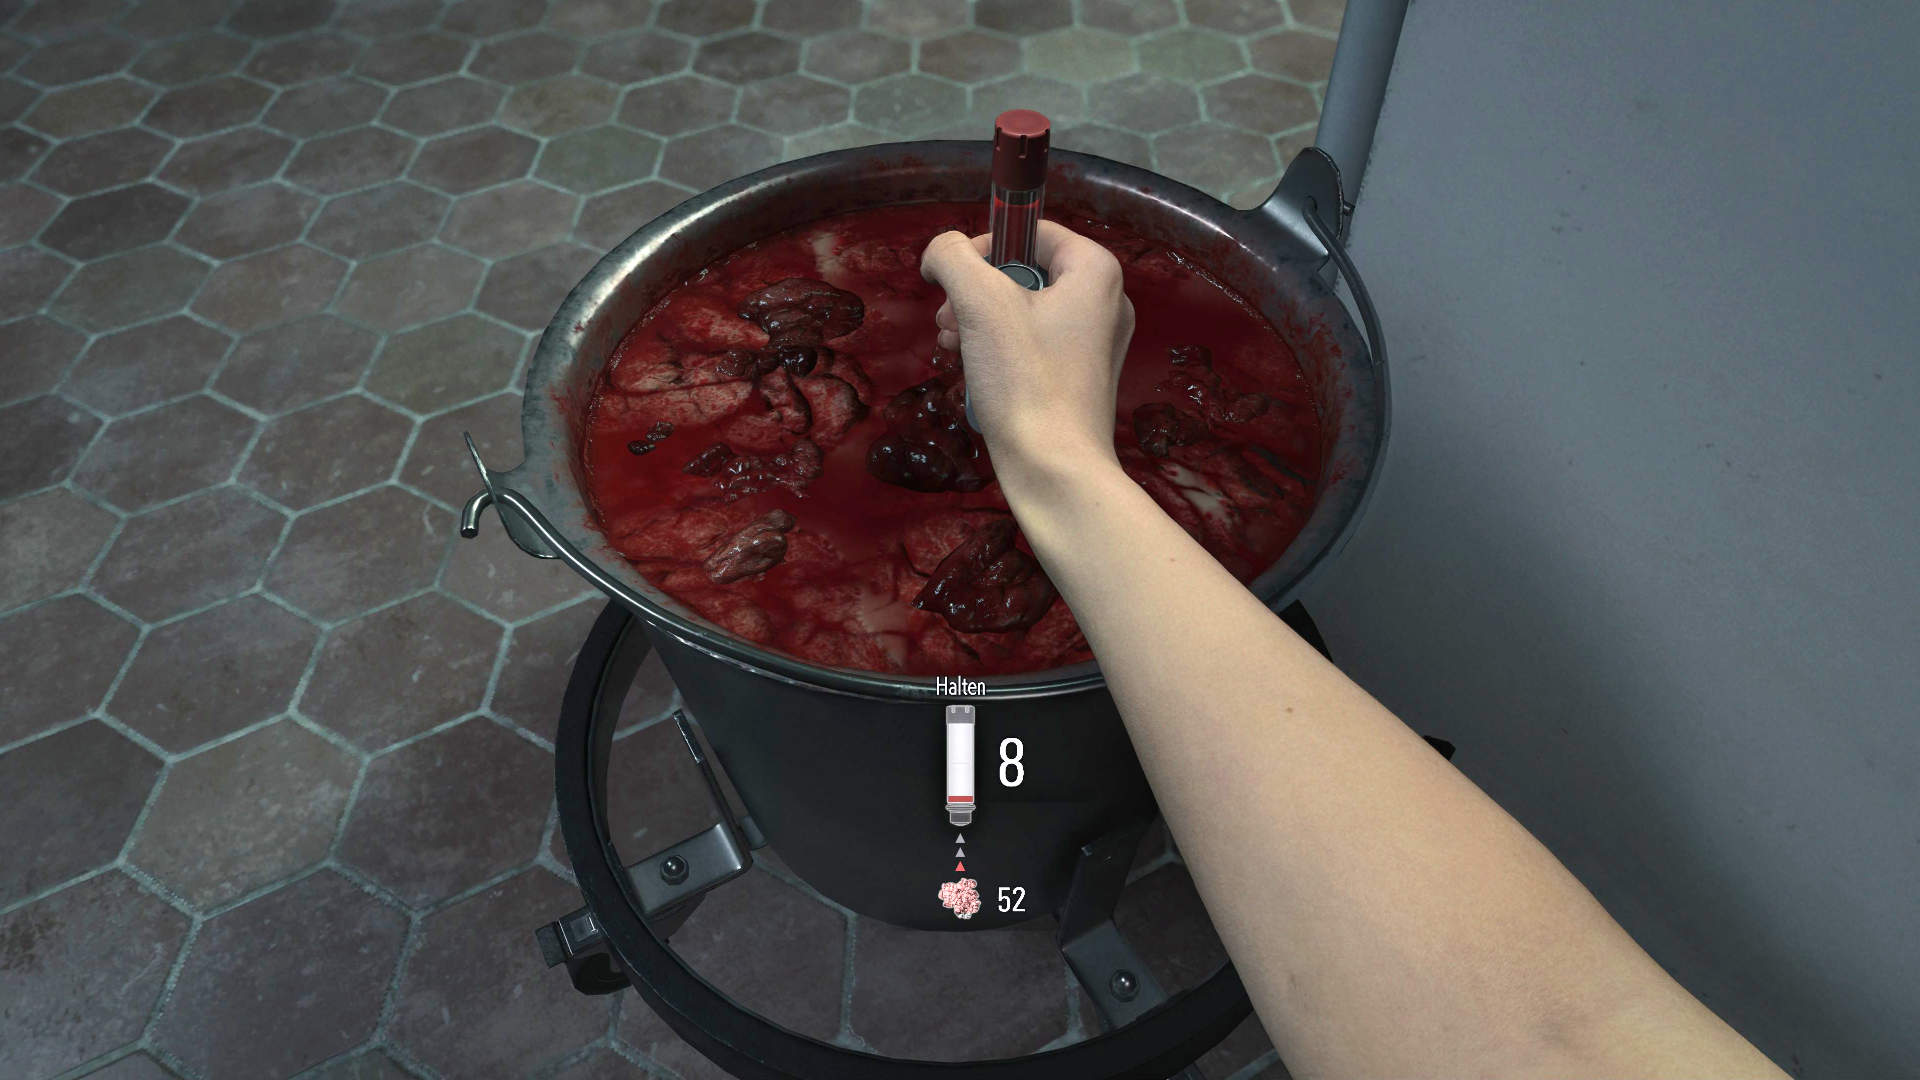
Grace’s crafting system revolves entirely around infected blood as the primary material component. It works in three steps:
- Collect blood: Using the Blood Collector you get early in the sanatorium lab, you collect infected blood from defeated enemies and other sources.
- Analyze Blood Specimens: Find blood samples in the world and analyze them at the laser microscope in the lab to unlock new recipes.
- Craft items: Combine collected blood with other materials to create ammo, healing items, and tactical tools.
All blood specimen in Resident Evil Requiem and their recipes
| Blood sample | Location | Puzzle steps | Unlocked recipes |
|---|---|---|---|
| Denatured (Sanatorium) | Blood Lab | 1 (click the middle cube) | Handgun ammo, Hemolytic Injectors |
| Converged (Sanatorium) | Storage room next to the waiting room (requires Level 1 wristband) | 2 (second cube from the left, and second cube from the right) | Med injectors, 12.7x55mm ammo (Requiem Revolver) |
| Reversible (Sanatorium) | Back room of the blood labs | 4 (start with the middle cube, then the two to its right, and finish with the cube in the bottom-left corner) | Steroids (higher max health), stabilizers (better weapon handling) |
| Polymerized (Nightmare mode only) | R.I.P. knife, additional handgun ammo |
There are two more crafting recipes to find that you can use withaou blood analysis:
- In the Bunkroom (Care Center Basement): Unlocks Molotov Cocktails
- Monitor Control Room (ARK): Unlocks Bottle of Acid
Key crafting recipes at a glance
| Item | Materials | Use |
|---|---|---|
| Mixed herbs (G+G / G+G+G) | 2–3 green herbs | Healing |
| Med Injector | 1x green herbs + 60x infected blood or 1x G+G + 30 infected blood | Strong healing |
| Handgun ammo | 1x scrap + 40x infected blood | 8 rounds |
| 12.7x55mm ammo | Rare metals + 80 units of blood | 2 rounds (revolver) |
| Hemolytic Injector | 1x scrap + 60x infected blood | Instant kill, prevents mutation |
| Molotov cocktail | 1x empty bottle + 60x infected blood | Area damage |
| Acid bottle | 1x empty bottle + 80x infected blood | Area damage |
| Makeshift knife | Metal parts | Early melee weapon |
| Steroids | 1x empty injector + 120x infected blood | increase max. health |
| Stabilizer | 1x empty injector + 130x infected blood | increase gun handling |
| Scrap | 1x Makeshift Knife, 1x Hunting Knife, or 5x Antique Coins | Obtain crafting materials |
Upgrading the blood extraction device
The Blood Collector starts with a capacity of 100 units, and you can permanently increase it:
- Matsuoka Override Manual (+50 points): Available in the Parlor for six ancient coins.
- Matsuoka Master Manual (+50 points): Unlockable in special content for 1.000 AP.
- Transfusion bags: Refill the device on the go without exceeding max capacity.
Think carefully about how you spend your blood—ammo, healing, or tactical items. Your preferences directly affect your odds of survival, and you should adjust them based on the situation.
Puzzle guides in Resident Evil Requiem: Search smart, solve smarter
Opening secret cabinets and finding the Sun, Moon, and Star Quartz
The most common puzzle type in the game: locked doors and objects where you need to enter symbols (like Sun, Moon, Star) in the correct order. You’ll find the answers by carefully reading documents in the area—or by spotting visual clues near the container itself.
Cracking safes
There are five safes in the game—four in the Rhodes Hill Care Center and one in the late-game ARK facility. Each safe holds valuable rewards like ancient coins, ammo, or consumables. Combinations are numbers you enter with specific turn directions (left/right). Wrong inputs reset the lock. Clues are hidden in documents found elsewhere in the game. Opening all five safes unlocks the “No Safe is Safe” achievement.
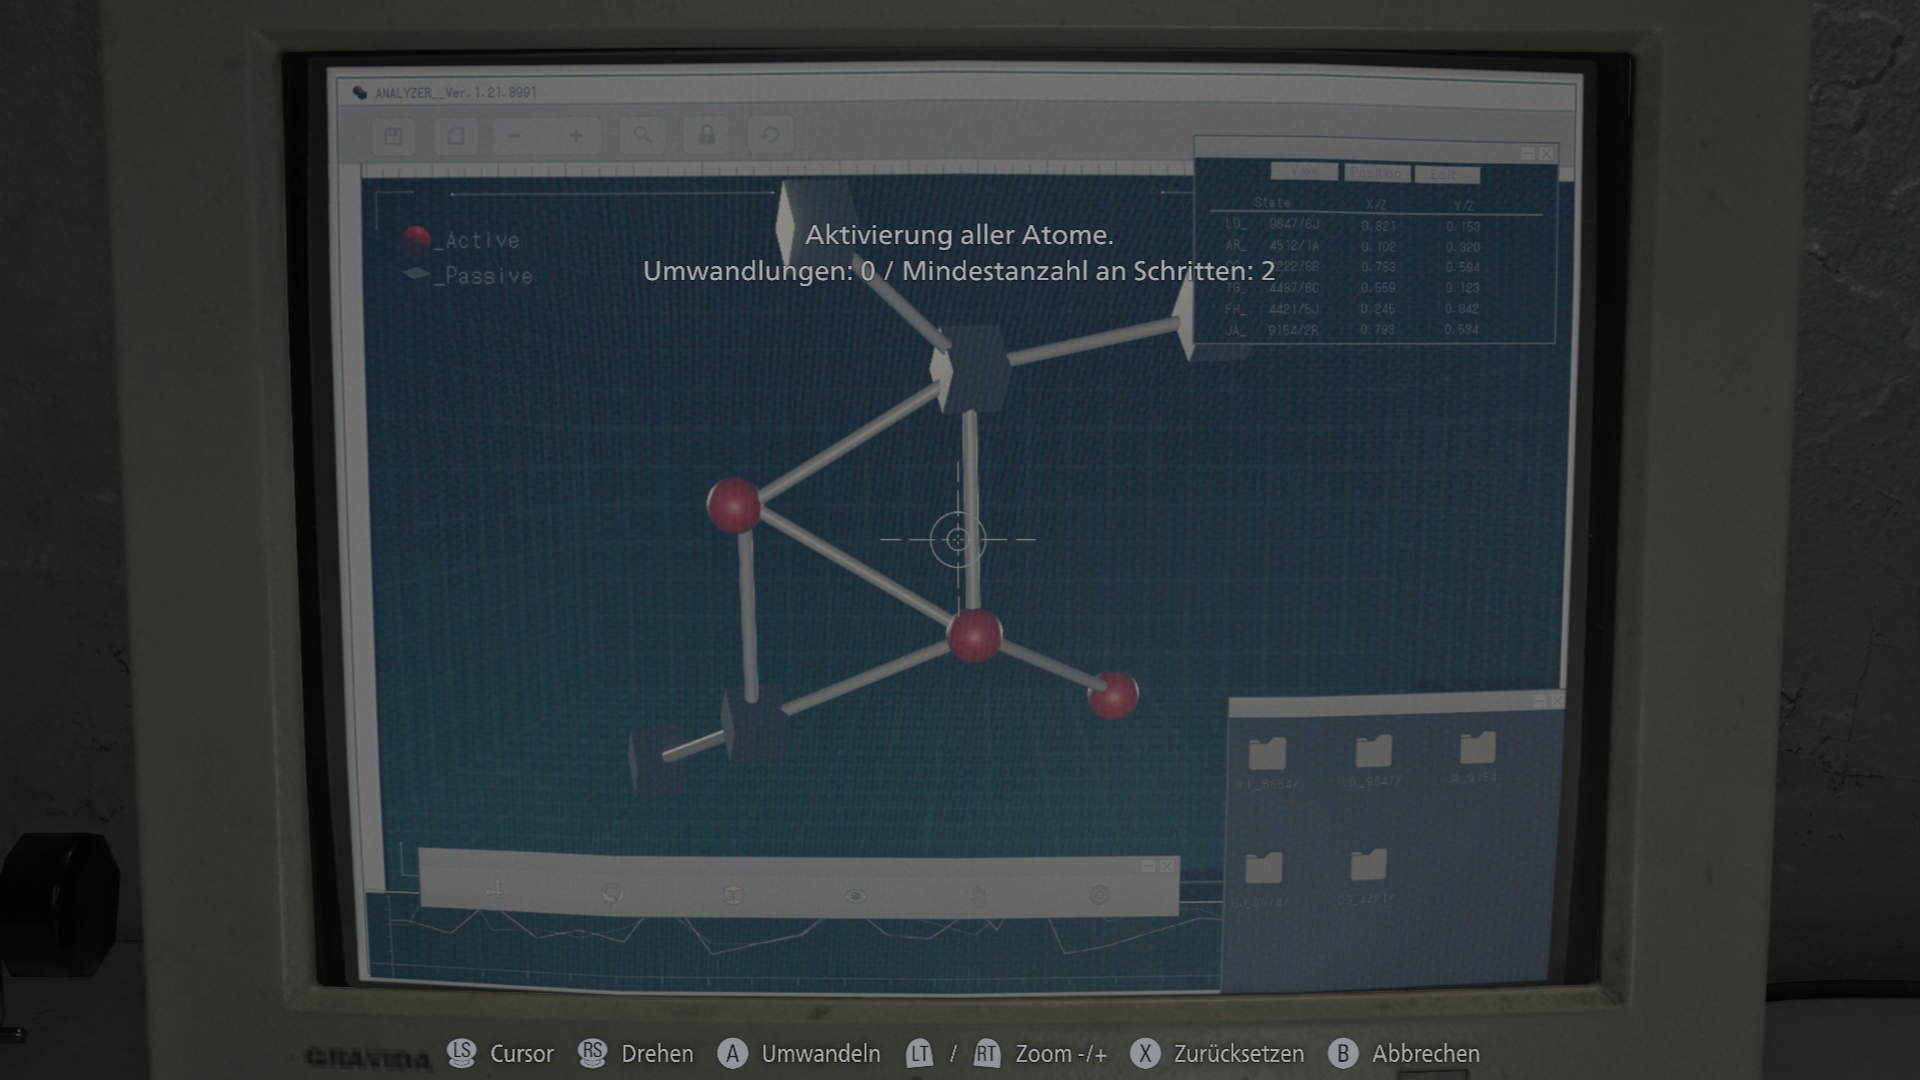
Blood sample analysis puzzles
These puzzles present molecular structures made up of spherical and cube-shaped “atoms.” Clicking a node changes both the selected node and every directly connected node. Your goal: convert all cubes into spheres. It’s all about planning the click order (see the Blood Sample Recipes section).
Tips for efficient exploration
- Yellow markings highlight breakable crates, climbable ledges, and other interactive elements—make a habit of scanning for them.
- Check your map regularly: It shows locked doors, items, and area progress once you’ve physically gotten close enough.
- Lockpicks open locked drawers with valuable loot. Memorize their locations and plan your routes accordingly.
- Some cabinets can only be opened by Leon using his axe when he later revisits the same areas. Prioritize them in Leon’s campaign for valuable weapon attachments and collectibles.
Boss fights: Tactics for the most dangerous enemies
- Spoiler warning: This section reveals secret enemies and boss fights, so it’s hidden. Click the plus icon on the red spoiler block to reveal the text.
Boss fight tips (SPOILER)
“The Girl” — the stalker you can’t defeat
The girl (also known as “Shadow Ghost”) relentlessly hunts Grace in certain sections and cannot be permanently defeated in combat. Contact with this creature is almost certainly fatal. She uses vents and darkness to close distance at terrifying speed.
The answer isn’t fighting—it’s learning her behavior:
- She avoids light. Well-lit rooms are safe zones she won’t enter.
- Memorize working ceiling lights throughout the sanatorium. You should always know where your nearest safe zone is during a chase.
Chunks
These oversized infected look slow and clumsy, but they’re surprisingly quick and can squeeze through tight corridors. Close-range fighting is dangerous due to their heavy damage. Keep your distance, play the range game, and dodge carefully.
Tyrant / Mr. X (Leon)
The Tyrant relentlessly pursues Leon and can only be permanently defeated in a specific boss arena. Until then: keep your distance and parry. Successful parries negate all damage and open the Tyrant for counterattacks. Make sure you’ve practiced parry timing on standard zombies beforehand.
Giant spider (Leon)
This encounter teaches you to spot weak points and manage positioning in tight spaces. Focus fire on the spider’s weak spot (mouth and abdomen) and watch for visual animation cues that telegraph attacks. Keep moving and memorize the arena’s narrow routes so you don’t get cornered.
Final boss: Gideon
The most mechanically complex fight in the game, with multiple phases and shifting attack patterns. Don’t spray and pray—focus your damage on the glowing orange pustules on the Nemesis form to speed the fight up dramatically.
Possible endings in Resident Evil Requiem: How to unlock them
- Spoiler warning: This section contains information about the ending of Resident Evil Requiem. Only read it if you’ve reached that point and have questions—or if you already know how the story ends. Click the plus icon on the red spoiler block to reveal the text.
Final decision explained (SPOILER)
At the very end, you make a single binary choice that determines the ending: “Release Elpis” or “Destroy Elpis.” The game creates an autosave right before the decision, so you can easily choose “Destroy Elpis” first to see the outcome, then reload the autosave and experience the “Release Elpis” path.
Pay attention to the clues in the world: Elpis is the Greek word for hope, and Oswell Spencer’s recorded monologue late in the game hints that “Hope” is the password that triggers the correct path.
Release Elpis (Good ending / canon)
- Triggers an extended final battle against the mutated Dr. Victor Gideon.
- Reveals that Elpis is actually a cure for the T-virus—not a bioweapon.
- Leon is cured of his infection.
- Post-credits scenes confirm positive outcomes for Grace, Leon, and Emily.
Destroy Elpis (Bad ending)
- Leon dies at Zeno’s hand, without the final boss fight.
- Immediate credits, with no post-credits resolution.
- Much shorter—and narratively unsatisfying.
New Game Plus and Ability Points: Long-term motivation for multiple runs
How does New Game Plus work?
After finishing the game, you can start a new run where all weapons and special content you unlocked via Ability Points (AP) are available immediately. Grace and Leon can take these items directly from item boxes and supply boxes—without having to replay the full progression again.
Earning Ability Points (AP)
You earn Ability Points by completing specific challenges, and you spend them as currency in the Special Content menu. Examples include:
- Finish the story (amount depends on difficulty and time)
- Destroy all Mr. Raccoon figures
- Read all documents
- Open all safes
- Destroy all plant seedlings
- Defeat certain bosses in specific ways
- Finish the story within four hours (unlocks the “Speed Demon” challenge)
Most valuable unlocks
| Unlock | Requirement | Effect |
|---|---|---|
| Infinite Ink Ribbon | Finish the story in under 4 hours with “Release Elpis” | Unlimited saves at typewriters on all difficulties |
| Advanced Tuning | Destroy all Mr. Raccoon Memoriam collectibles | Additional weapon modification depth for Leon |
| Various weapons | Spend Challenge Points | Early access to late-game weapons in new runs |
The infinite ink ribbon dramatically changes how Standard (Classic) and Nightmare feel, since it removes ink-ribbon management entirely. For each run, focus on one specific challenge instead of trying to do everything at once—that way every playthrough stays fresh and purposeful.