In Hogwarts Legacy, you will come across more than just regular chests. There are also so called Eye Chests, which are much more valuable. We will show you where to find them, how to open them, and what they contain.
In this Hogwarts Legacy collectible guide, you will learn:
- How to open Eye Chests
- What is inside Eye Chests
- Where all Eye Chests are hidden in Hogwarts Legacy
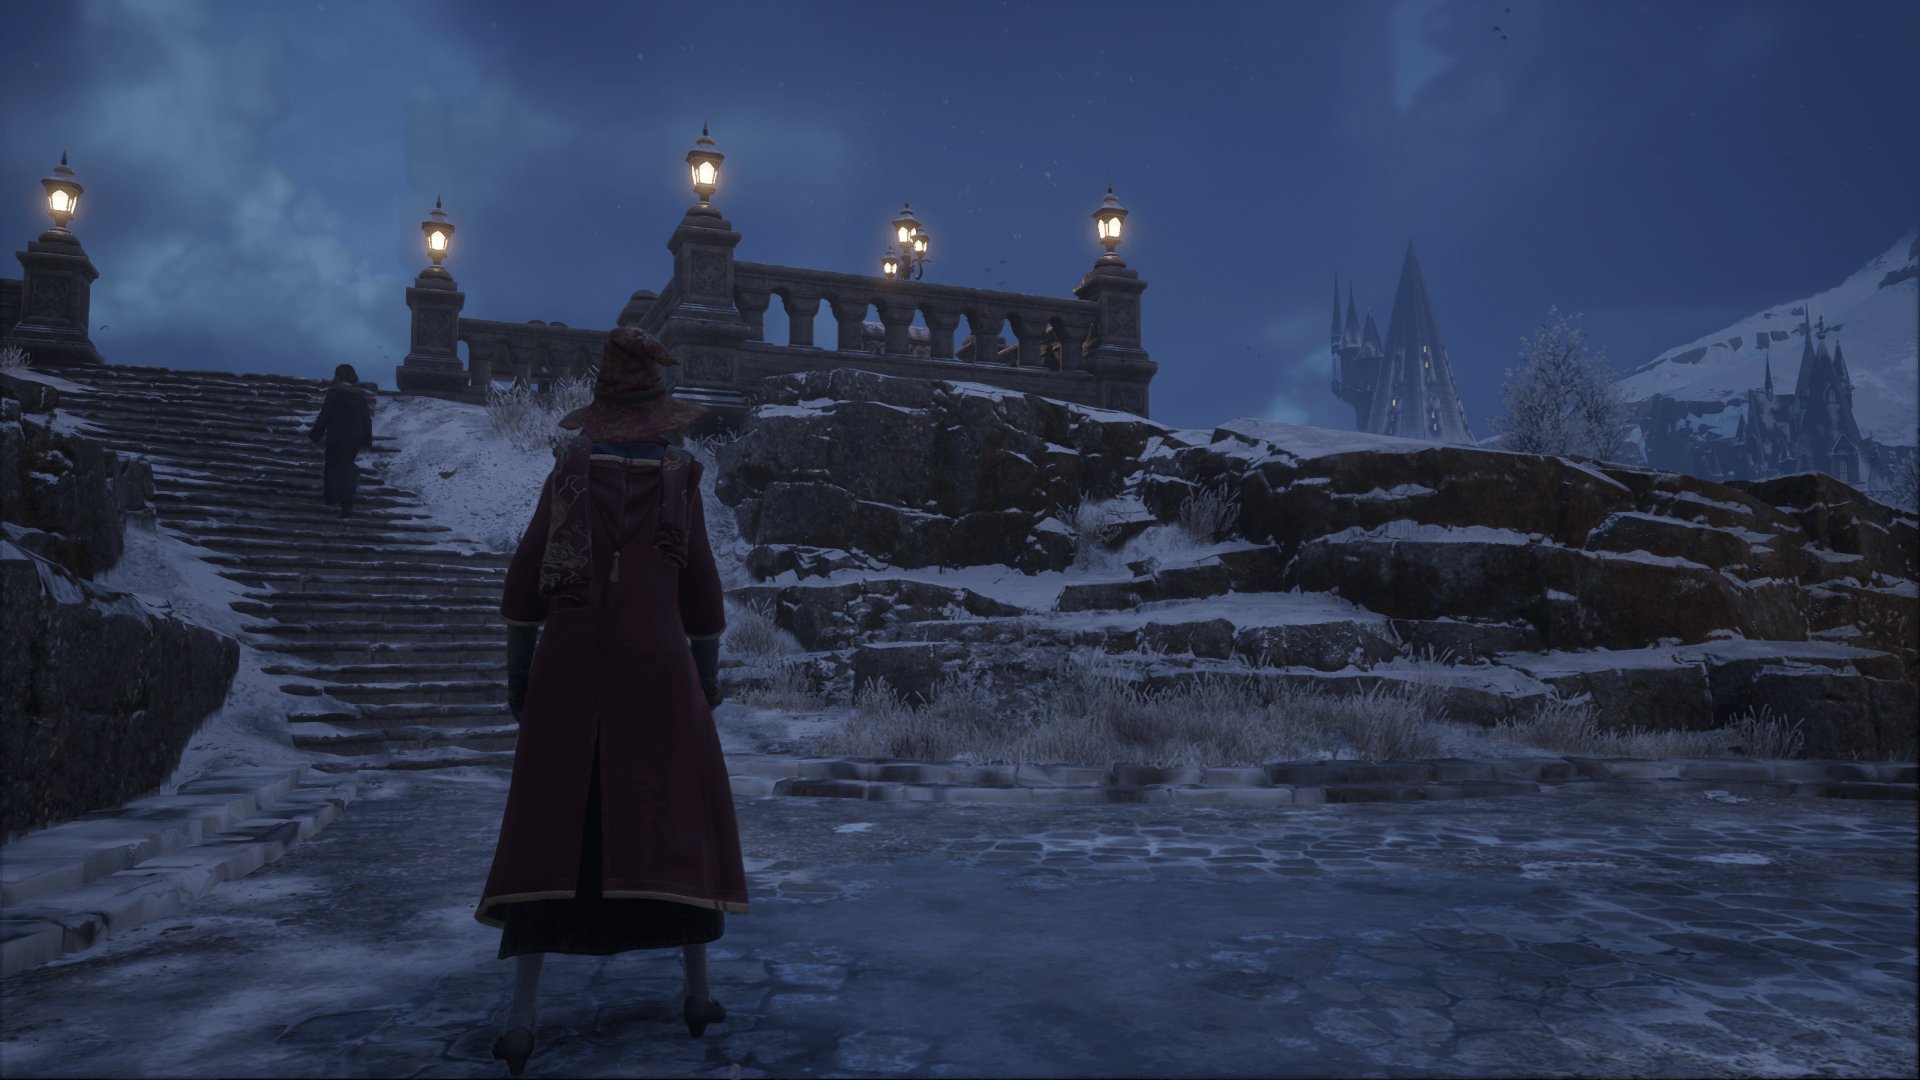
Throughout Hogwarts Legacy, you will come across plenty of chests that only contain a handful of coins. But there are also larger chests, so called Eye Chests, which hold far bigger treasures. In this guide, you will learn where to find Eye Chests in Hogwarts Legacy and how to open them.
How do you open Eye Chests in Hogwarts Legacy?
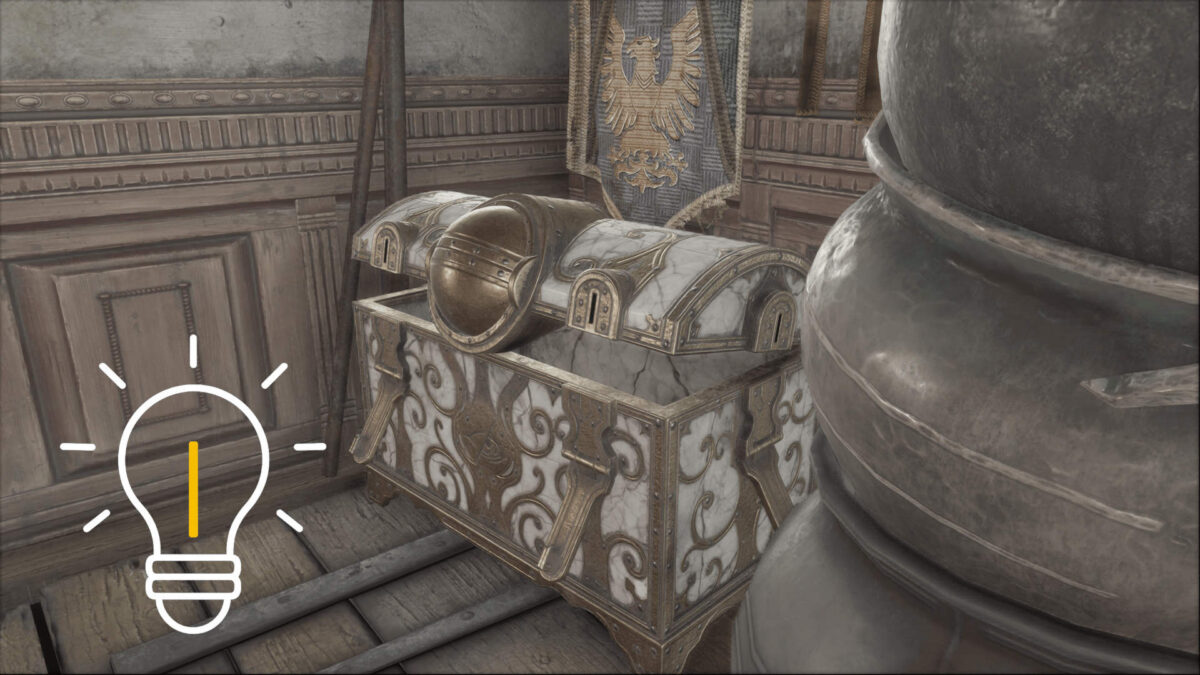
Have you walked past one of these chests a few times but could not open it? If you take a closer look, you will spot a small symbol in the center of the chest. That symbol hints at a spell you learn from Sebastian during the quest in the library’s Restricted Section.
The “Disillusionment Charm” makes you invisible, allowing you to move around unnoticed. To open the chest, however, you should cast the spell from a safe distance. If you are too close and the Eye Chest has already spotted you, it can no longer be opened.
Hogwarts Legacy: What is inside Eye Chests?
A large chest fortunately has room for large treasures. Each one contains 500 Galleons. The in-game currency is very important in Hogwarts Legacy. Since smaller chests usually only give you a few coins, and earning a lot of money can be tricky overall, opening Eye Chests is well worth it.
Locations of all Eye Chests
There are 25 Eye Chests in total across the world of Hogwarts Legacy. They are split between Hogwarts and Hogsmeade and can be found in hidden rooms, homes, and shops. To make your search easier, we describe the route starting from the nearest Floo Flame each time.
- Tip: The spell “Revelio” highlights nearby objects, including Eye Chests.
All Eye Chests in Hogwarts
Inside the school itself, you will find 11 Eye Chests in total. To get around quickly, you should use the Floo Flame network.
Eye Chest No. 1
- Location: Use the Floo Flame “Hogwarts North Exit” and head toward the courtyard. Keep to the left and go up the stone stairs. Do not go through the door directly at the top of the stairs. Instead, turn around and take the other door. You will find the first Eye Chest behind it.

Eye Chest No. 2
- Location: Not far from the first Eye Chest, you will find the Floo Flame “Bell Tower Courtyard”. Head up the stairs immediately to the left, all the way to the top. At the end of a narrow corridor, you will find the Eye Chest.

Eye Chest No. 3
- Location: Also in the Bell Tower Wing, more precisely near the Floo Flame “Beasts Classroom”, you will find another Eye Chest. Go up the stairs in front of you until you reach a large door. Instead of going through it, take the narrow passage to the right. The chest is at the end.

Eye Chest No. 4
- Location: In the Astronomy Wing, use the Floo Flame “Defence Against the Dark Arts Tower” and go down two floors until you see a globe in front of you. Head right and, by your fellow student Zenobia leaning against a pillar, turn right again. The chest is in the corner.
Eye Chest No. 5
- Location: Also in the Astronomy Wing, there is another Eye Chest right by the Floo Flame “Professor Fig’s Classroom”. Go through the door and you will find it at the end of the room.
Eye Chest No. 6
- Location: If you have already discovered the Map Chamber during the main story, the Floo Flame “Map Chamber” will be available. Instead of going through the door, turn around and go up the stairs.
Eye Chest No. 7
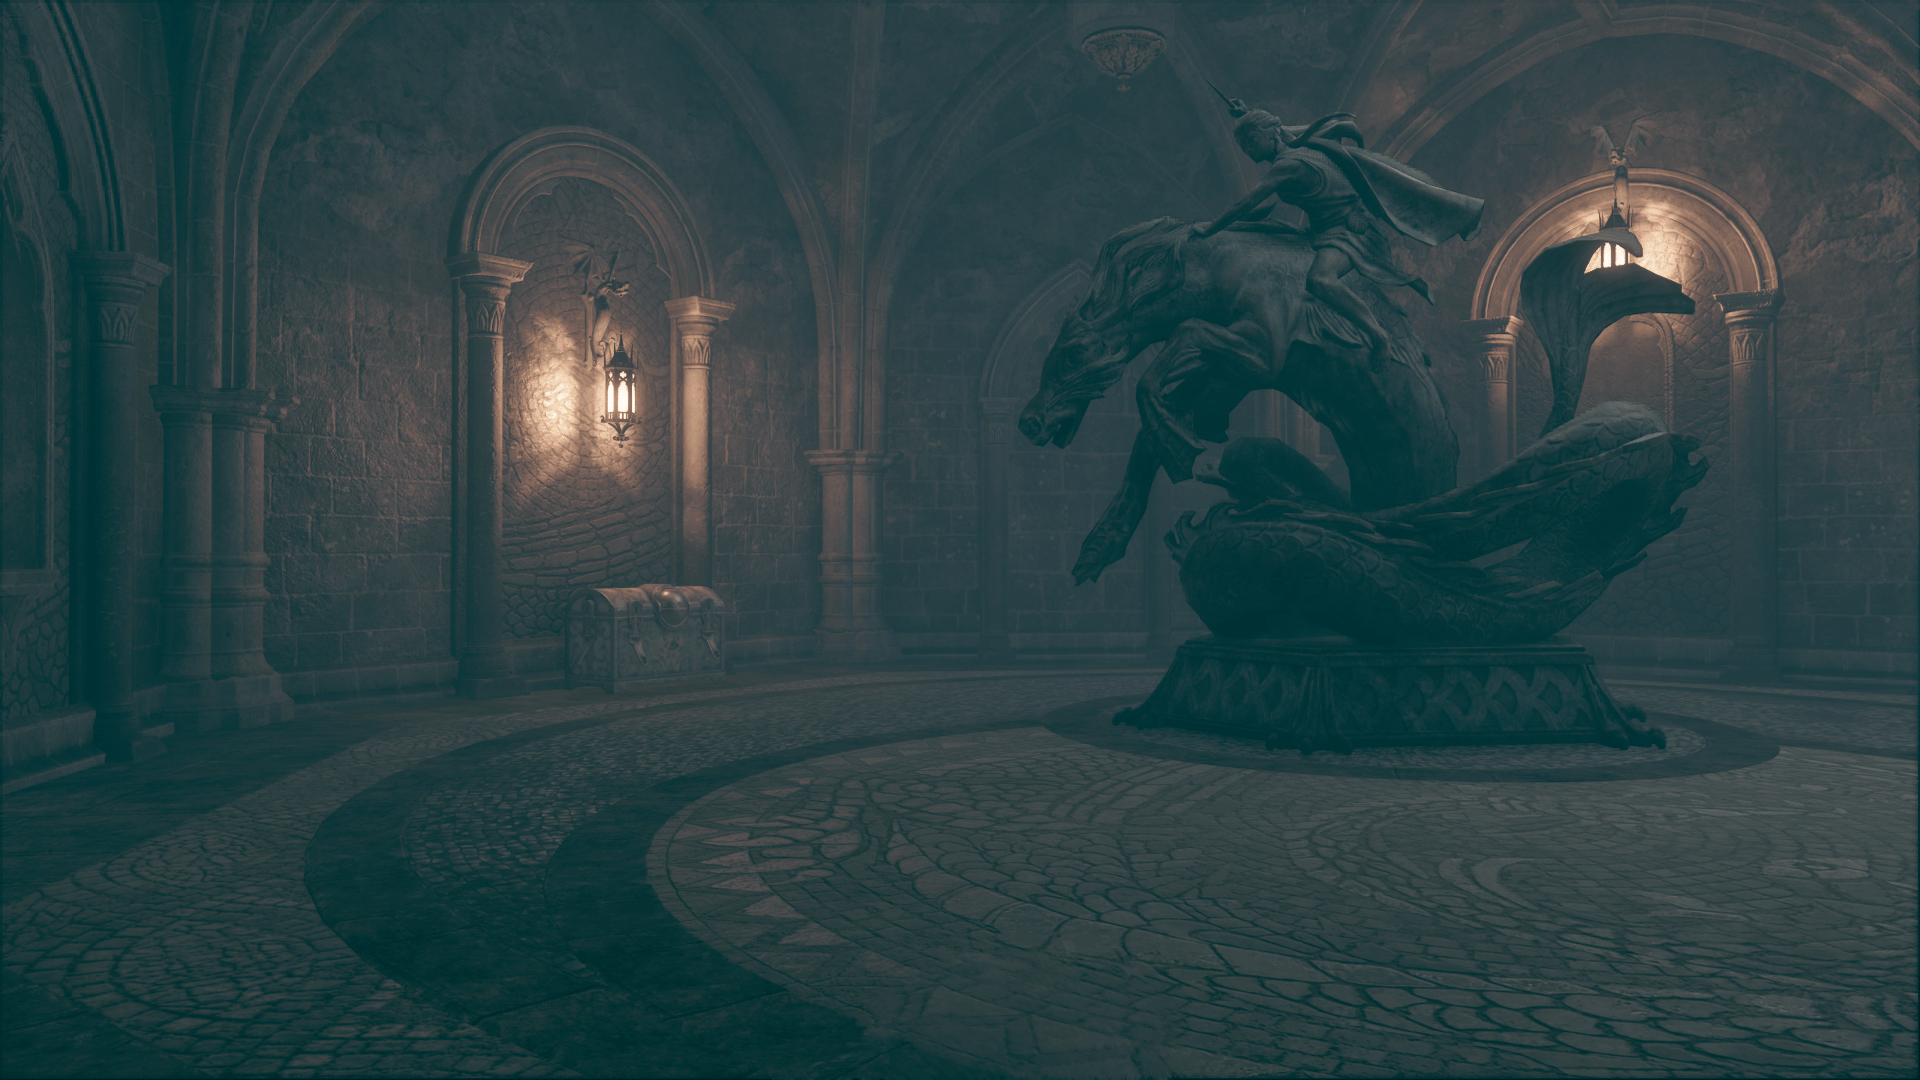
- Location: Use the Floo Flame “Lower Grand Staircase” and go straight down the stairs. Then head up the stairs to the left until you reach the large dragon statue. The Eye Chest is right next to it.
Eye Chest No. 8
- Location: From the Floo Flame “Viaduct Courtyard”, go up the stairs on the right and keep right again. Take the next set of stairs to the south, running along the wall. You will find the Eye Chest at the end.
Eye Chest No. 9
- Location: Travel back to the Floo Flame “Viaduct Courtyard” and walk straight past the fenced tree. On the right, you will find an elevator that takes you down to the underground harbor. Cast your spell as soon as you arrive, as the Eye Chest is at the end of the left dock.
Eye Chest No. 10
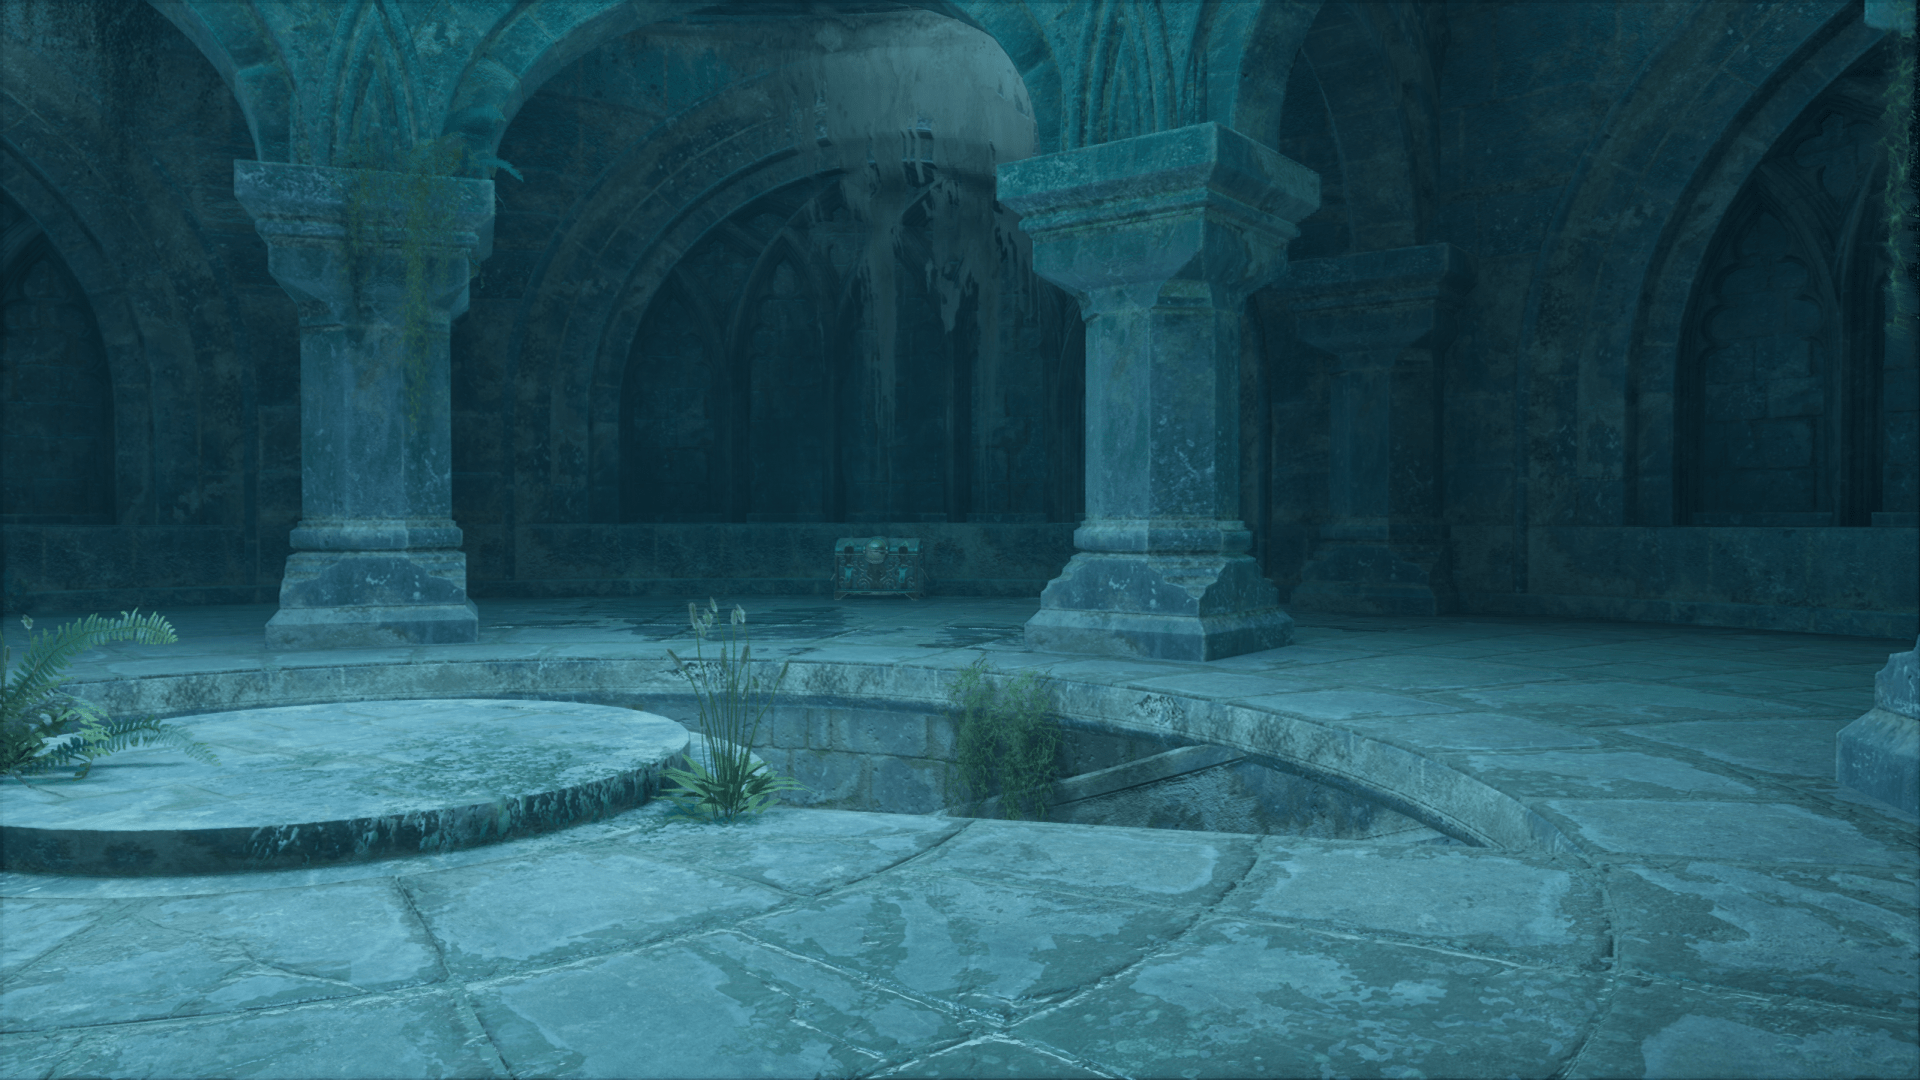
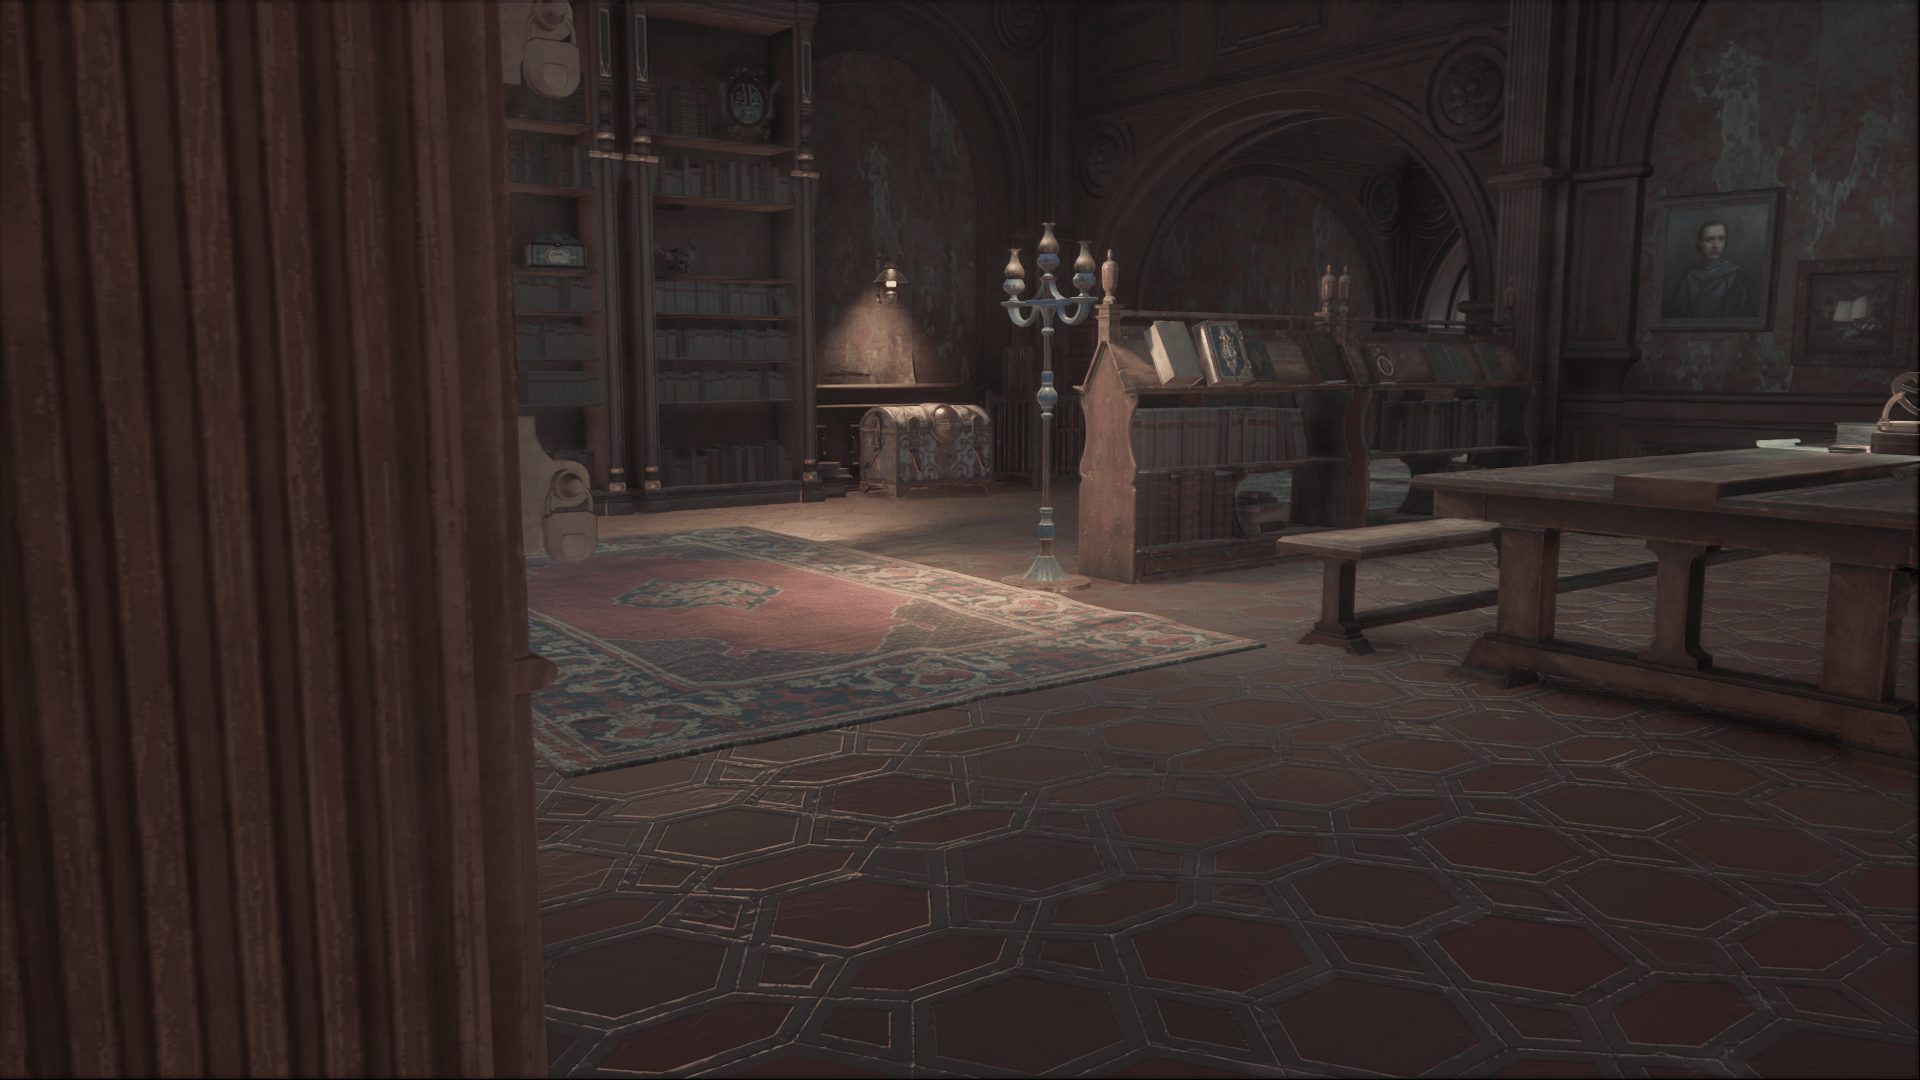
- Location: In the Library Annex at the Floo Flame “Library”, turn around and walk straight ahead for a few meters. Go between the bookshelves and into the library’s Restricted Section. In the very last room at the bottom, you will find another Eye Chest.
Eye Chest No. 11
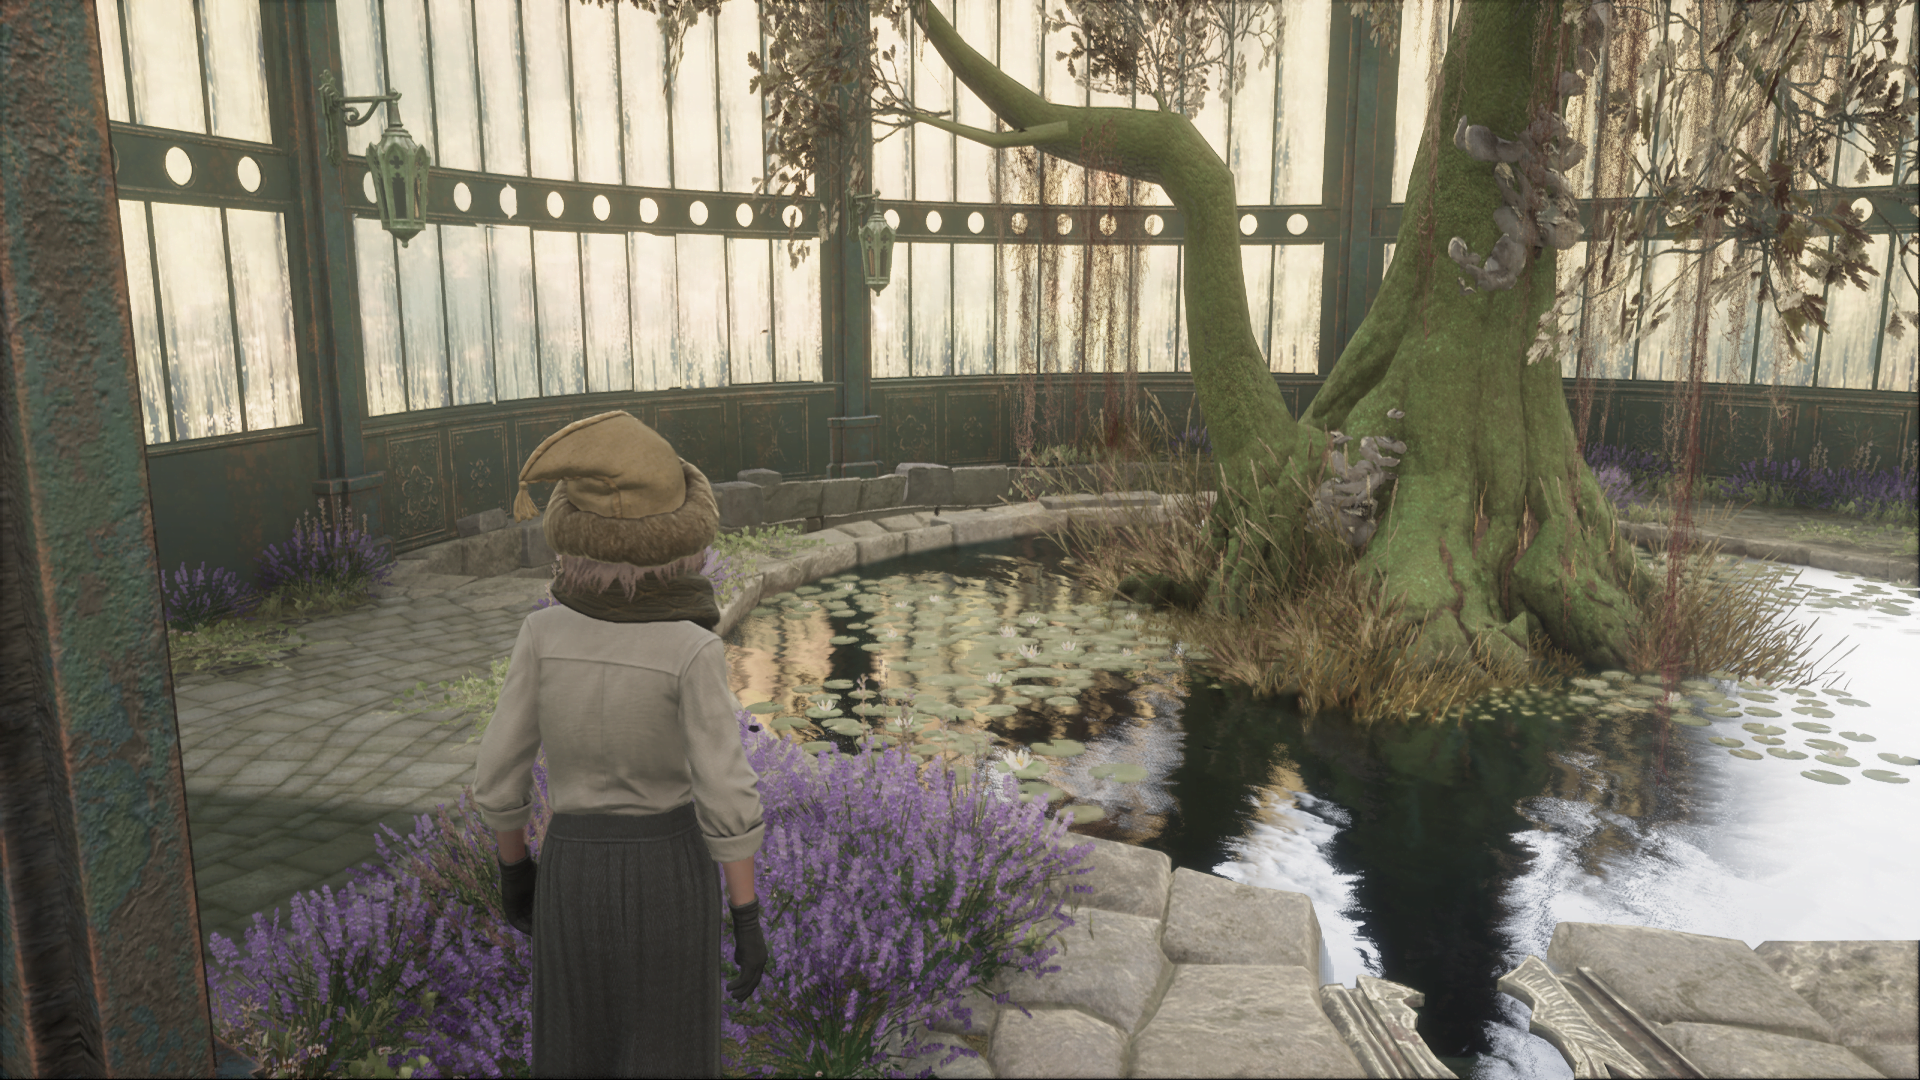
- Location: Once you arrive at the Floo Flame “Greenhouses” in the Library Annex, go down the small steps next to you toward the large tree. Right beside it, you will find another staircase that leads you to an Eye Chest at the end.
All Eye Chests in Hogsmeade
In Hogsmeade, you can find 14 more chests spread throughout the entire town. Most of them are in the center, while a few are hidden on the outskirts.
Eye Chest No. 1
- Location: Inside the clothing shop “Gladrags Wizardwear”, you will find an Eye Chest on the right-hand wall. The best starting point is the Floo Flame “North Hogsmeade”.
Eye Chest No. 2
- Location: Use the Floo Flame “North Hogsmeade” and cross the stone bridge right next to it. Immediately after the bridge, slip left between a few houses. The Eye Chest is hidden behind plants along the wall.
Eye Chest No. 3
- Location: Head back to the bridge from the previous Eye Chest and walk straight toward “Brood & Peck”. Before crossing the next bridge, look to the right. The Eye Chest is tucked into a small alcove.
Eye Chest No. 4
- Location: From “North Hogsmeade”, cross both bridges and head to “Dogweed and Deathcap”. On the map, the shop is marked with a mushroom icon.

Eye Chest No. 5
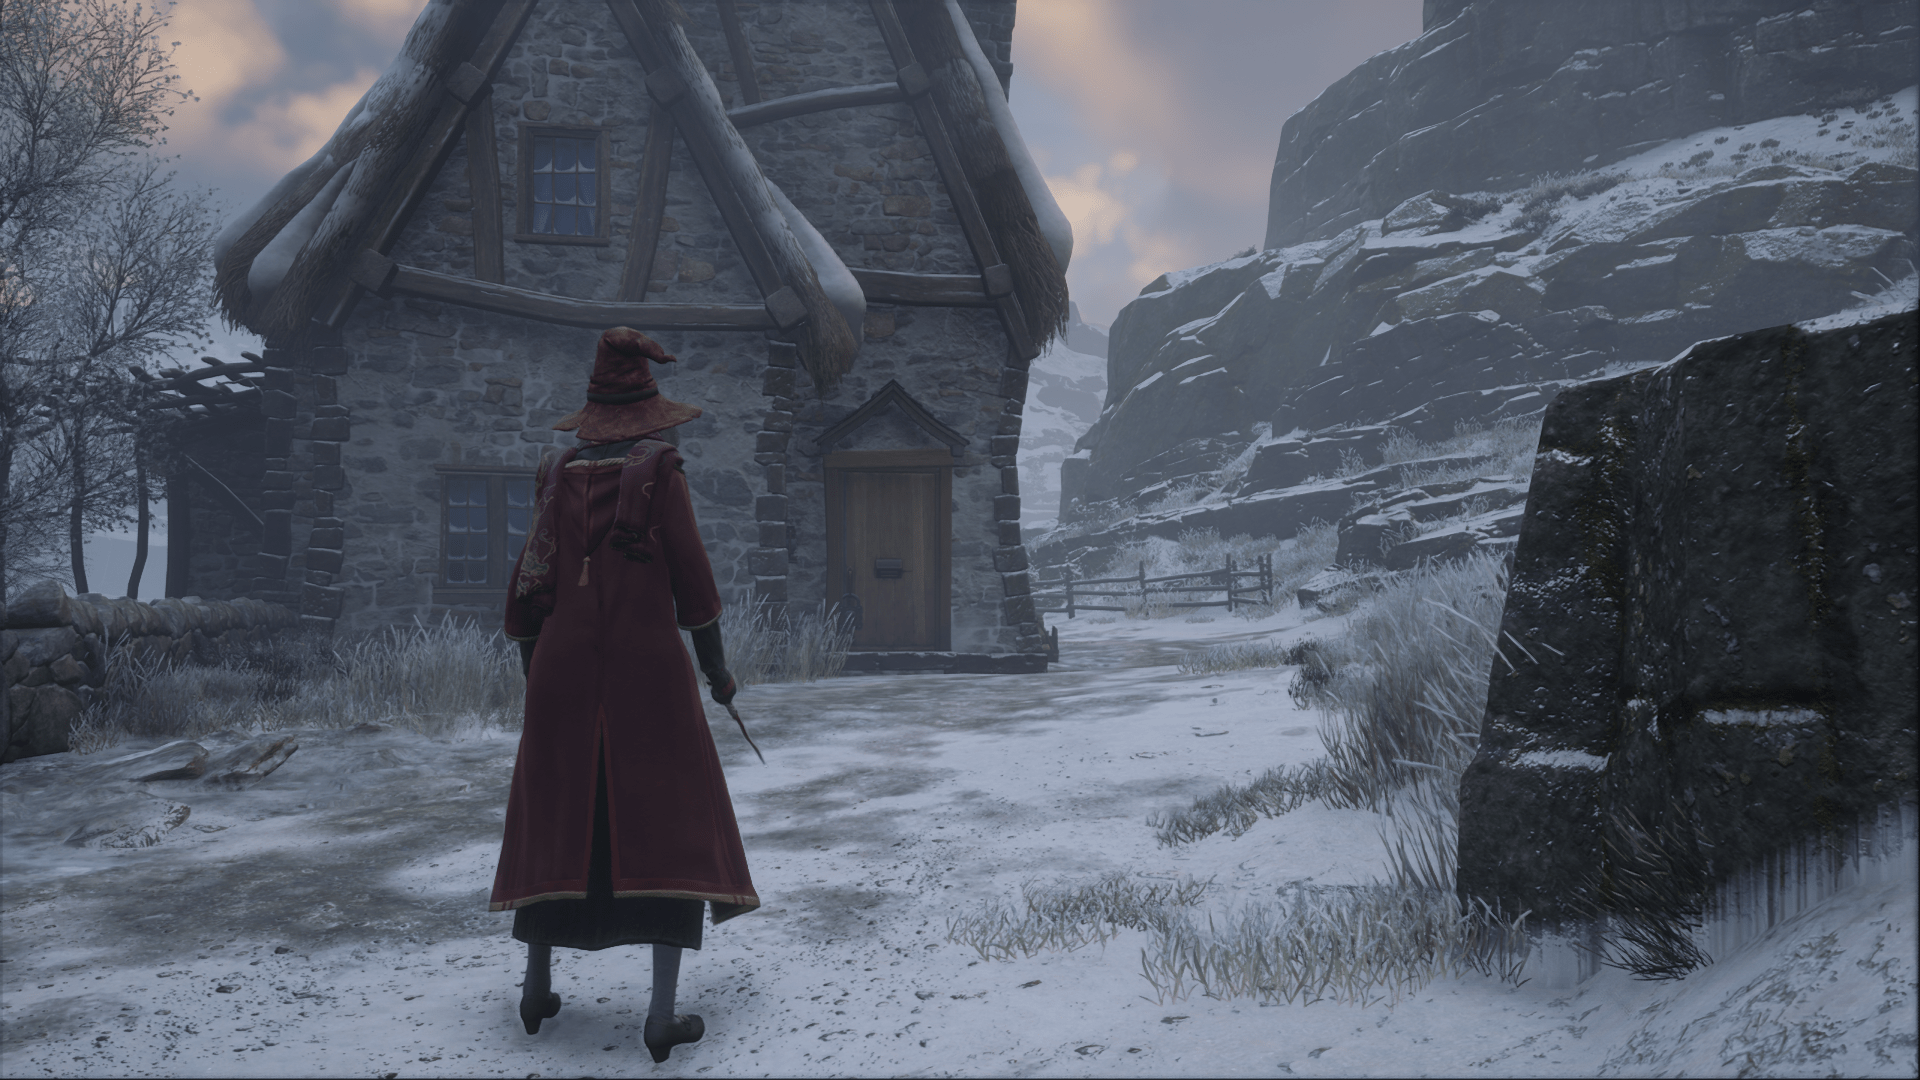
- Location: As soon as you leave “Dogweed and Deathcap”, climb the rocks on the right. A small house sits up there. The Eye Chest is directly in front of the barred door.
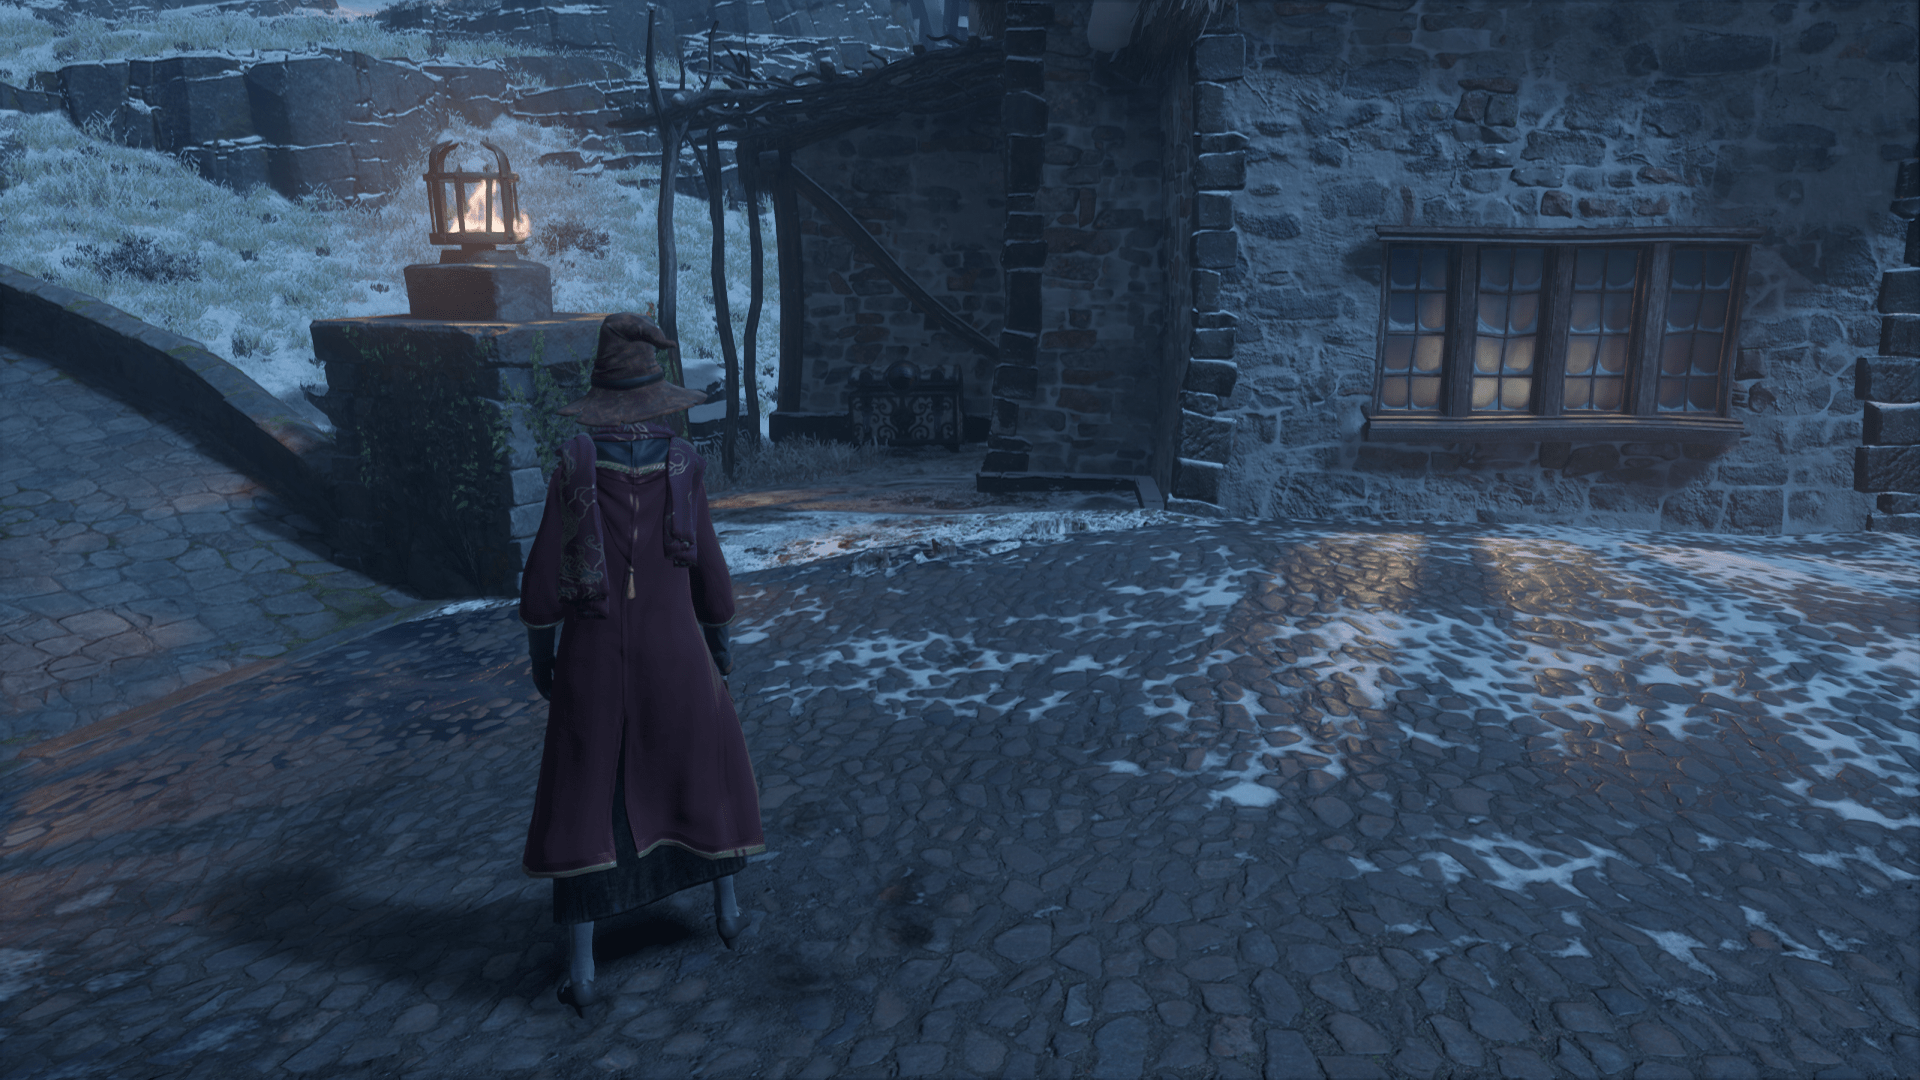
Eye Chest No. 6
- Location: Travel back to “North Hogsmeade” and go up the steps on the left. Then turn right onto the stone path until you reach two houses. The Eye Chest is behind the house on the right.
Eye Chest No. 7
- Location: Use the Floo Flame “West Hogsmeade” and walk left toward the bridge. Before you cross it, head down to the water on the left. Behind the goblin Garnuff, you will find the Eye Chest.

Eye Chest No. 8
- Location: From the previous Eye Chest, head back to the bridge and cross it. You will pass a house on your left. The Eye Chest is located behind that house.
Eye Chest No. 9
- Location: From the Floo Flame “West Hogsmeade”, head toward J. Pippin’s Potions. Walk past the entrance to the second house. The Eye Chest is behind the house. The easiest way to reach the back is via the stairs on the right.

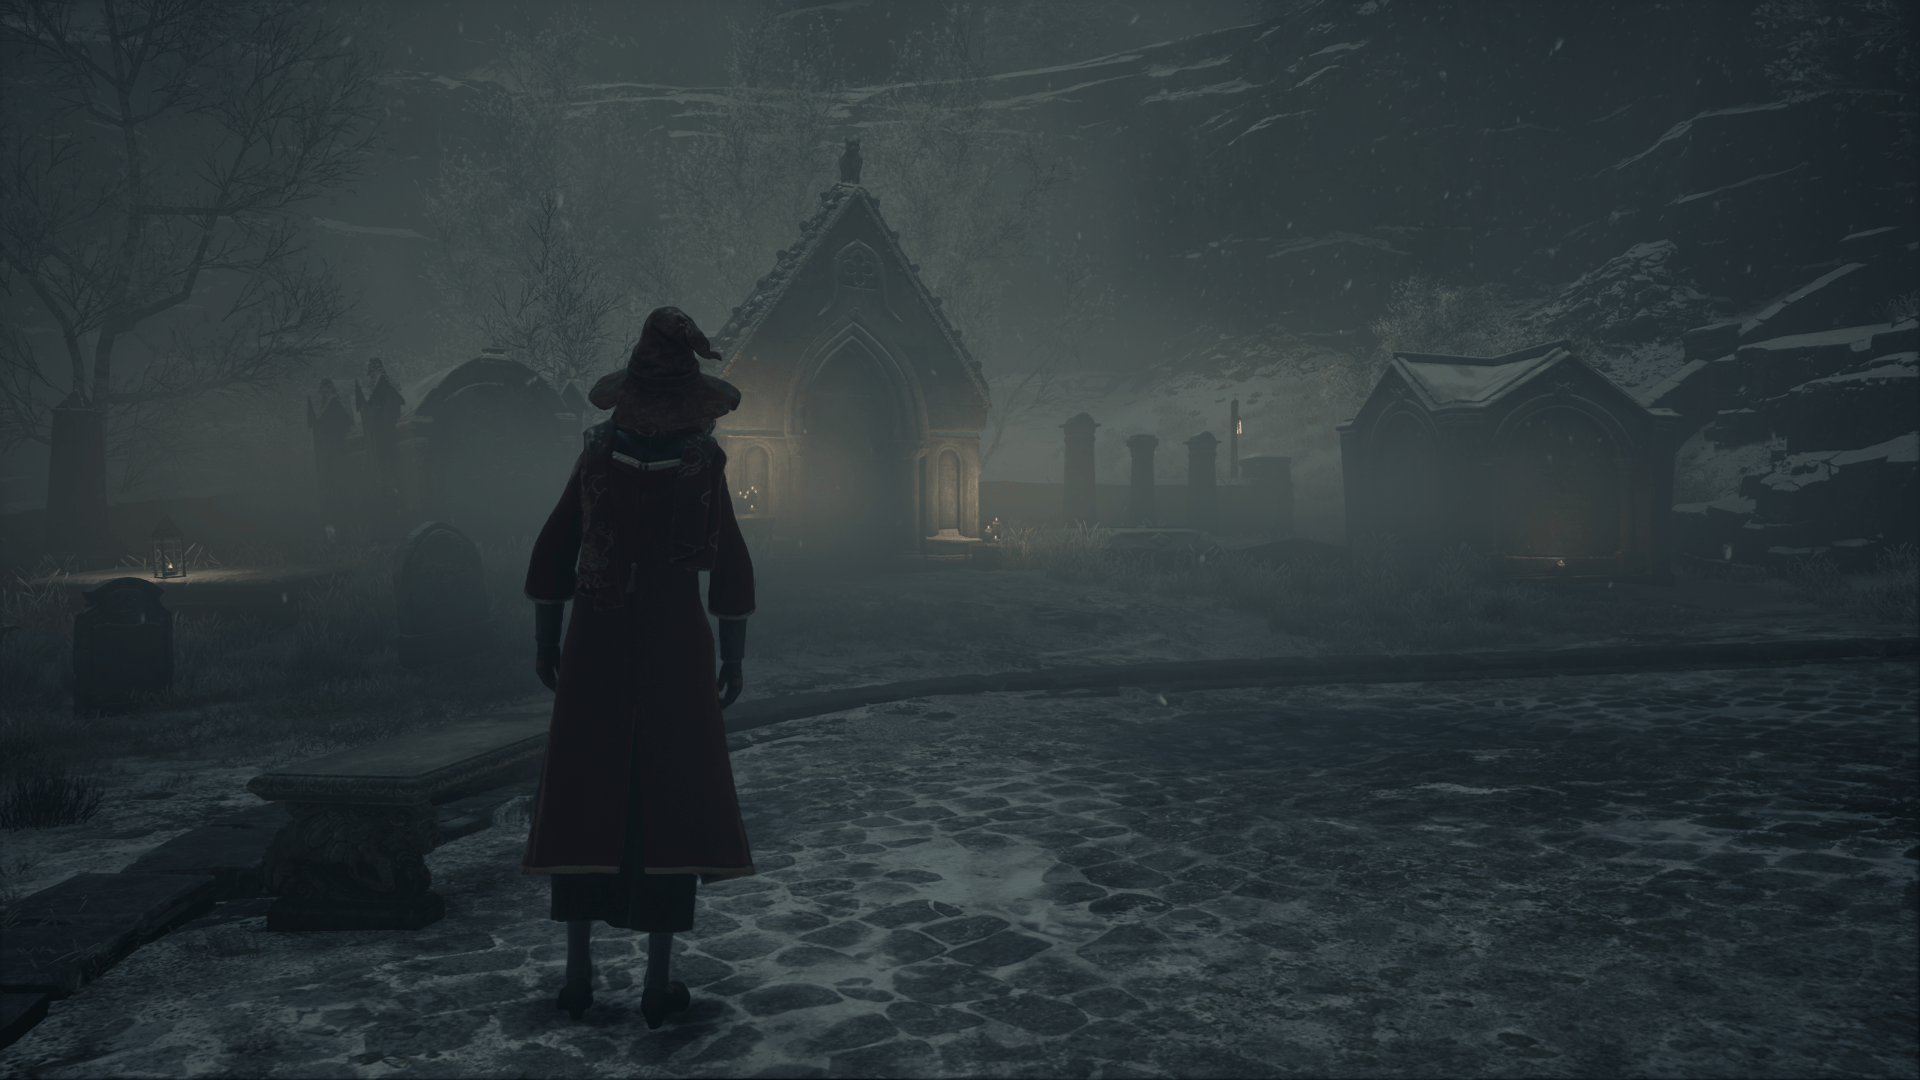
Eye Chest No. 10
- Location: From the previous Eye Chest, go up the stairs until you reach a bridge. Cross it and go left through the iron gate onto the graveyard. In front of you, you will see a building with several candles. Another Eye Chest is hidden behind it.
Eye Chest No. 11
- Location: Walk from “West Hogsmeade” to The Hog’s Head. When you are standing in front of the entrance, look to the left for a narrow passage. Behind the low stone wall, you will find the Eye Chest.
Eye Chest No. 12
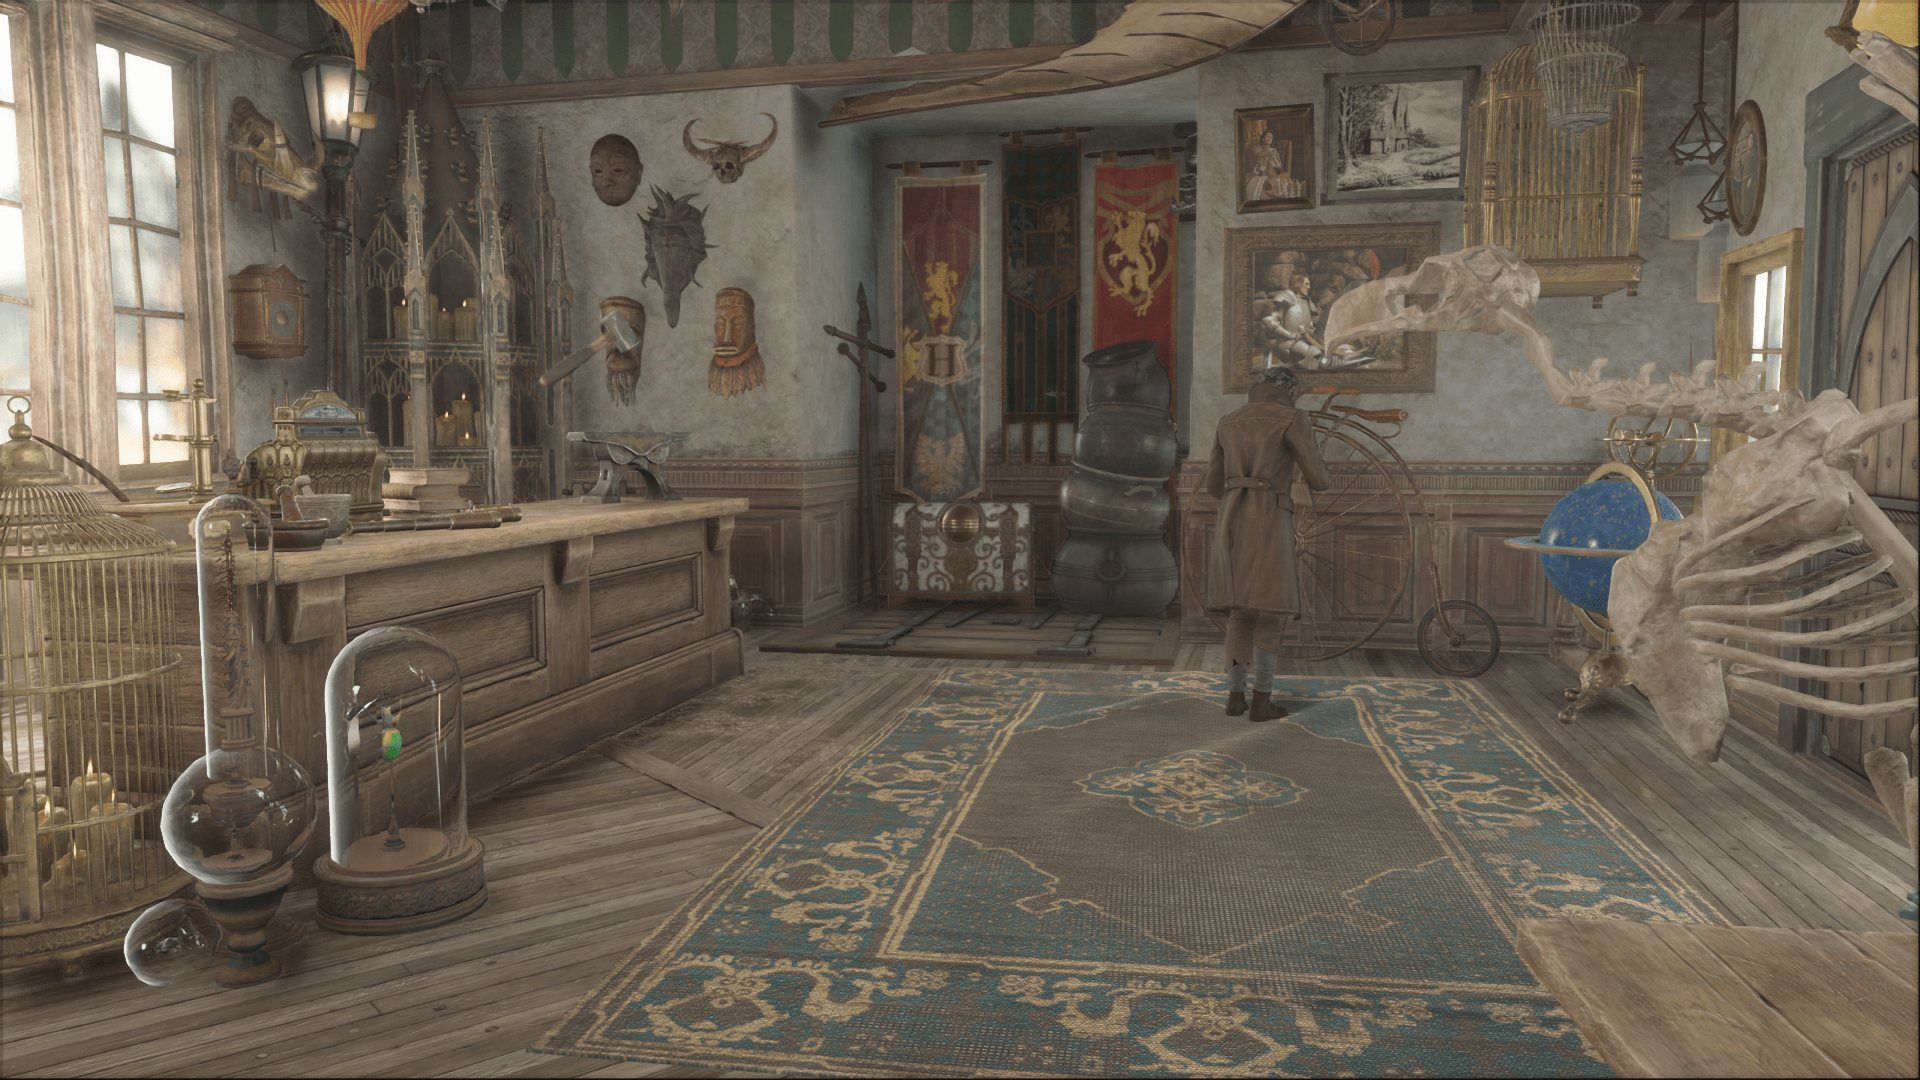
- Location: From “South Hogsmeade”, head toward the entrance area of Hogsmeade. Inside “Tomes and Scrolls”, the Eye Chest is in the room behind Thomas Brown.
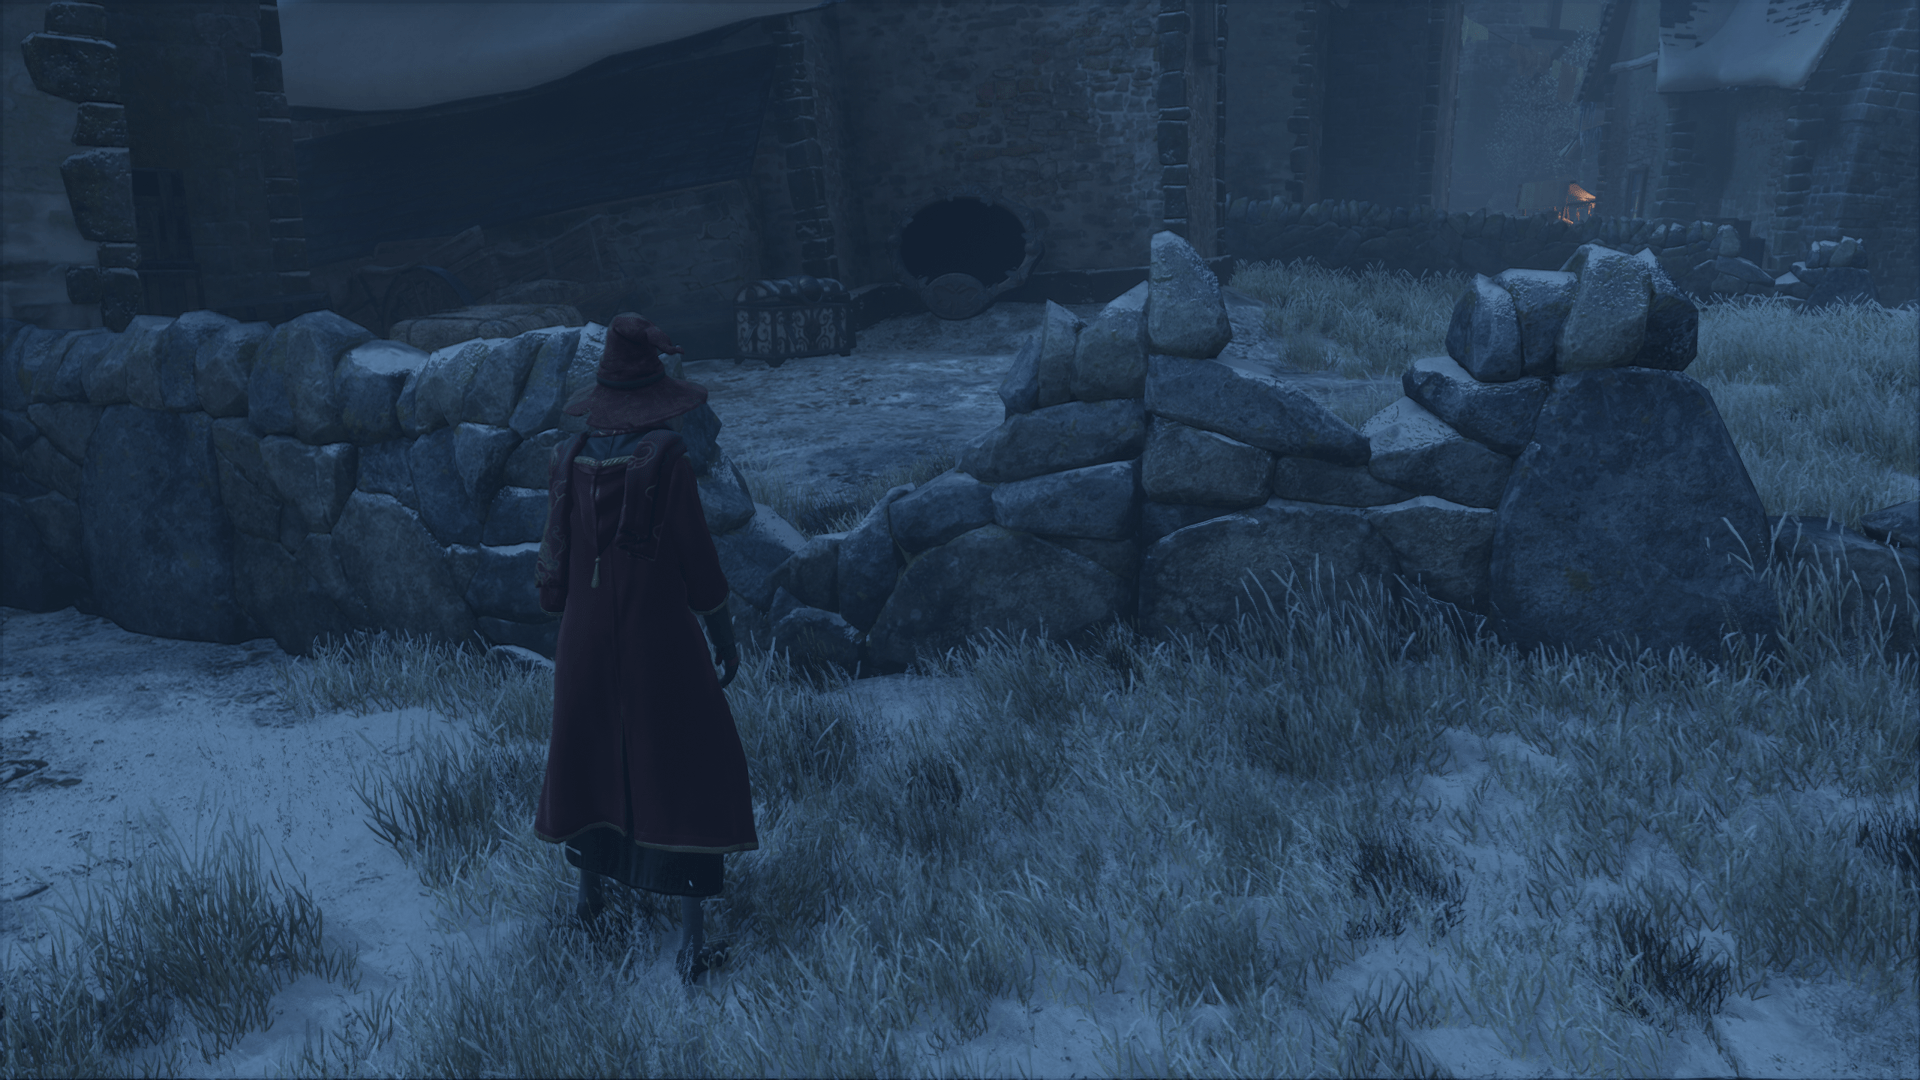
Eye Chest No. 13
- Location: From the Floo Flame “South Hogsmeade”, turn right immediately. Behind the large abandoned house, you will find the second-to-last Eye Chest.
Eye Chest No. 14
- Location: From the previous Eye Chest behind the house, follow the stone path straight ahead. After a few meters, you will spot a dragon made of leaves. Walk up the stairs and grab the final 500 Galleons from the Eye Chest on the right.