
With these tips, getting started in Dying Light: The Beast becomes much easier. The streets of Castor Woods are dangerous — we’ll show you how to stay alive.
In this Dying Light: The Beast guide, you’ll learn:
- Why you should use explosive weapons with care
- How to outsmart human enemies in close combat
- Why stamina matters more than raw power
- Why side missions are worth it
Techland’s Dying Light: The Beast asks a lot of you – especially in the opening hours. Pay attention to your surroundings, err on the side of sneaking, and use your resources deliberately. With smart combat decisions, upgraded gear, and an eye for side activities, you’ll have a strong chance of surviving the city’s threats. Our tips guide gets you ready for the zombie apocalypse in the national park.
Loot everything you can
Especially early on, search every zombie you take down for resources. You’ll also find plenty of loot in houses, vehicles, and on corpses. Beyond weapons, the most important finds are consumables for healing and crafting parts.
Use parts to repair your weapons or craft new gadgets and consumables like Molotovs, lockpicks, or bandages. Also check every wrecked car for gas. The few vehicles you can drive in Dying Light: The Beast need every drop of fuel you can scavenge.
Always carry these items
Before you head out in Dying Light: The Beast, make sure you’re equipped with:
- Bandages: Essential if you don’t want to die after just a few hits.
- Molotovs: If you’re surrounded, this fiery cocktail can be your quickest way out.
- Lockpicks: Always keep a few of these little lifesavers on you.
- Throwing knives: Especially handy as a last resort when a zombie grabs you by the throat.
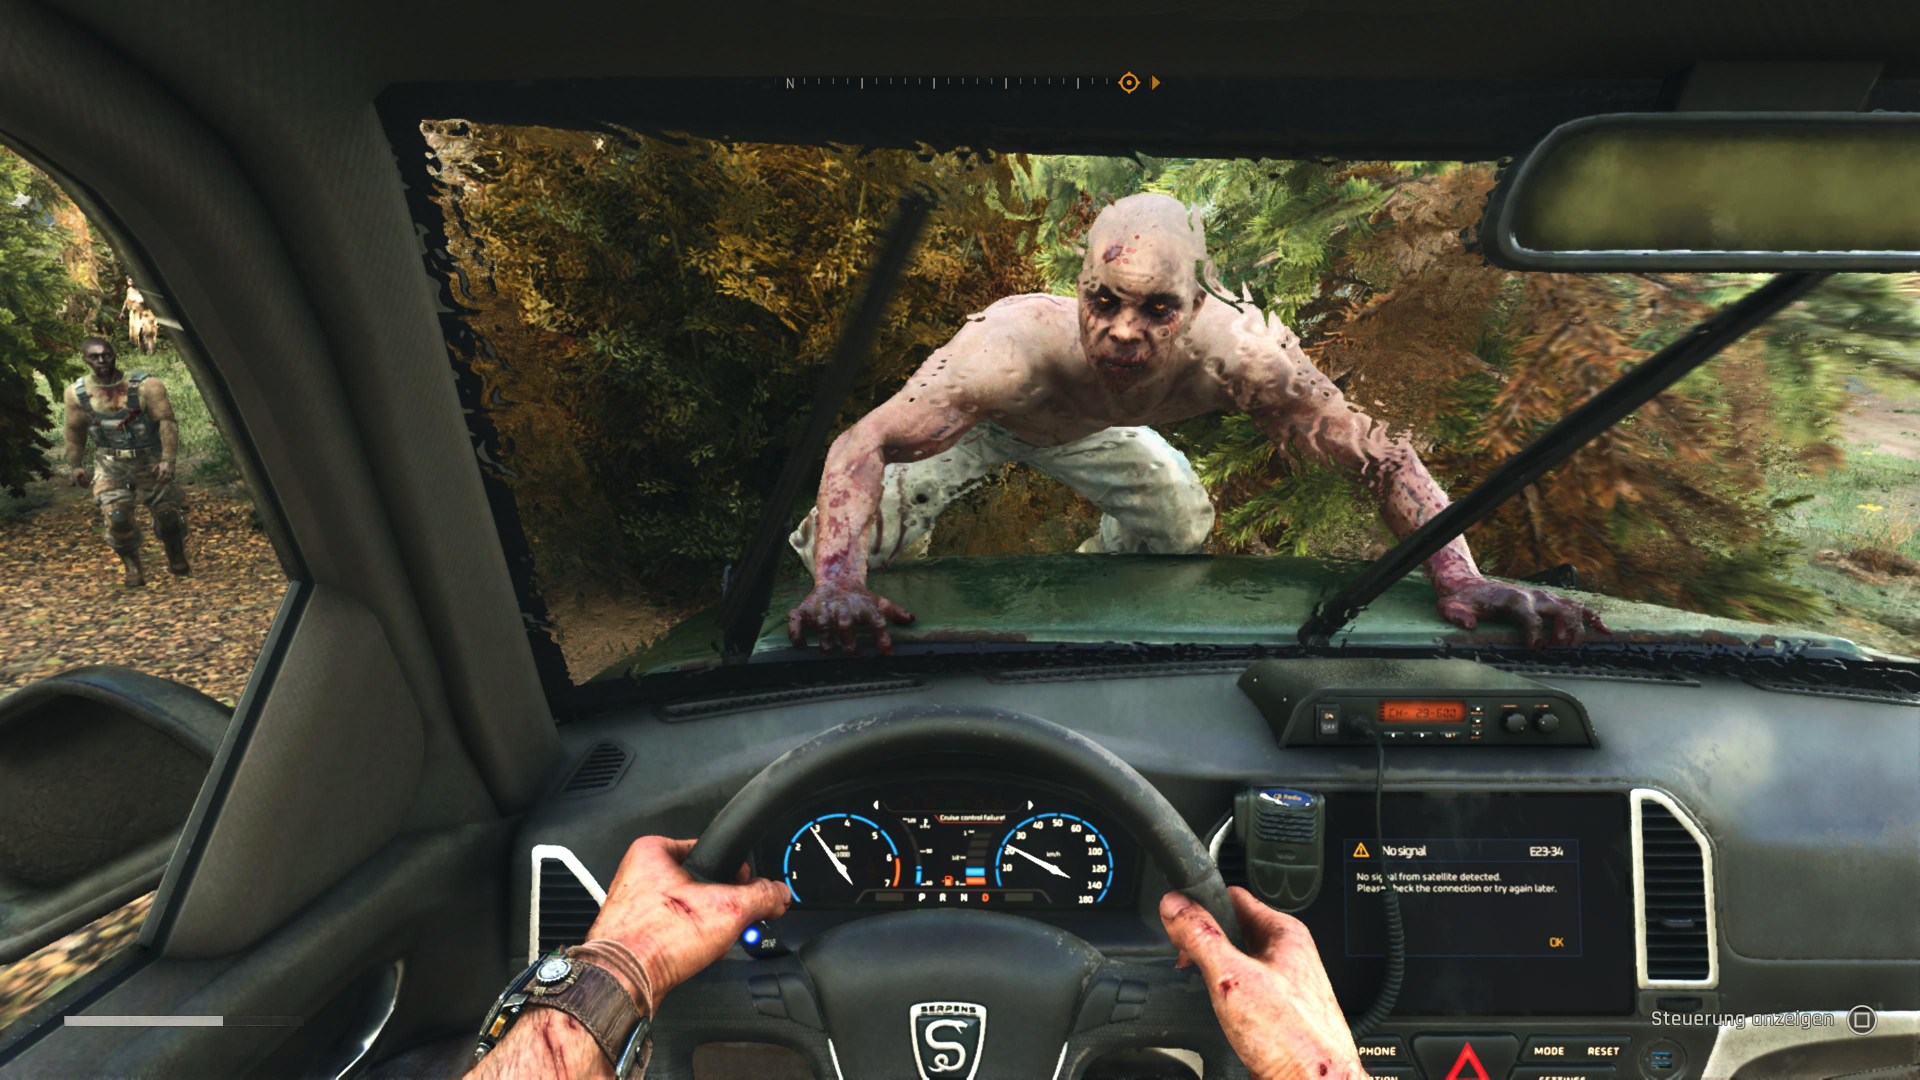
Watch the day–night cycle
Only go out at night if you absolutely have to. When the sun sets, Volatiles become active and will start a chase the moment they see you. If that happens, sprint immediately and try to hide in empty buildings or bushes. Safe zones and areas with UV light also keep you safe.
The upside of night: If you track down nests or Runners, you’ll find valuable items waiting.
- Quick tip: There’s a time display, but it’s a bit hidden. Hold the Select button, and Kyle will raise his wristwatch into view.

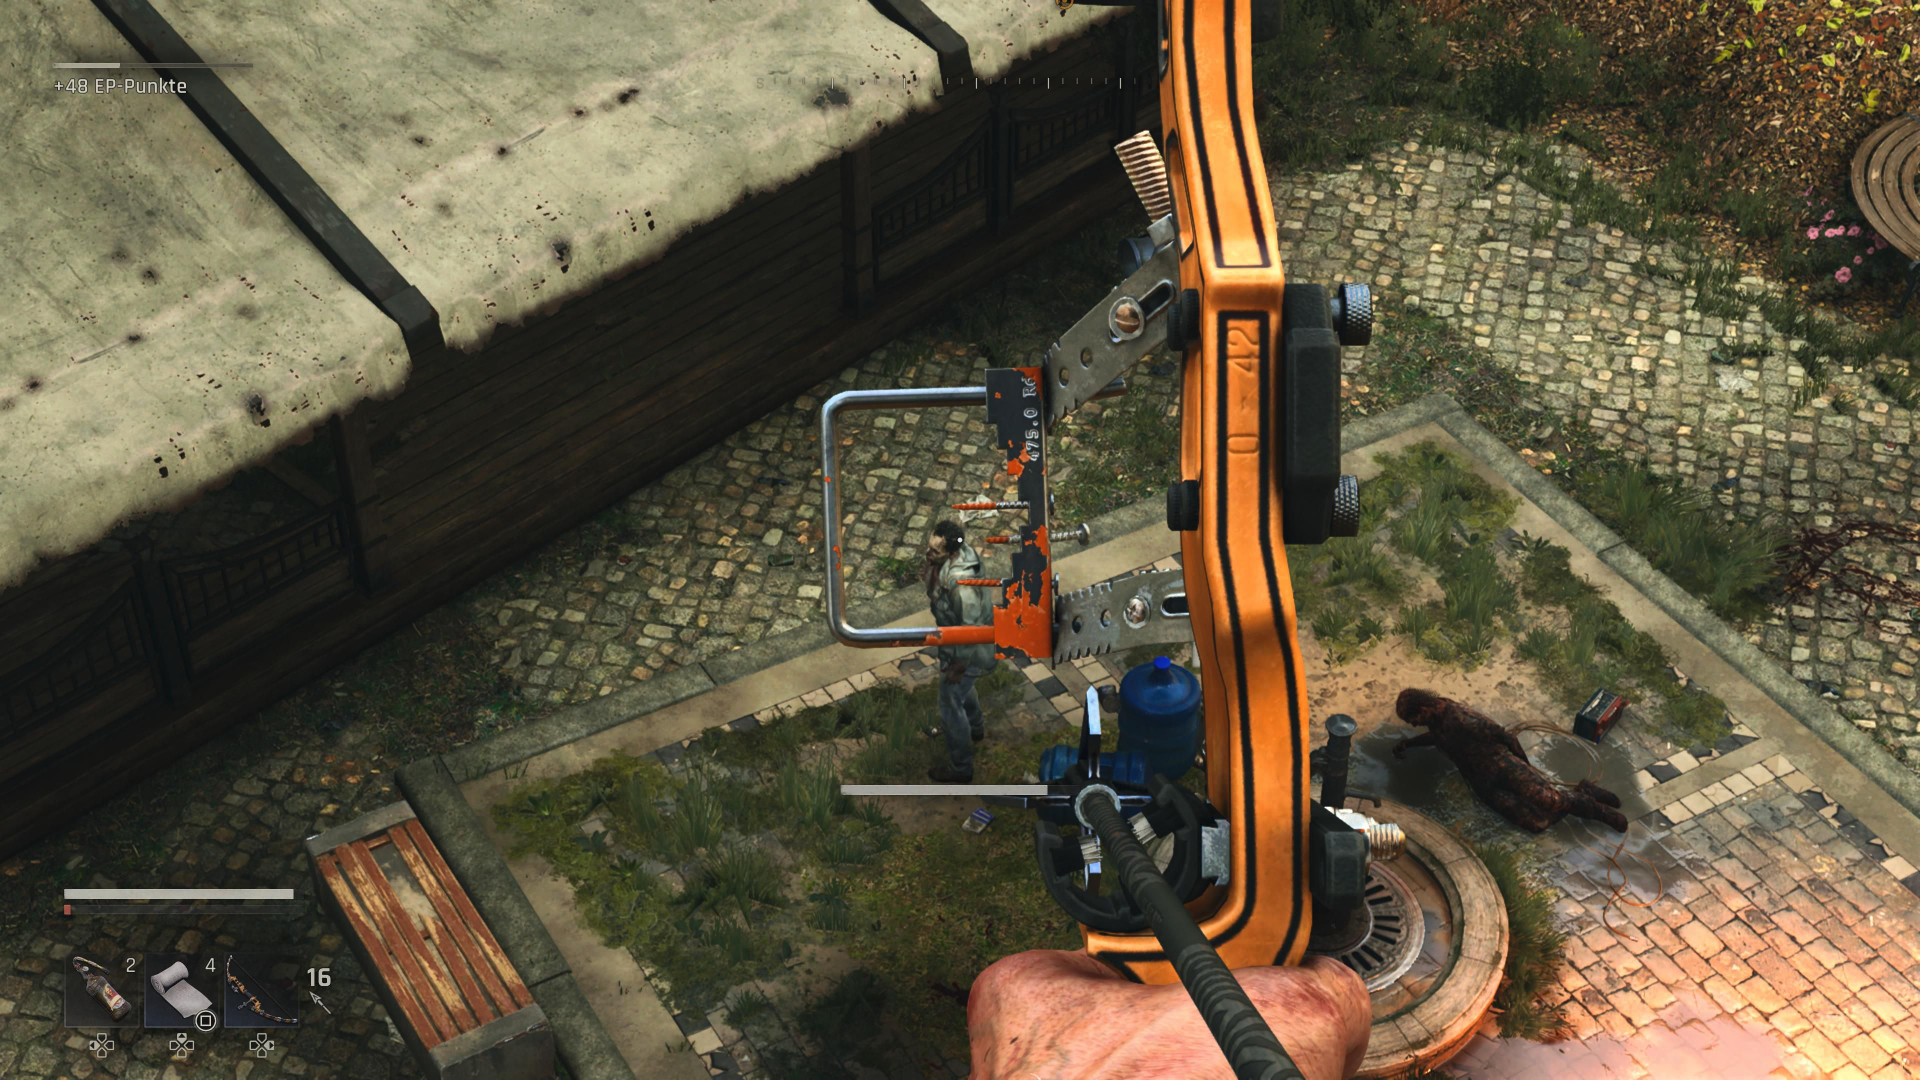
Craft the hunting bow as soon as possible
You’ll get the hunting bow blueprint fairly early in the main quest. Gather the required resources quickly and craft it at a workbench—the payoff is worth it. The hunting bow is a lethal ranged weapon that lets you thin out large zombie hordes silently and from a safe distance. You’ll need to craft arrows regularly, but some can be retrieved after firing.
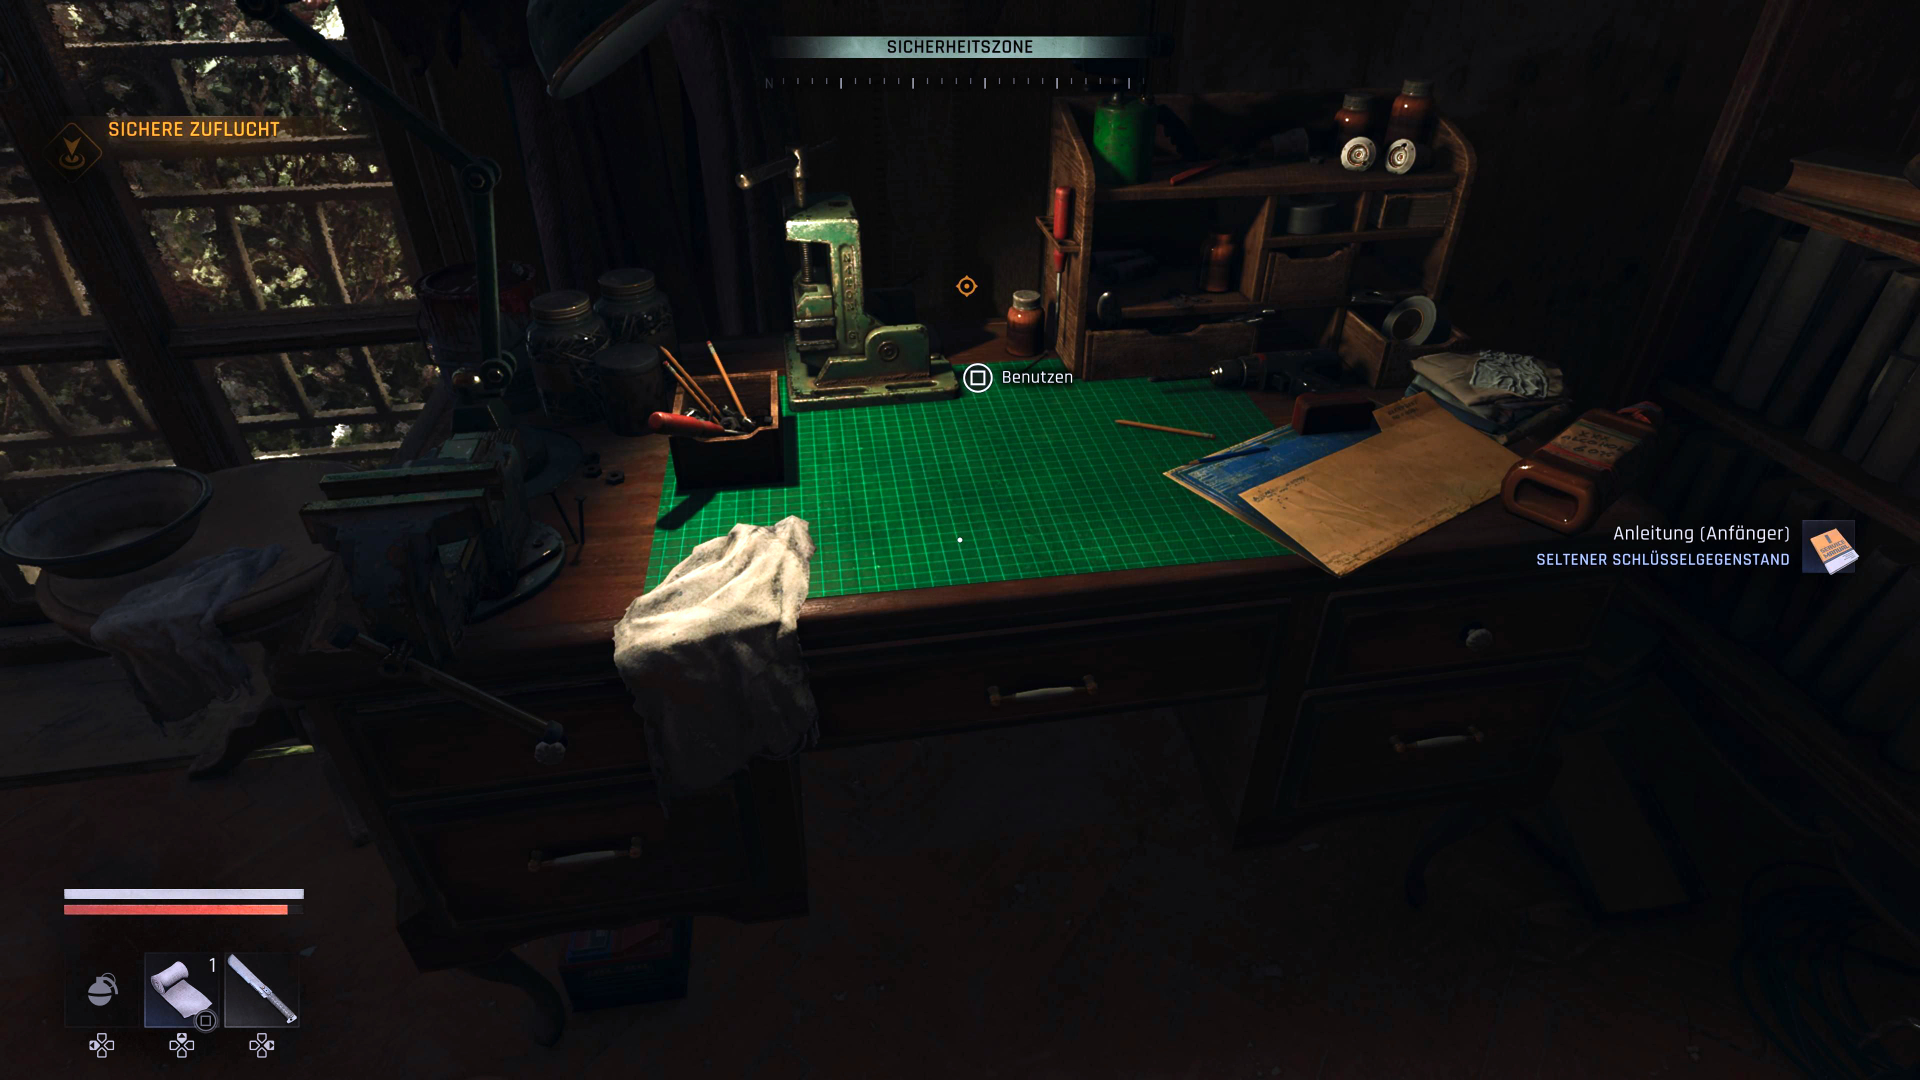
Upgrade weapons and items regularly
In safe zones like the town hall, you’ll always find a workbench where you can craft and upgrade weapons. You can also upgrade all gadgets, consumables, and ammo types — do this consistently. It gives you an advantage later on, especially when tougher enemies show up.
Use explosions with caution
Explosives in Dying Light: The Beast are both a blessing and a curse. Gas canisters and Molotov cocktails can wipe out groups of infected quickly, but they’re loud. And noise attracts even more enemies—the same goes for the new firearms. Use them only in an emergency!
If you’re stuck in a fight or trying to secure resources, think carefully about whether explosives are worth it. In many cases, it’s better to use silent lures to distract the infected and clear a safe path. You’ll save ammo, avoid unnecessary fights, and stay undetected.
Fight smart against human enemies
Human enemies behave far more tactically than the infected. If you rush in and swing wildly, they’ll read your attacks quickly. The result: your blows get blocked or parried, Kyle loses stamina, and you take hits.
So mix up your patterns. Two quick strikes, a sidestep, and a heavy counter from behind will carry you further than button-mashing. Let your opponent swing first and parry at the right moment. That throws them off balance and makes them easier to finish. If you’re cornered, a well-placed kick often buys you space.

Prioritize stamina over brute force
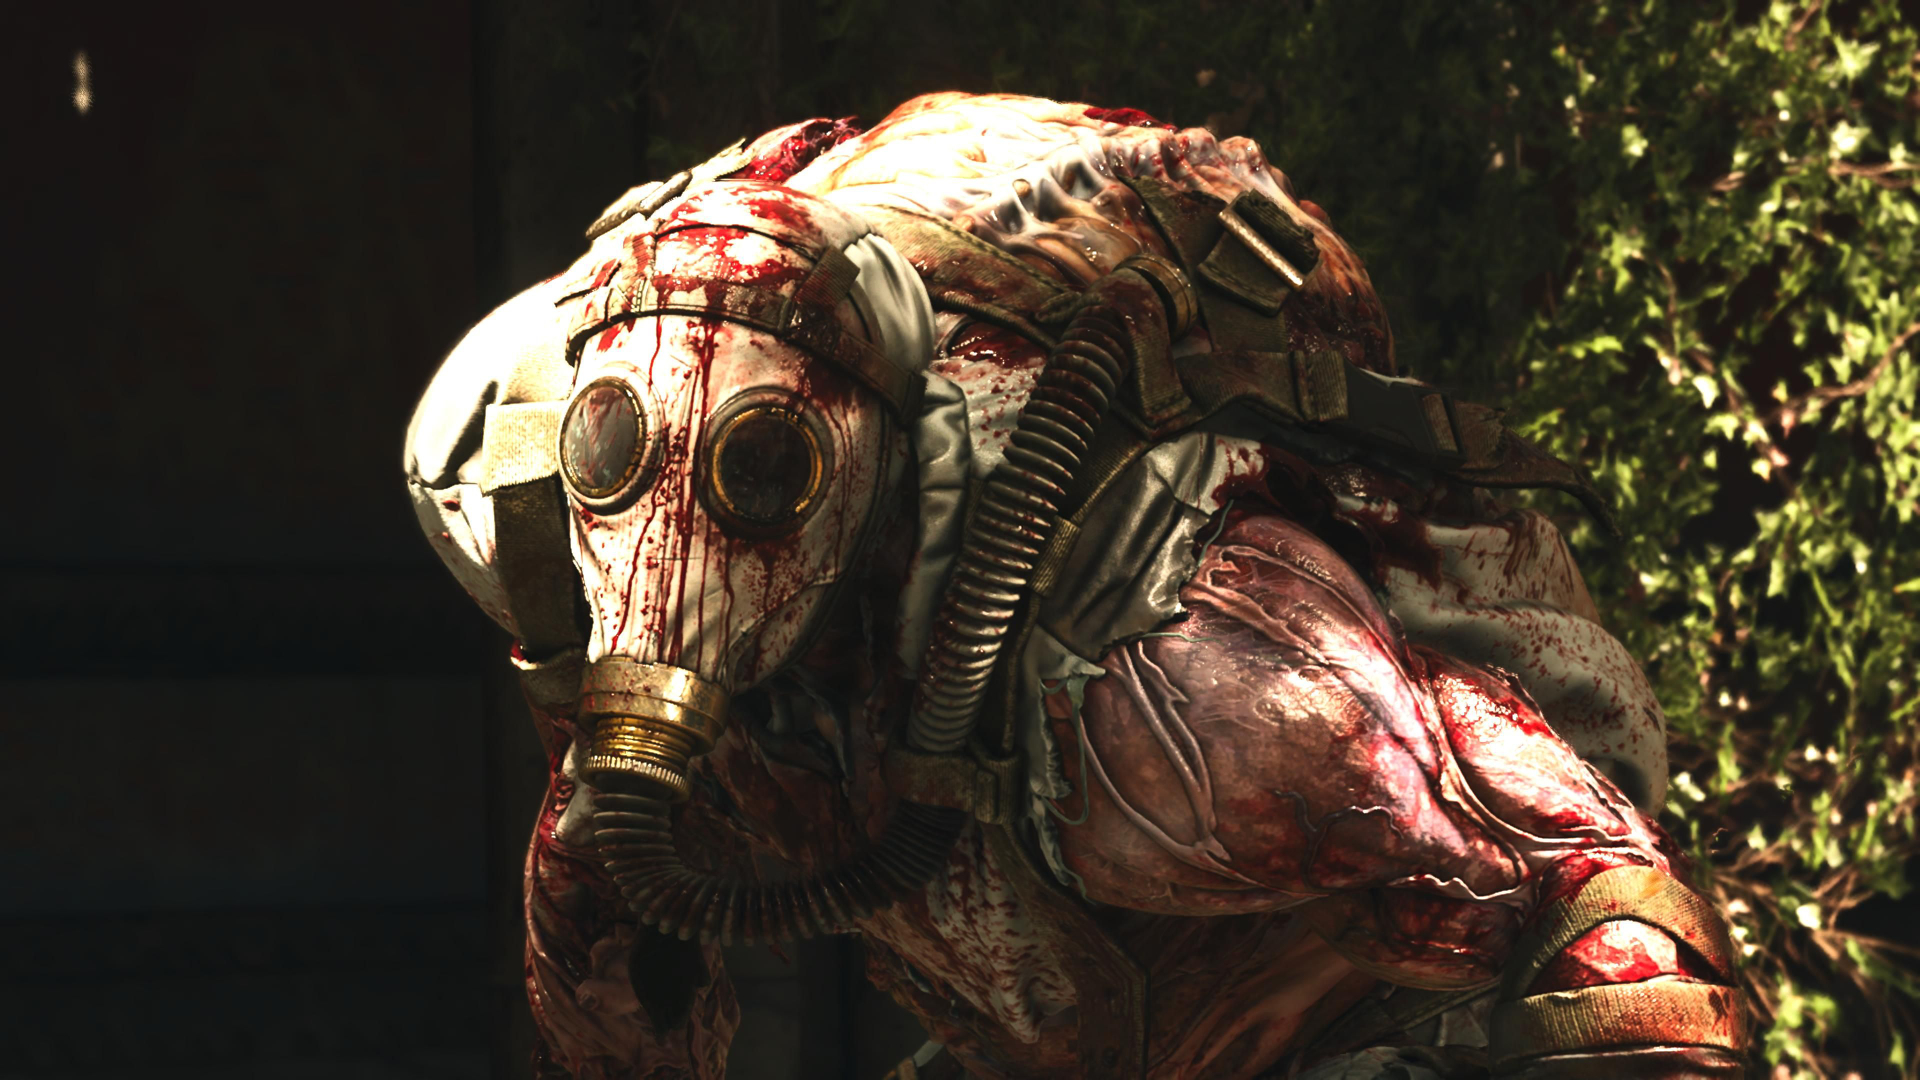
When fighting the infected, mobility is everything. Especially when multiple zombies attack at once, stamina is your most valuable asset. Every swing, jump, and dodge drains it. If Kyle’s stamina bar is empty, he can’t attack—even if the next hit would be decisive. Go easy on stamina-hungry moves.
- Tip: The town hall vendor sells stimulants that temporarily boost your maximum stamina.
Take side missions seriously
Shortly after the main story begins, you’ll reach the town hall as part of the main quest. It soon becomes a safe zone and the central hub for side activities, where numerous optional quests await.
- Tip: Complete as many of these missions as possible as soon as they’re available.
Side missions don’t just hand out valuable rewards; they also raise Kyle’s character level. Some quests are time-limited or disappear after you finish the main story. Ignore them and you’ll miss content and key resources. Without side missions, you’ll also hit a point in the main quest where you’re below the recommended level.
Use Beast Mode as often as possible
When Kyle goes full beast, little can stop you. So try to fill the red bar in the bottom left as quickly as you can. Melee hits, parries, perfectly timed dodges, and even taking damage all contribute.
Kyle’s skill tree also includes special Beast abilities that you unlock over time with earned Beast Points. You only get them by taking down the massive chimeras. These fights are demanding, but worth it. Olivia will occasionally radio in hints about their locations.