

Five hidden strongboxes with tricky mechanics: This guide shows you how to crack every safe puzzle in Crimson Desert and claim the valuable rewards.
Hernand is packed with worthwhile loot locked behind secure strongboxes. Unlike regular chests, these safes can’t just be opened on the spot—each one requires its own unique approach. On top of that, you’ll usually be sneaking through guarded buildings, which can quickly count as trespassing in Crimson Desert. We’ll show you where to find all five strongboxes, how each puzzle works, and what rewards you’ll earn.
- Note: Check the image gallery for each strongbox—besides the map markers, you’ll also find helpful clues for locations and puzzle walkthroughs.
Key Tips for All Hernand Strongboxes in Crimson Desert
Many safes are located inside restricted buildings that you can’t freely enter—unless you’ve already completed certain faction quests.
You’ll also be committing theft every time you loot a strongbox. Always bring a mask to avoid being identified, and look for alternate entry points like windows or balconies instead of using the main entrance.
If you want to open every safe, carry a few keys with you—without them, you won’t even reach some of the puzzles.
- Tip: If you’re out of keys, head to the backyard shop by the mill east of the Swamproot Ranch. The merchant sells three keys per day.
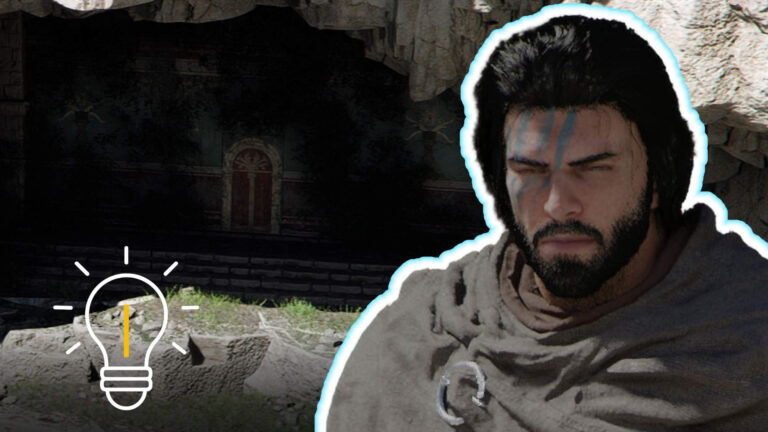
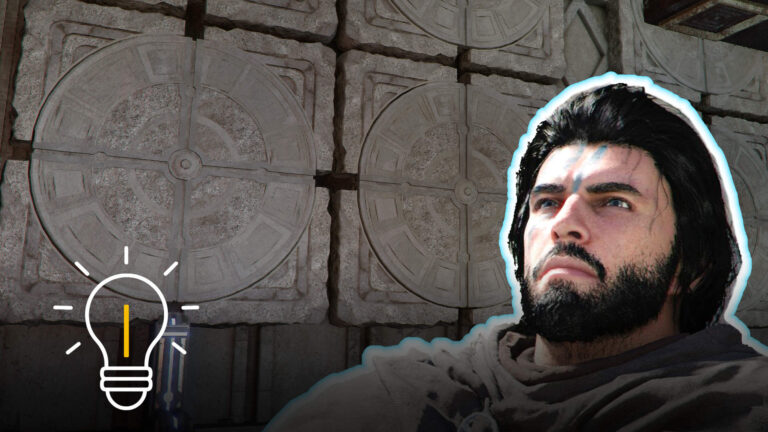
Strongbox #1 in Bluemont Manor: How to Solve the Cylinder Puzzle
Safe Location
The first safe is located in the large southern building of Bluemont Manor. You’ll find it in a bedroom on the second floor on the west side. The strongbox sits in the left corner next to the balcony door.

Puzzle Solution
This puzzle consists of several metal cylinders that function like a lock. Each one needs to be set to the correct height.
Beneath each cylinder is a rotation mechanism that determines how far it rises during testing. Lowering the setting makes the cylinder rise higher during the test, while raising it causes it to stop lower. Use the button on the right to check your current setup.
The silver tip must extend above the wooden line, while the gold section beneath it should align exactly with the wood paneling.
To align all cylinders, raise the outer ones (left and right) the most, and adjust the middle ones only slightly. Once everything is set correctly, the strongbox will open automatically.
Reward: Finely Crafted Gold Necklace
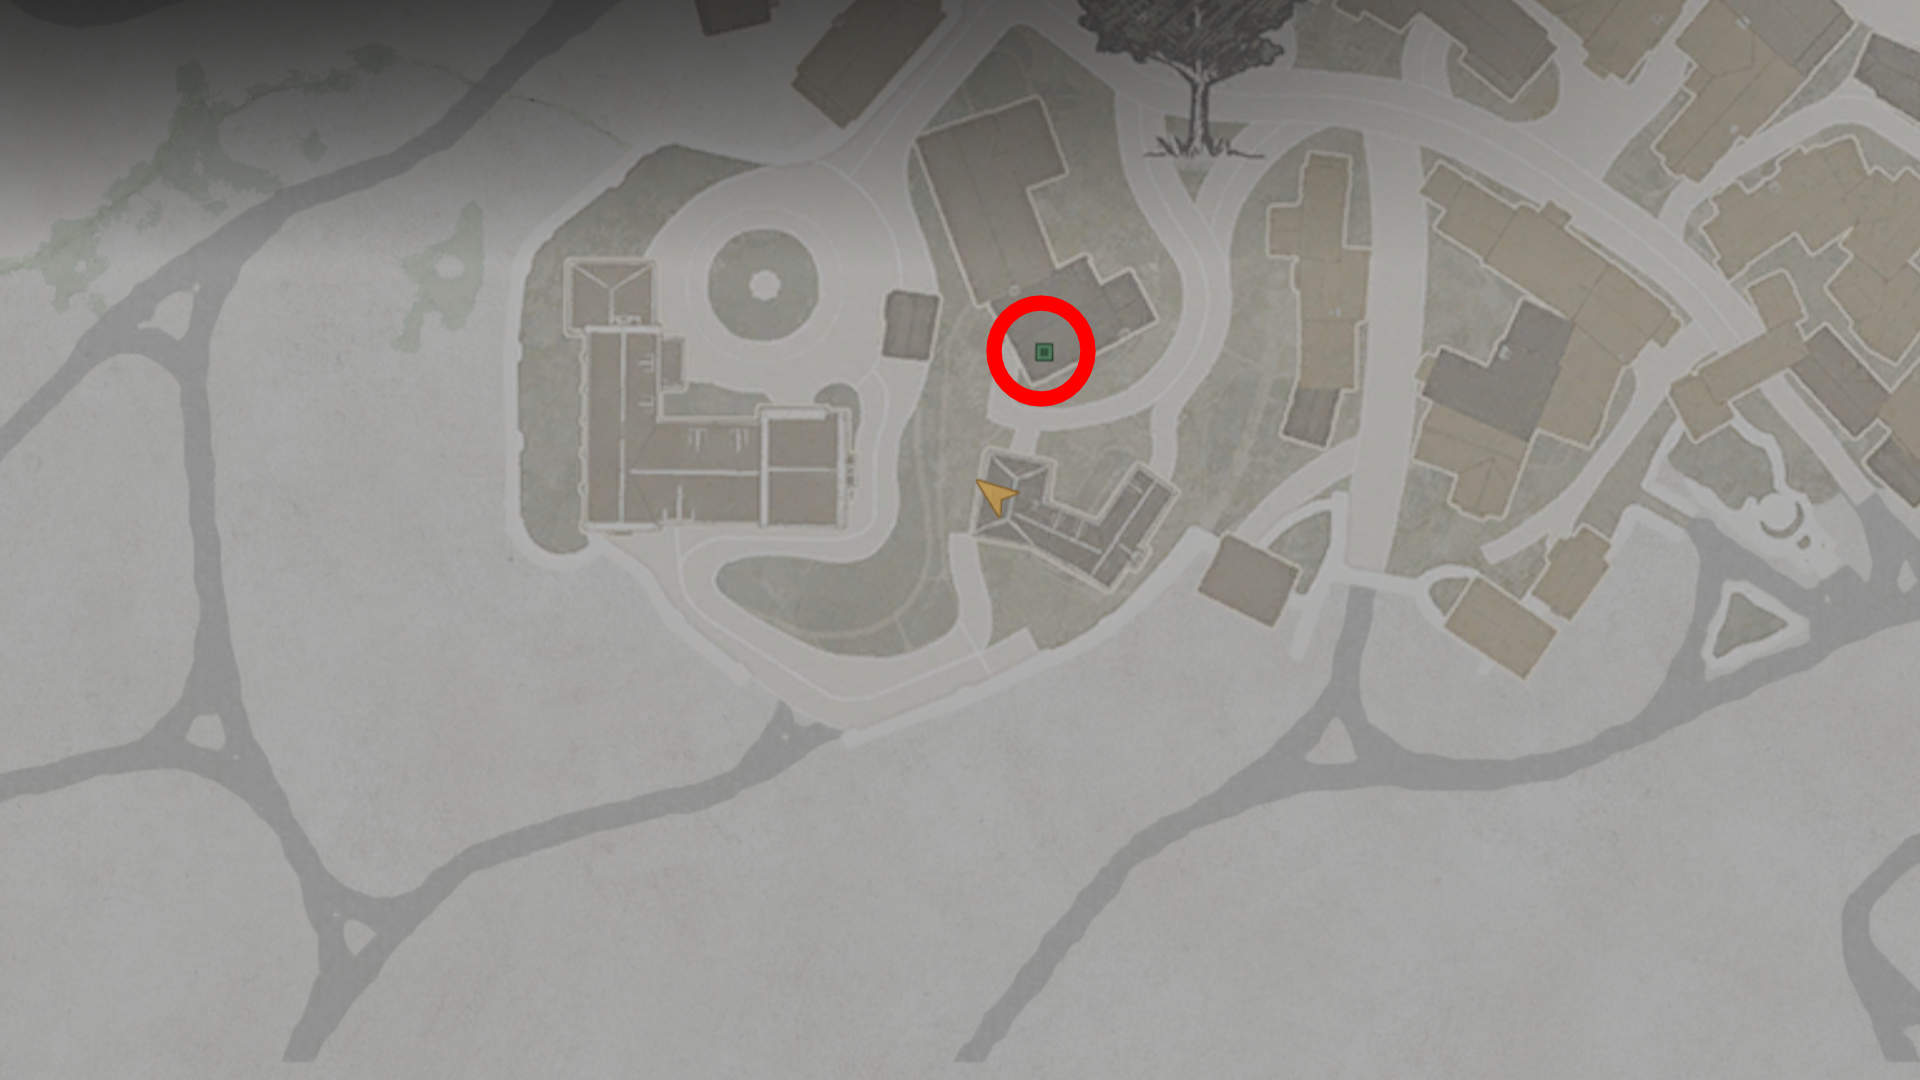
Strongbox #2 in Bluemont Manor: How to Solve the Owl Puzzle
Safe Location
The second strongbox is in the northern building of Bluemont Manor. The house is freely accessible. Head to the second floor and enter the southernmost room.
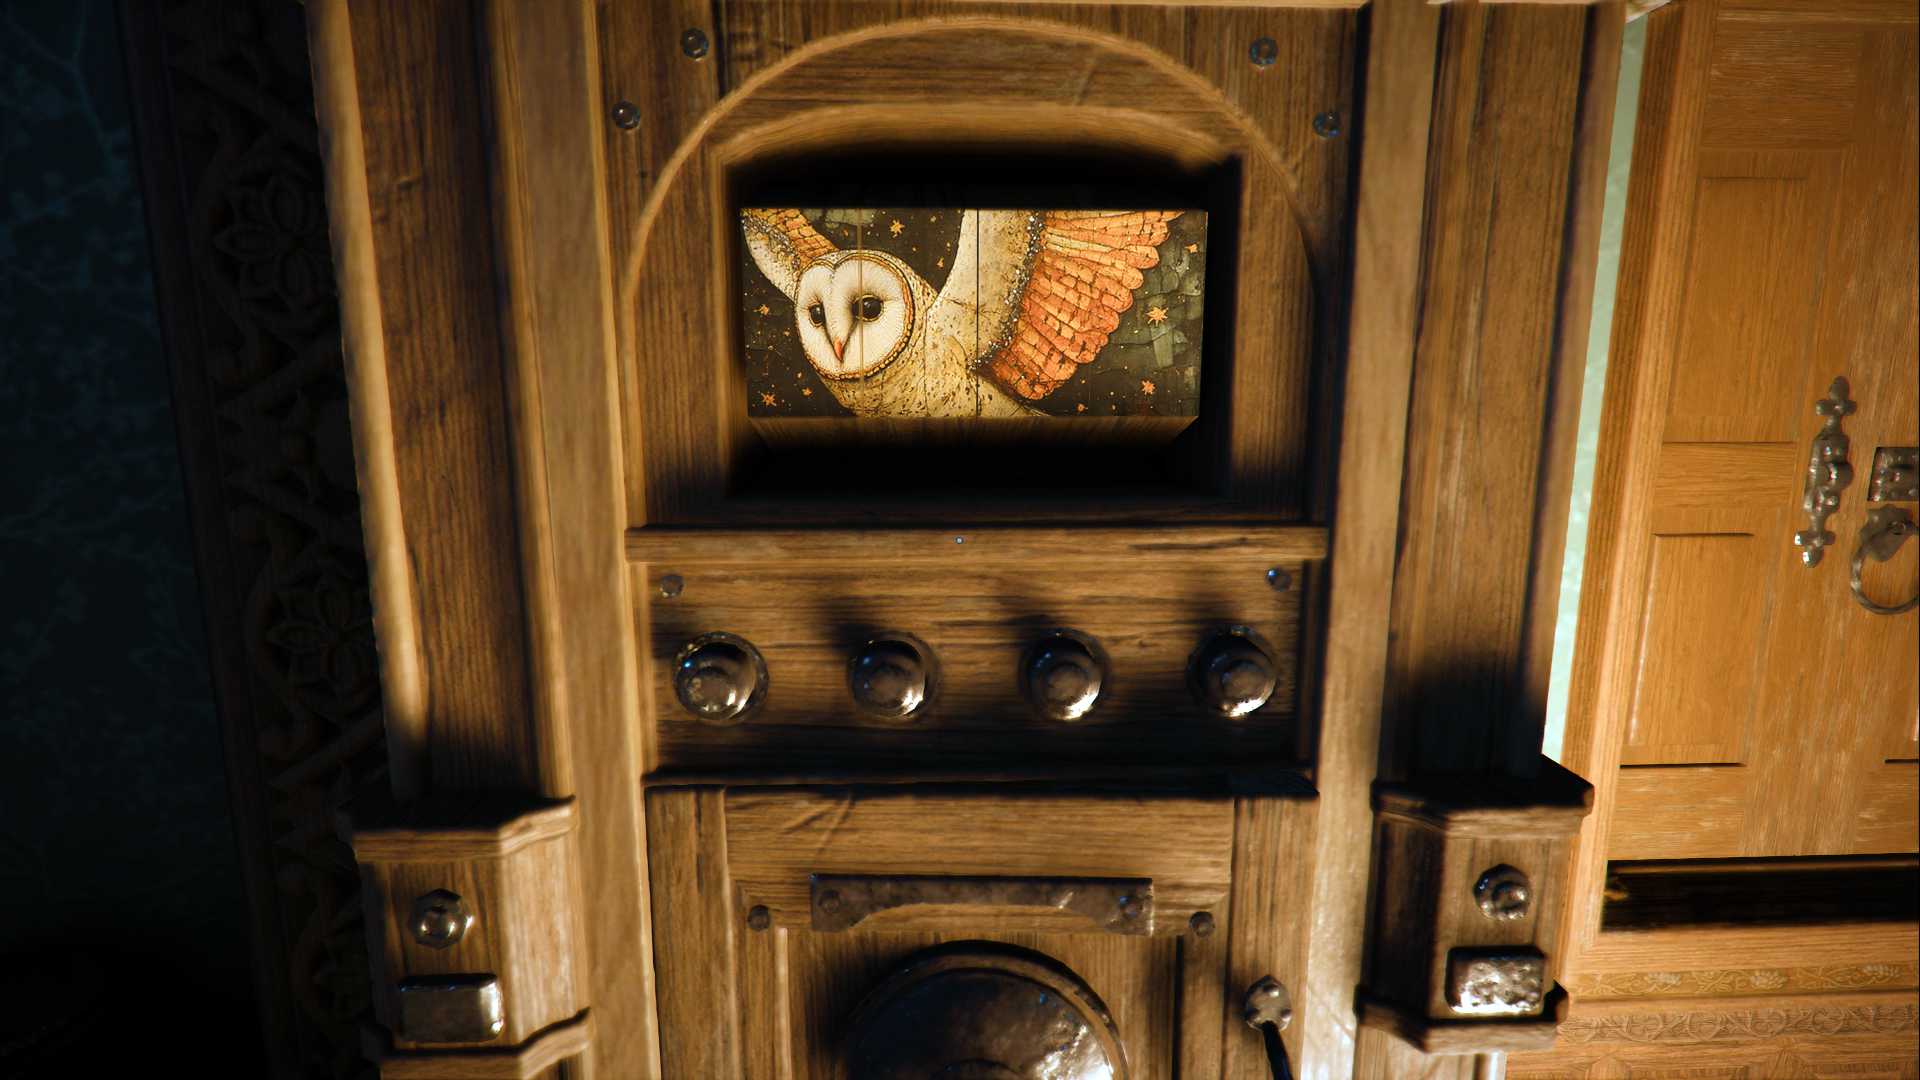
Puzzle Solution
You’re faced with a segmented owl image. Four buttons beneath it rotate different parts of the picture—sometimes multiple segments at once.
Follow these steps to complete the image:
- Press the fourth button (far right) once until segment 4 is correct (this also rotates segment 1).
- Press the first button (far left) four times to align segment 1 (affects the first three segments).
- Press the second button from the left four times to fix segment 2.
- Press the third button from the left four times to position segment 3 correctly.
Once all segments align, the safe will open.
Reward: Oath of Darkness Earring
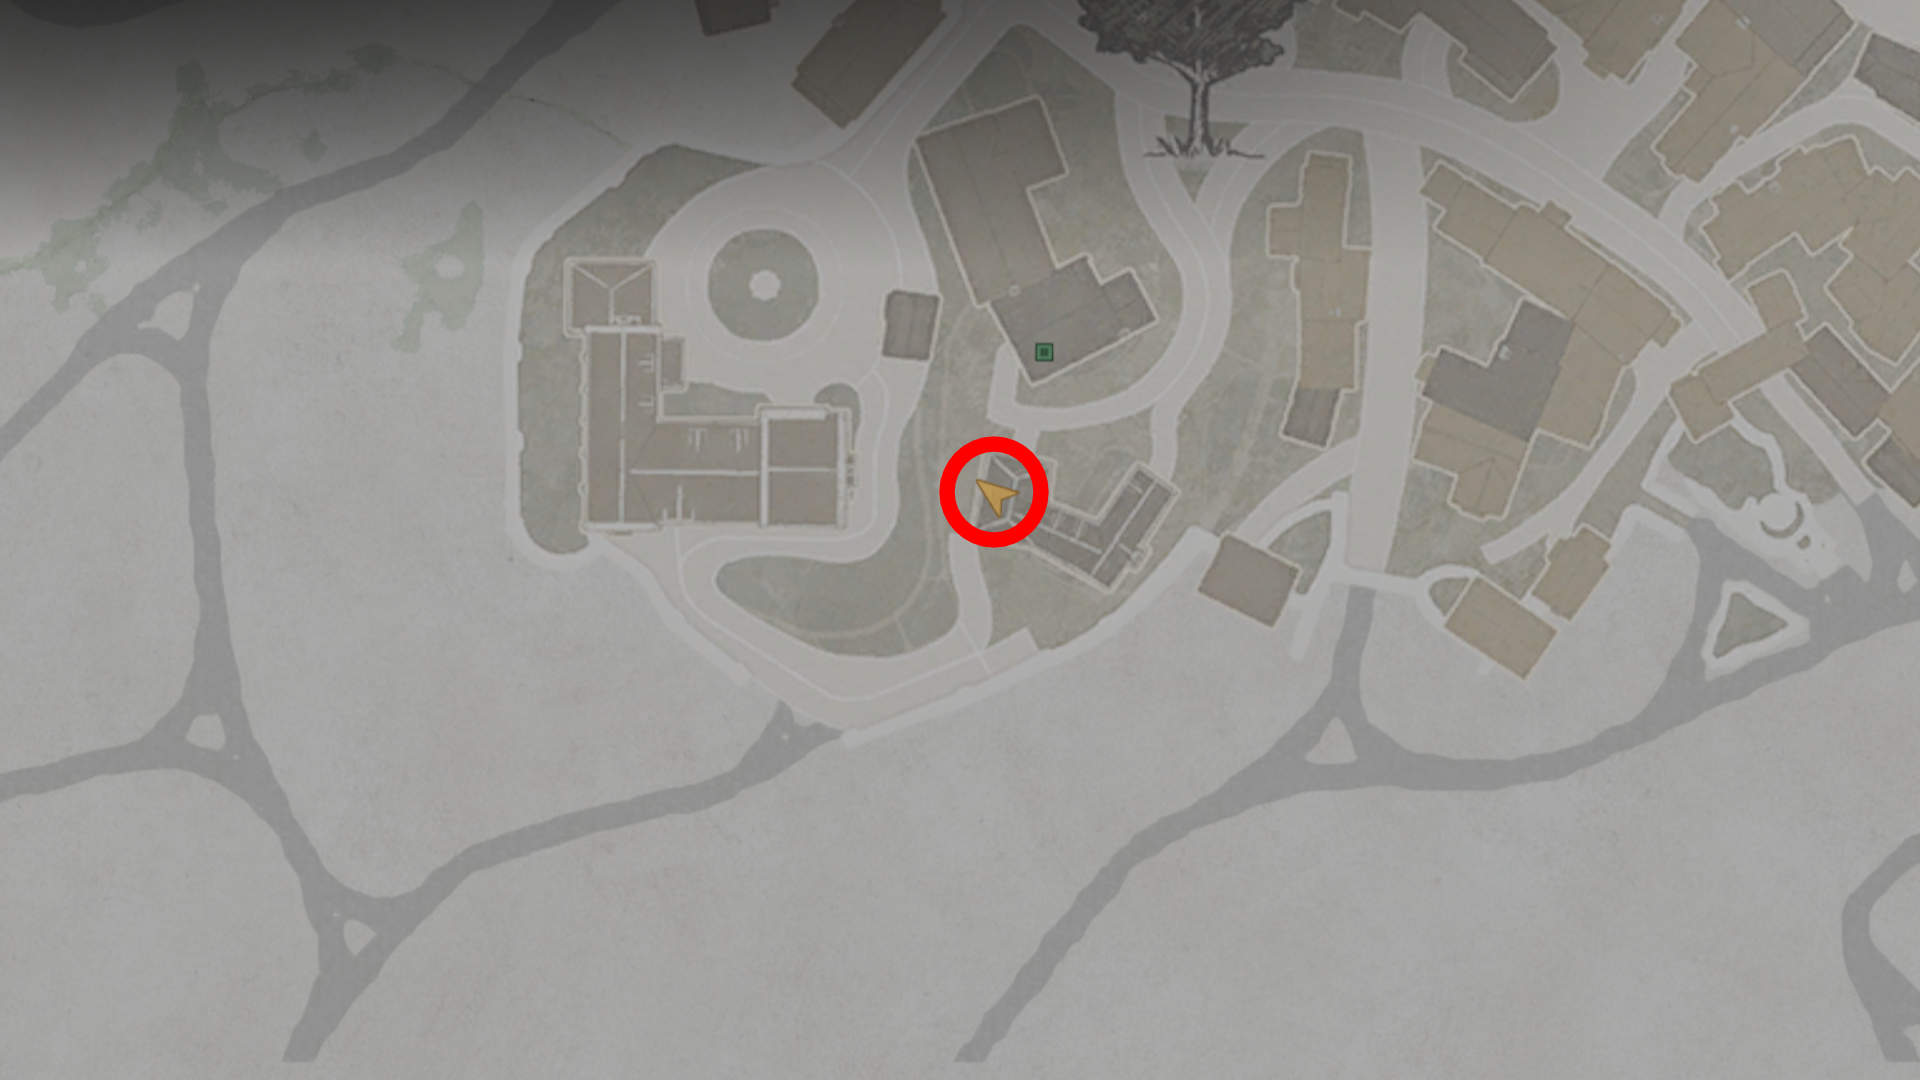
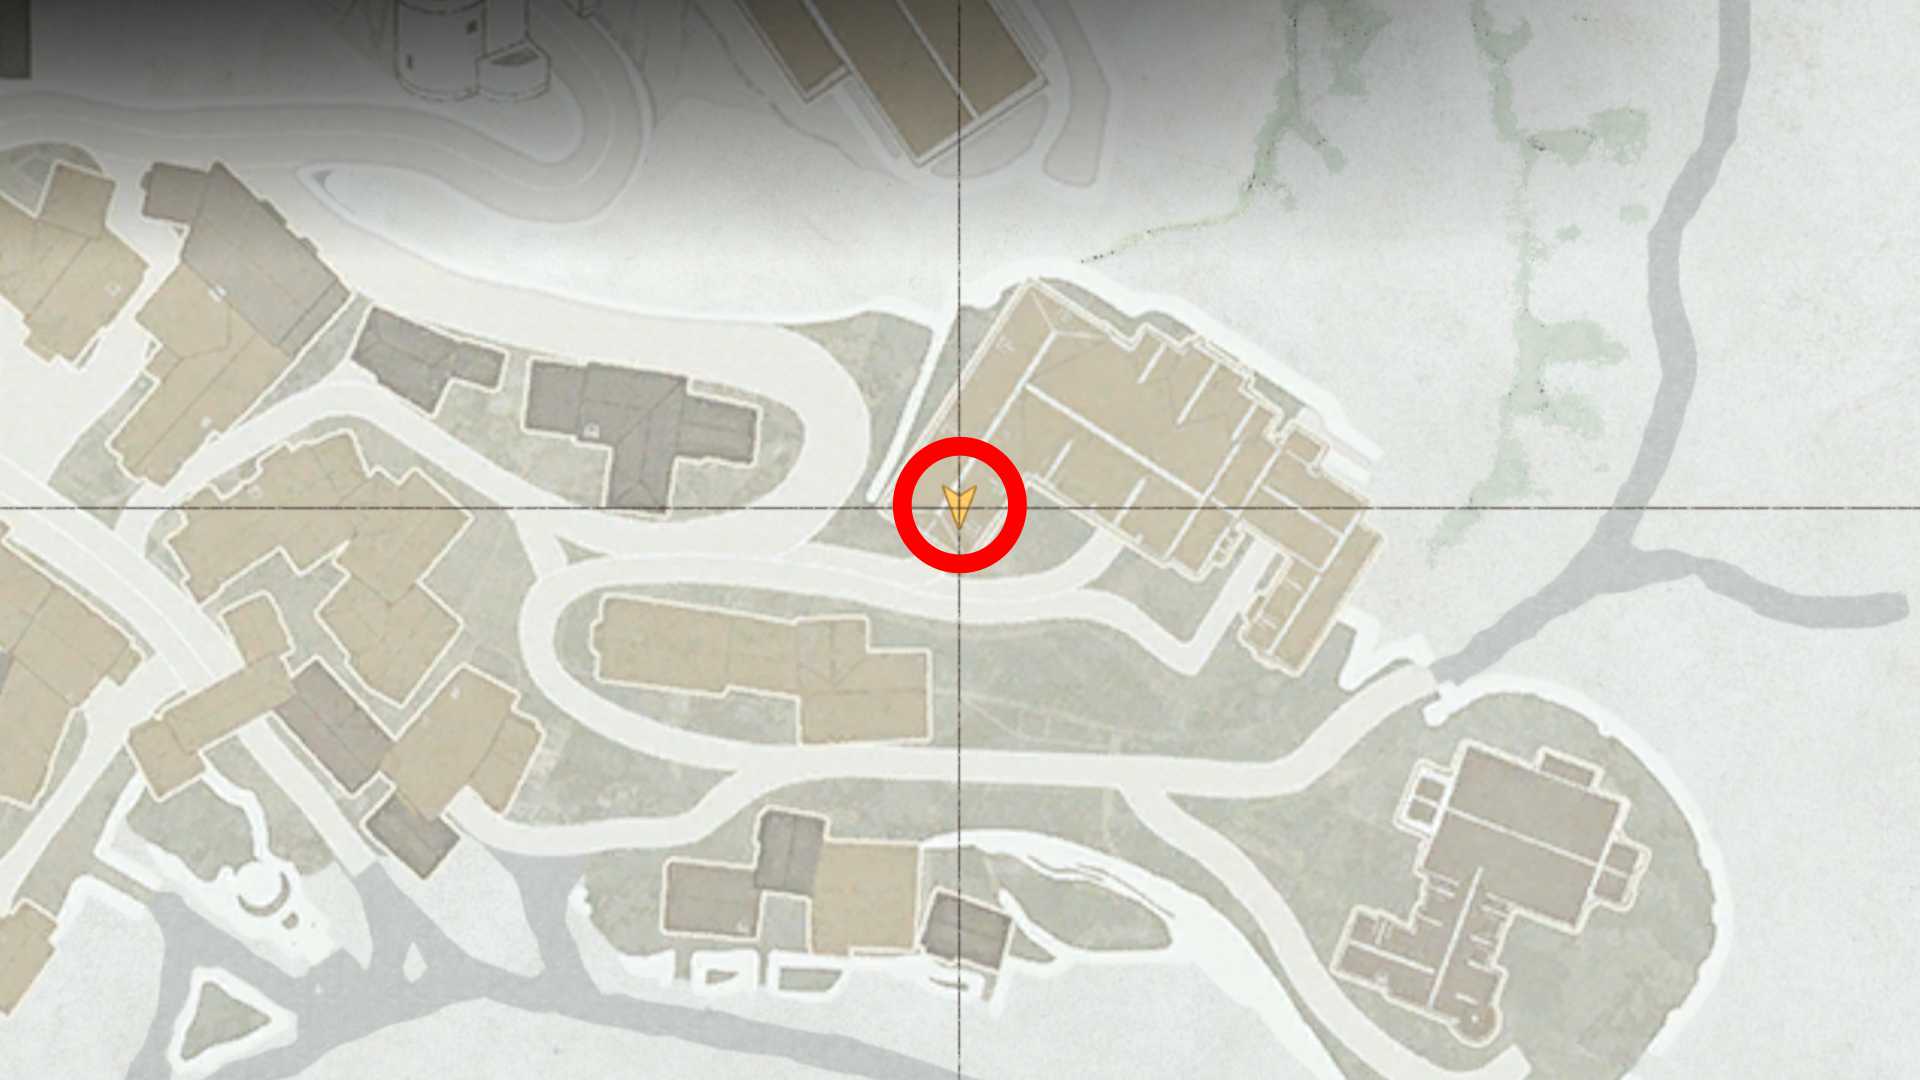
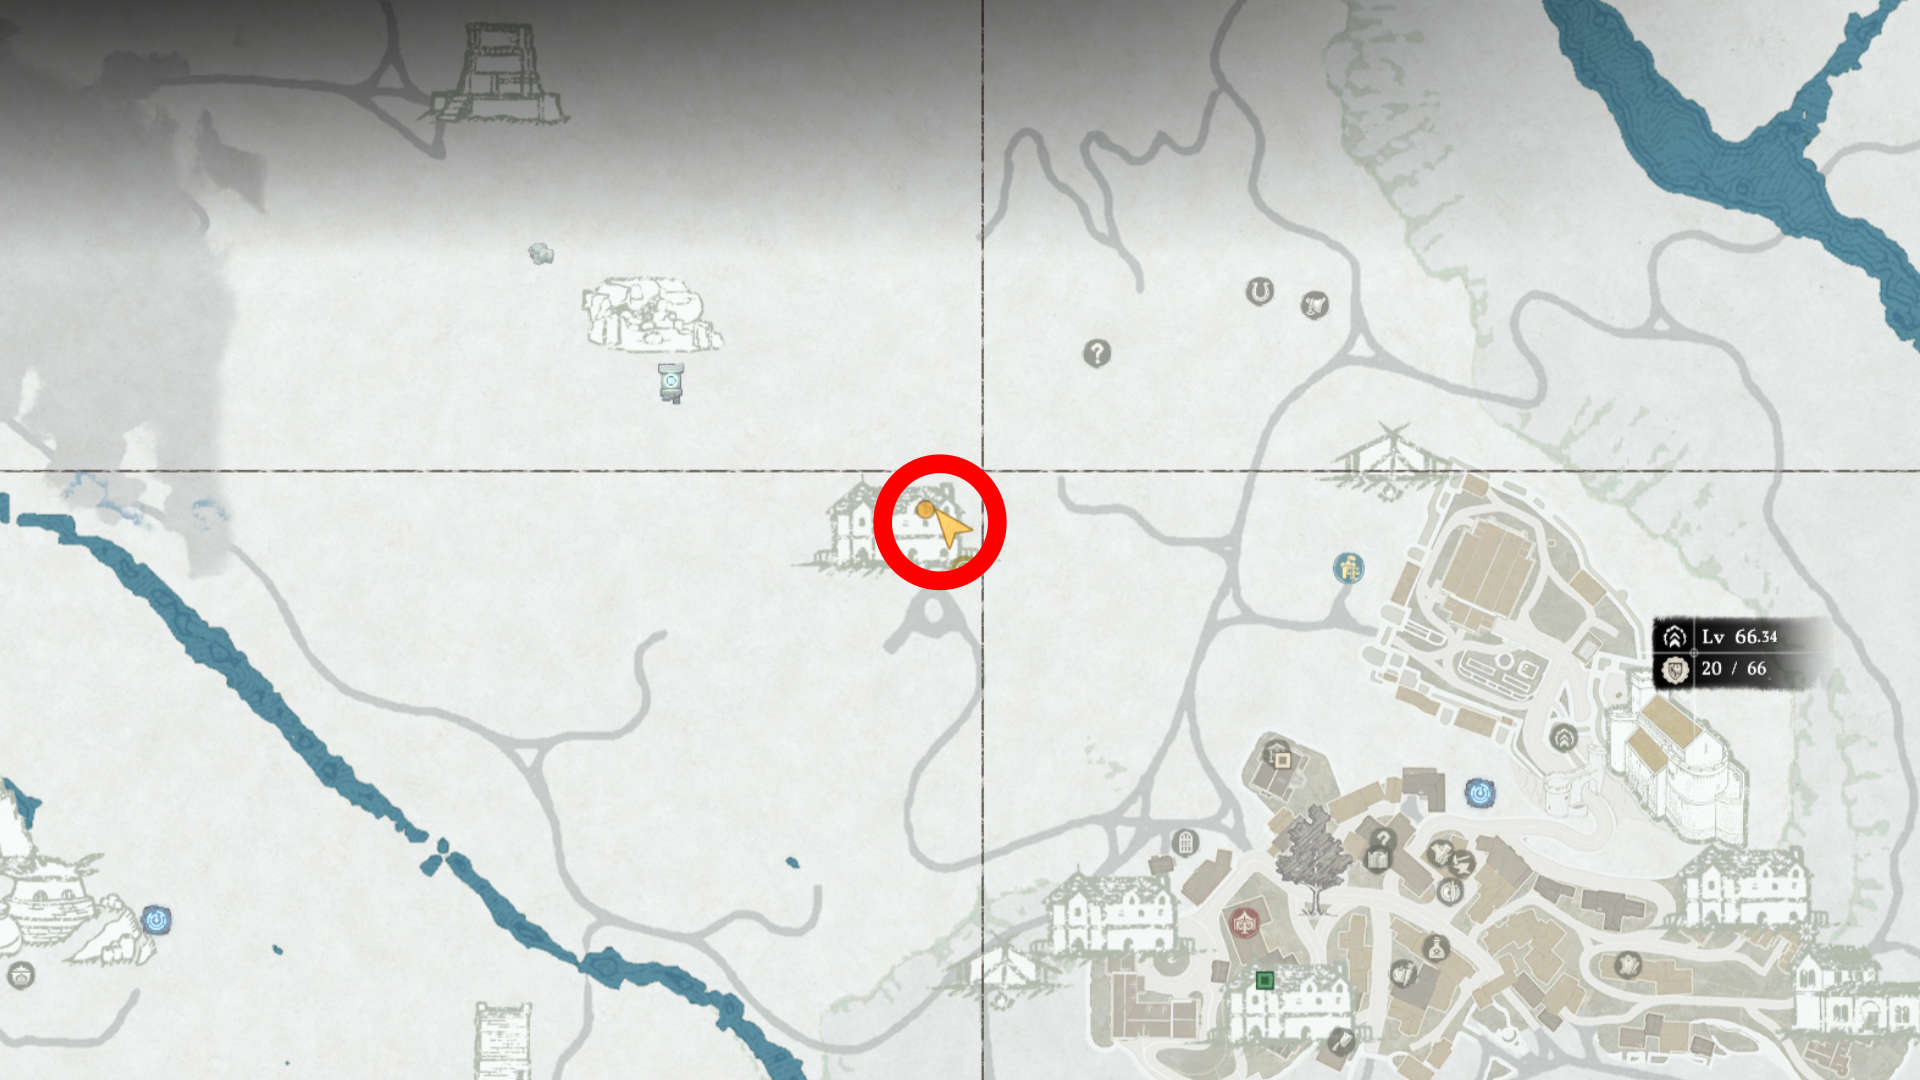
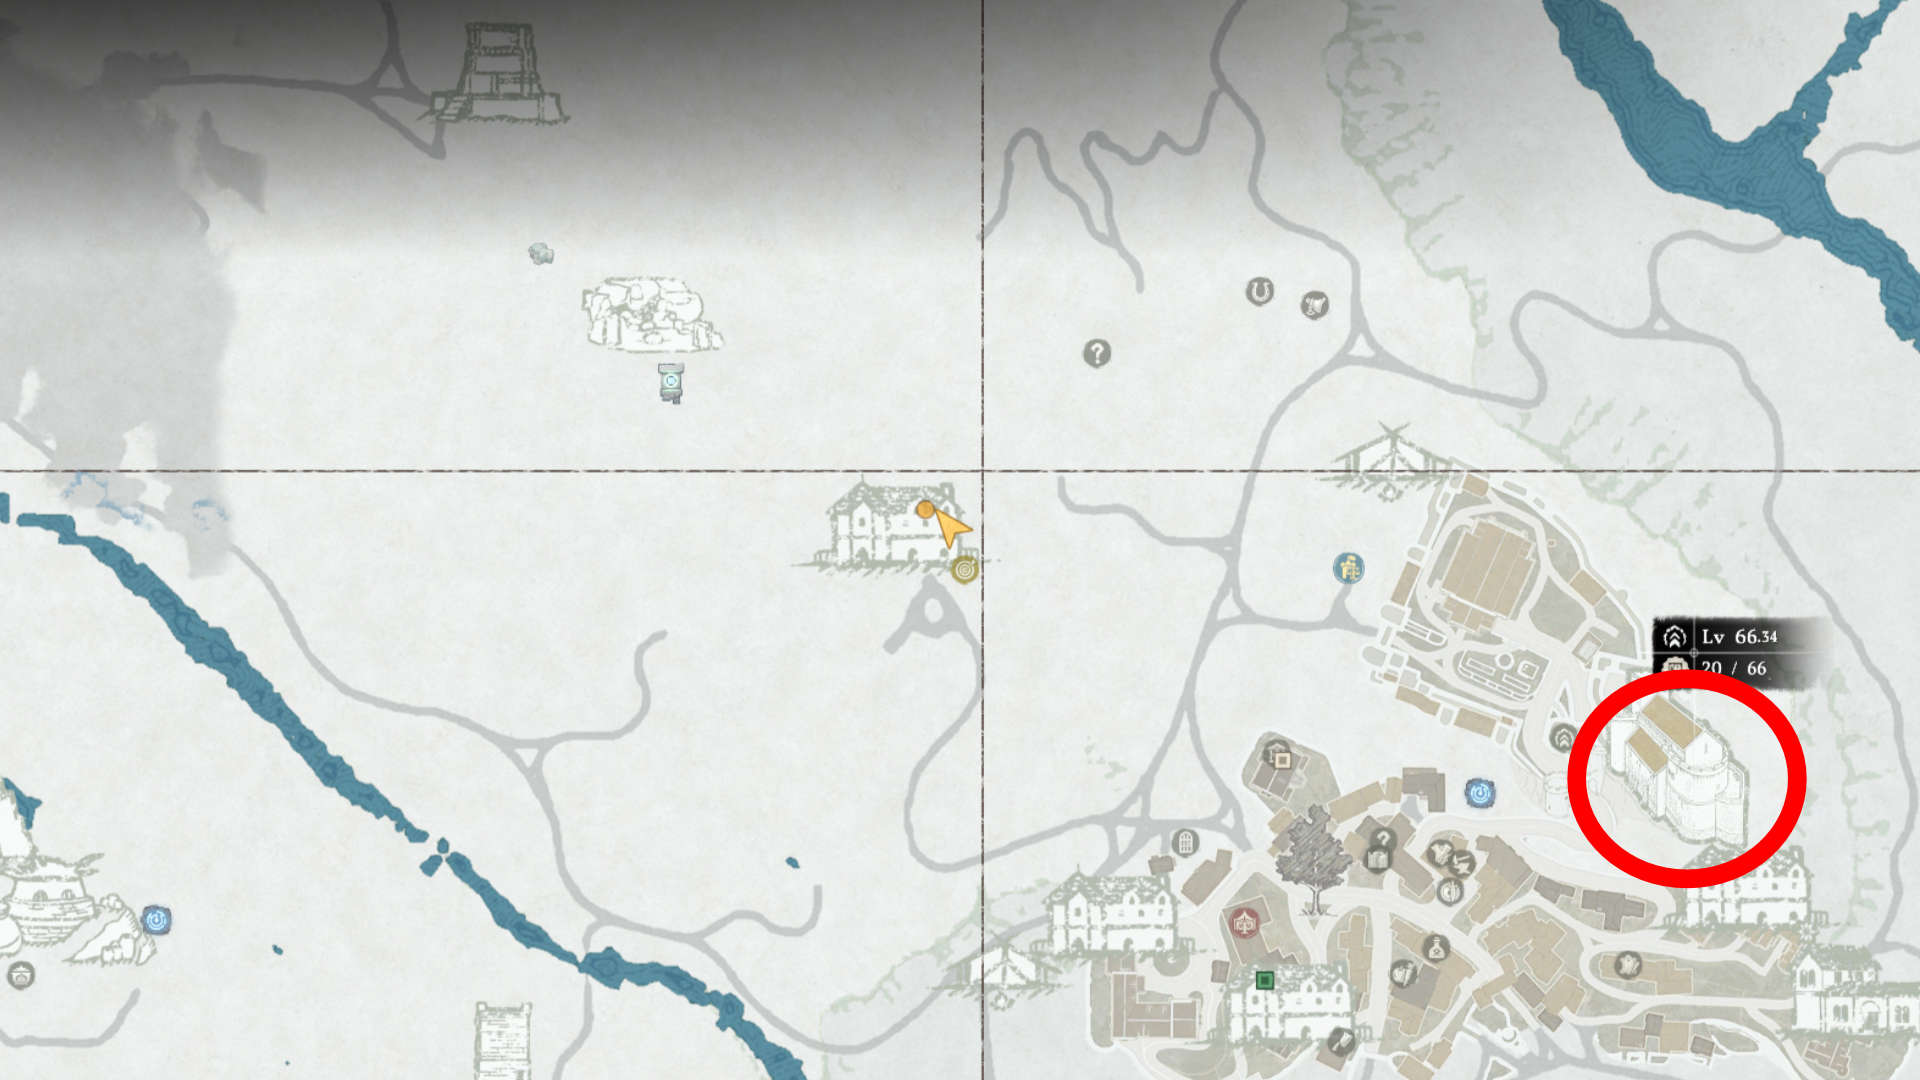
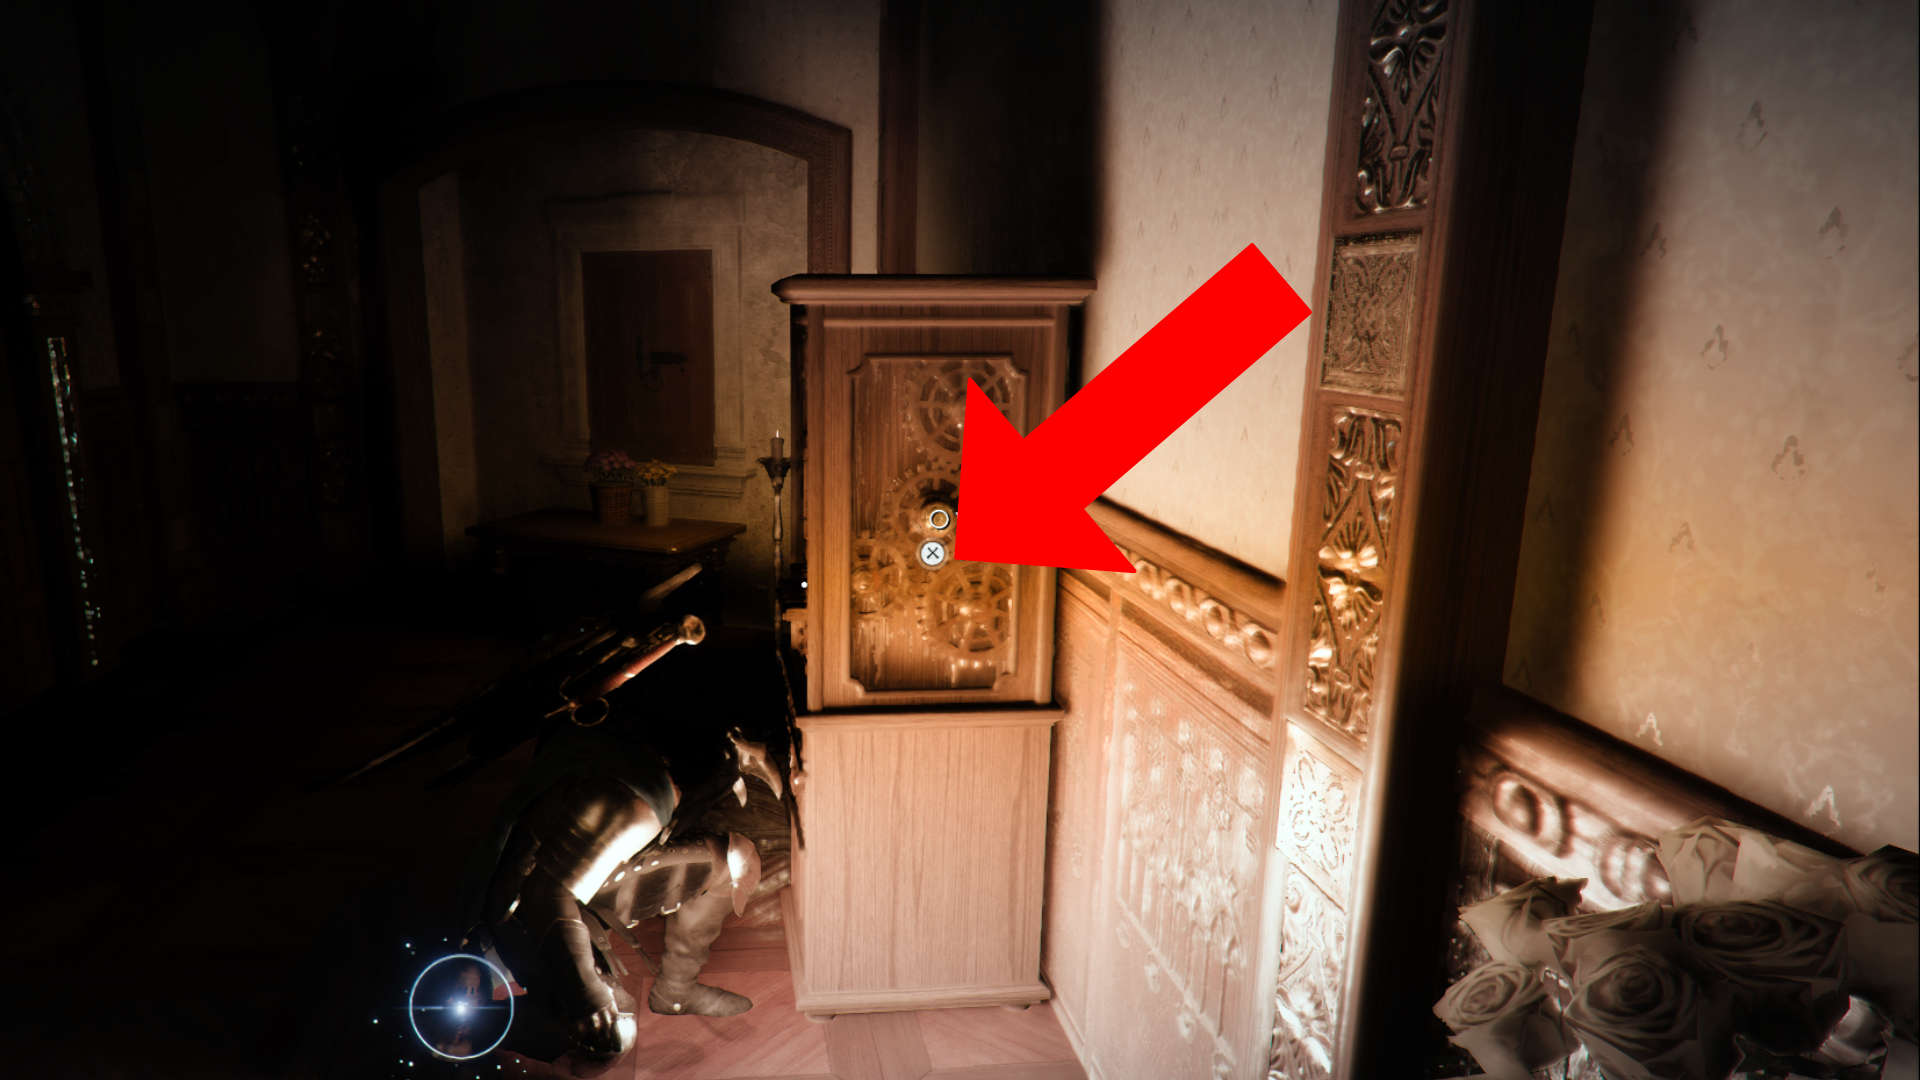
Strongbox #3 in the Hillside: Cylinder Puzzle, Round Two
Safe Location
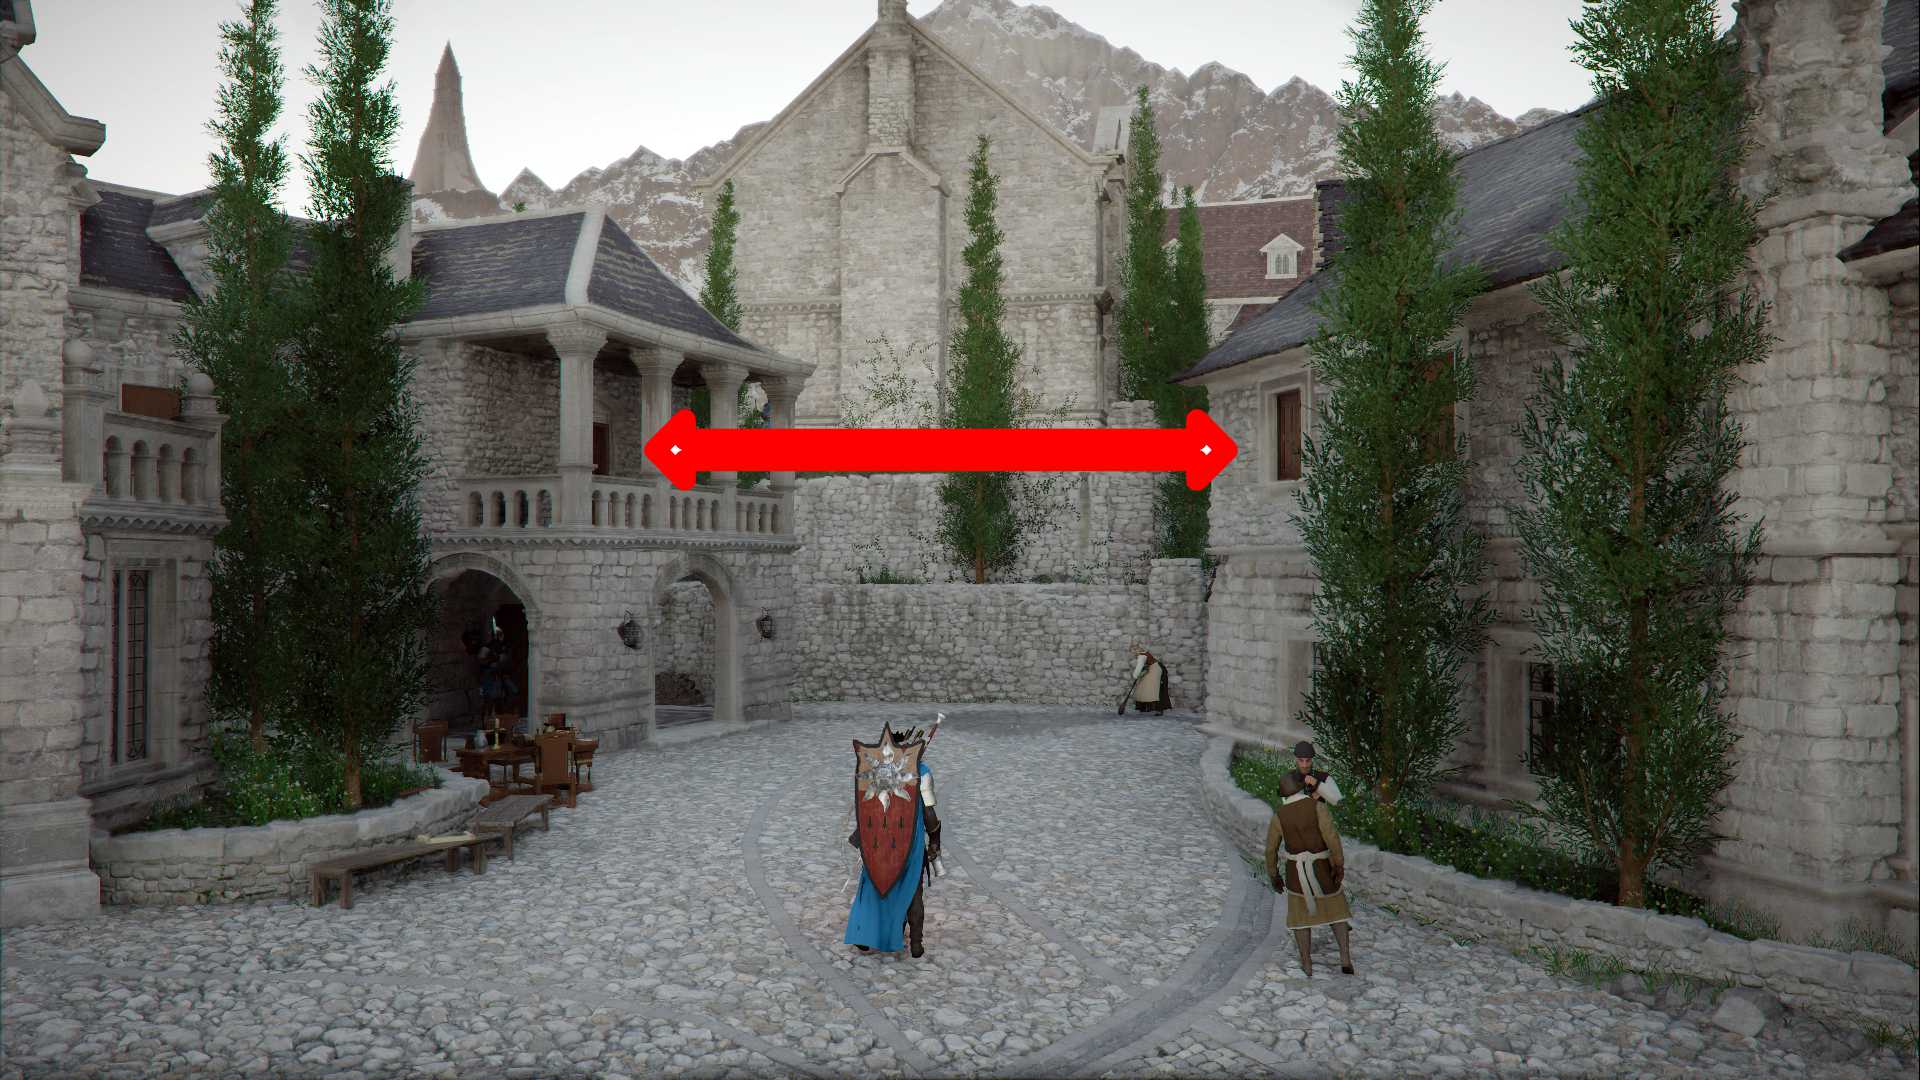
You’ll find the third strongbox in the Hillside Manor between the church and the castle. The main entrance is heavily guarded, but you can climb through a window on the southwest side to reach the second floor.
Puzzle Solution
This puzzle is identical to the cylinder puzzle in the southern Bluemont Manor:
- Adjust each cylinder individually using the rotation mechanism.
- Use the test button to check the height.
- Pay attention to the position of the silver and gold segments.
- Raise the outer cylinders more, and the middle ones only slightly.
Once everything is aligned, the safe opens.
Reward: Saint’s Necklace – grants a temporary stamina boost when equipped and activated with L1/LB + R1/RB.
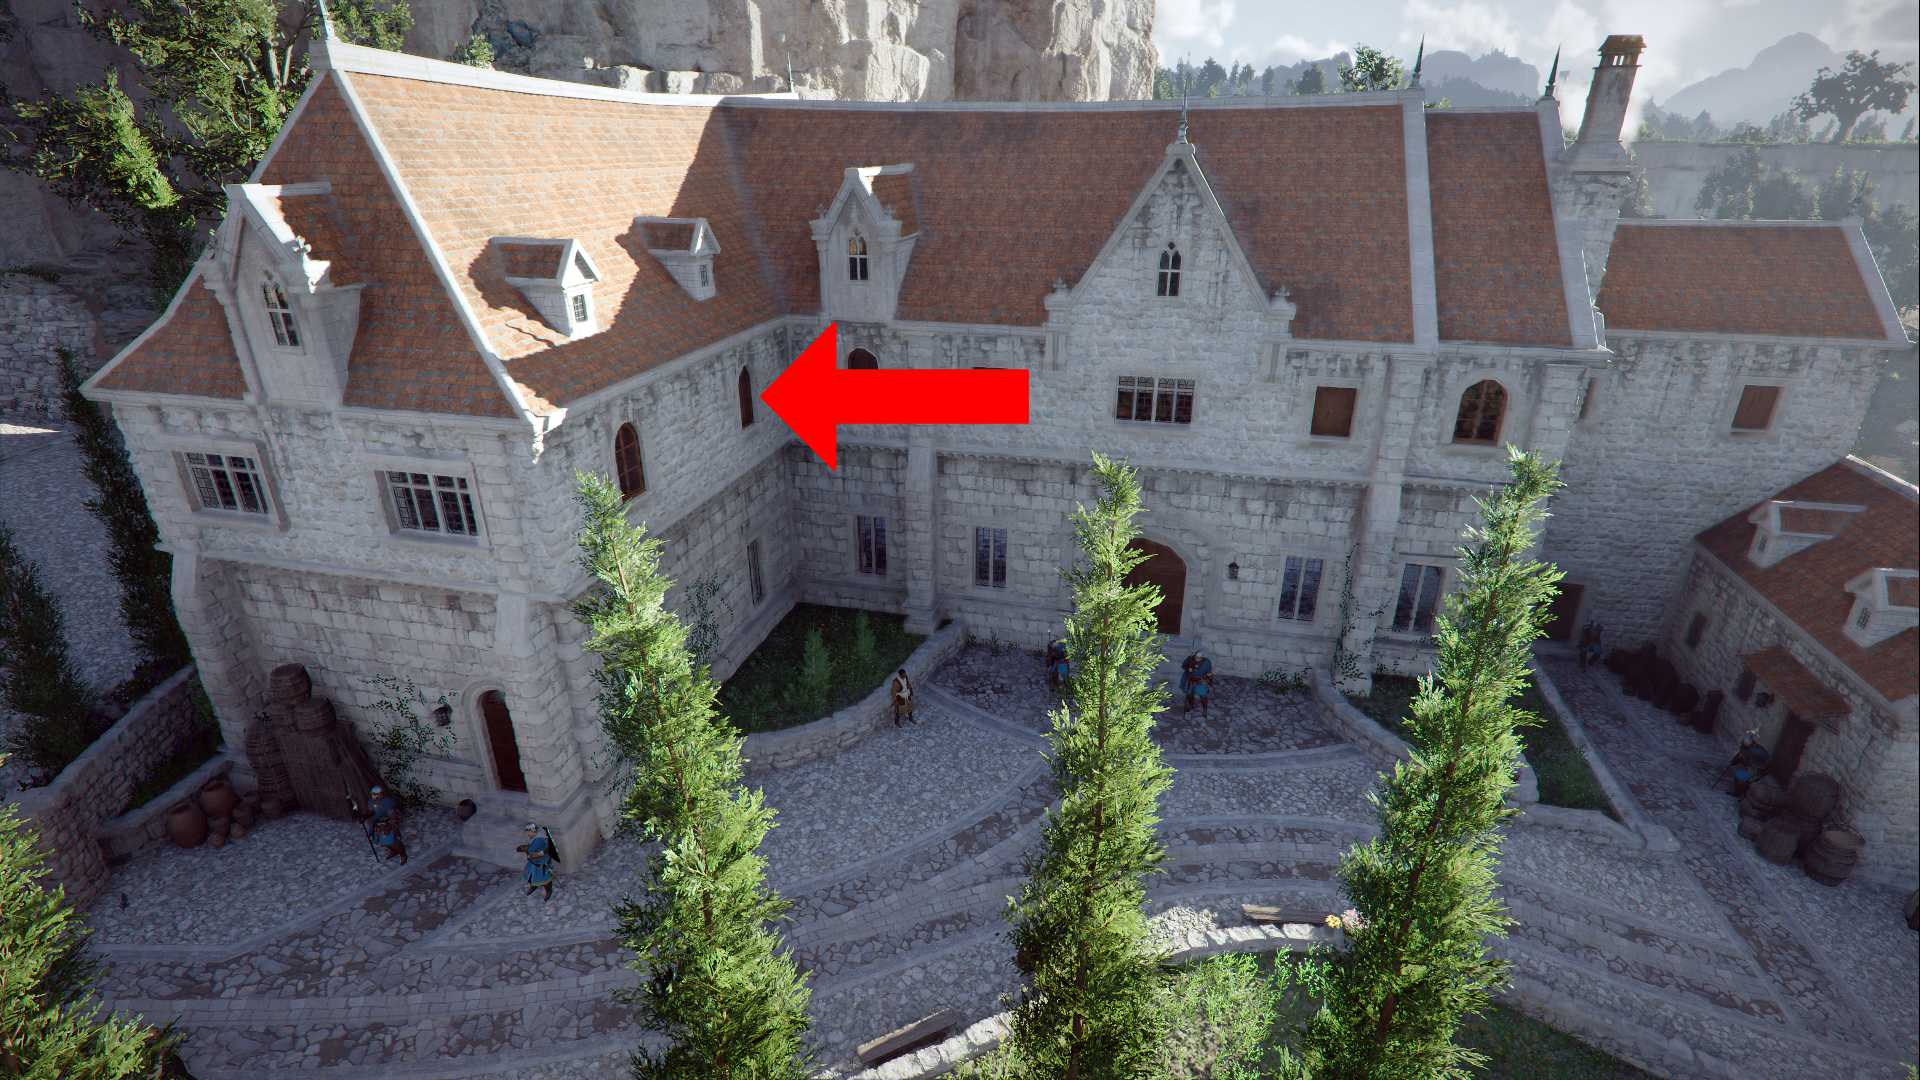
Strongbox #4 in Lioncrest Manor: How to Solve the Image Puzzle
Safe Location
In the northwest of Hernand, just outside the city, you’ll find Lioncrest Manor. Stealth is recommended here, as the area is well-guarded. Climb through a second-floor window to get inside.
Puzzle Solution
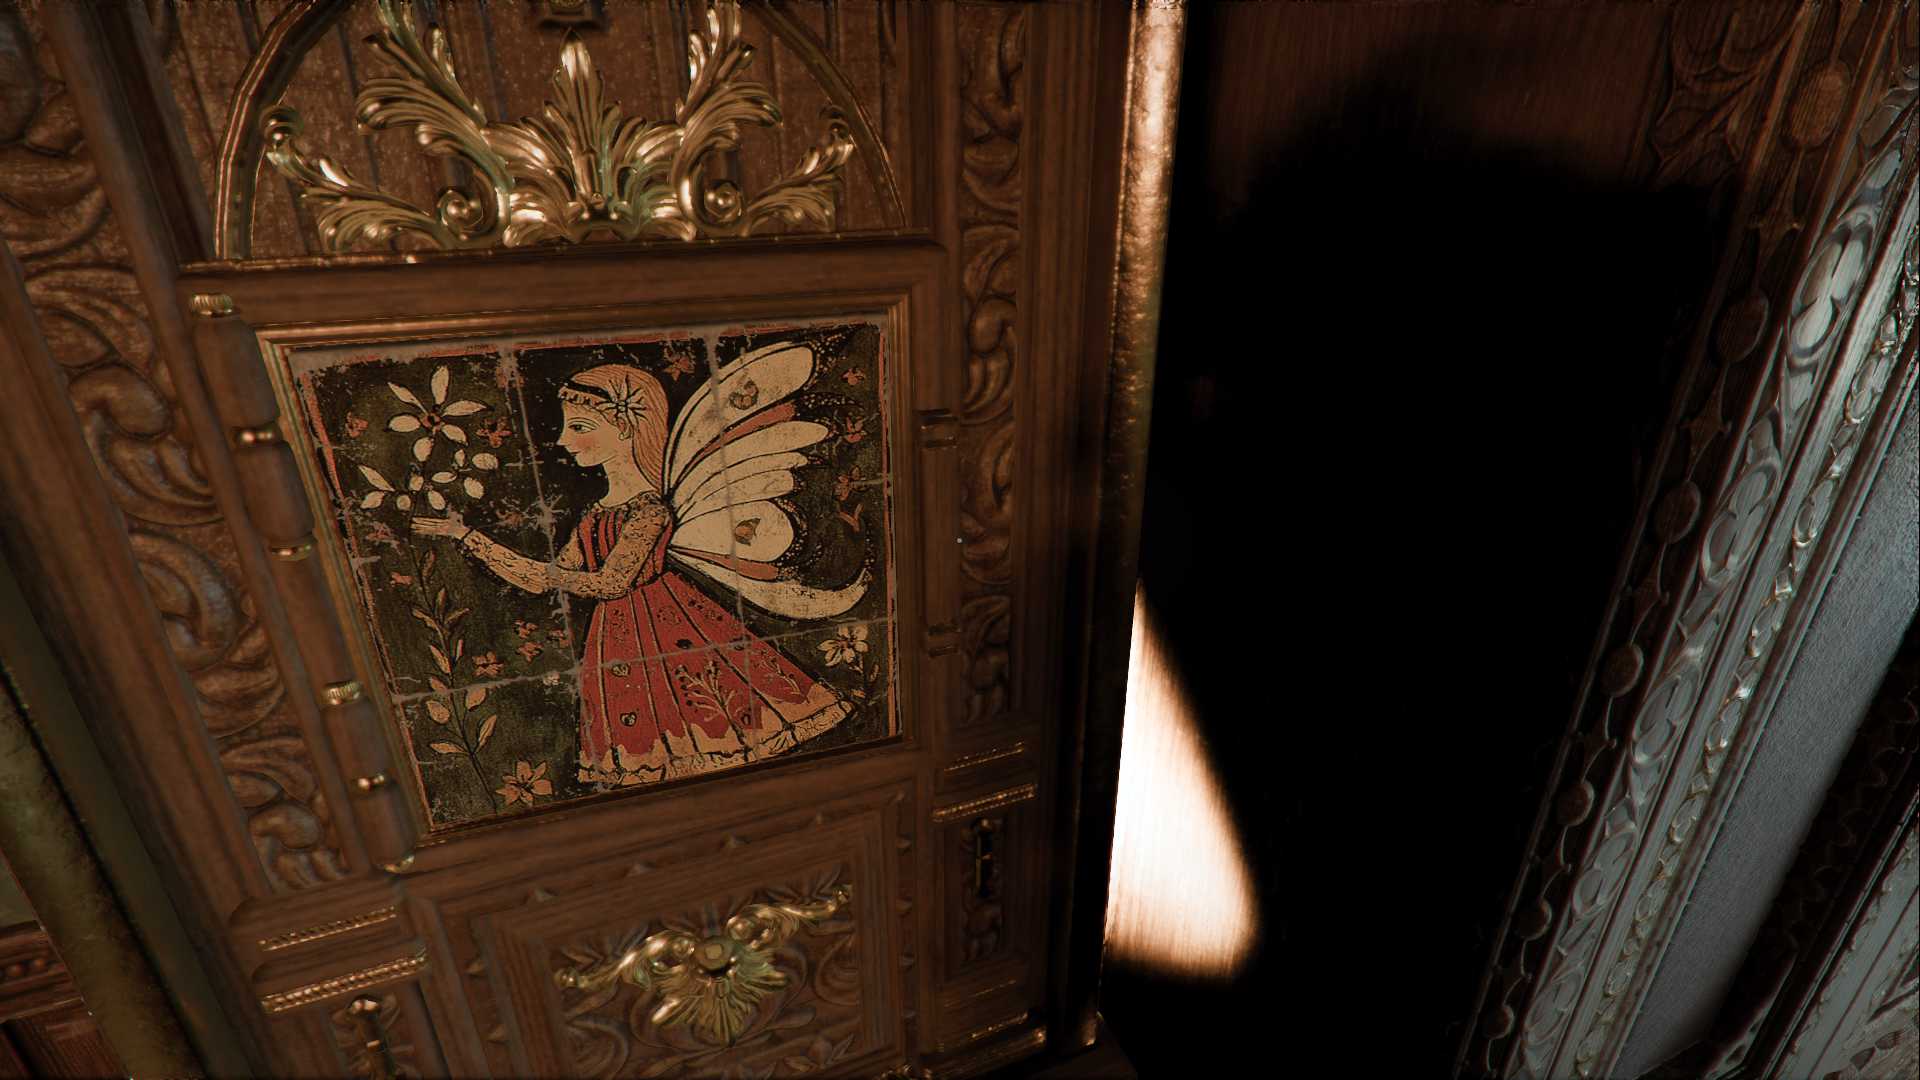
Inside, behind a locked door (you’ll need a key), you’ll find the next strongbox. The puzzle shows a nine-piece image of a winged girl.
Your goal is simple: Rotate each segment until the full image is correctly assembled.
Use this sequence (tiles numbered left to right, top to bottom):
- Tile 1: Rotate once counterclockwise
- Tile 2: Do not move
- Tile 3: Rotate three times clockwise
- Tile 4: Rotate once clockwise
- Tile 5: Rotate once clockwise
- Tile 6: Do not move
- Tile 7: Do not move
- Tile 8: Rotate once counterclockwise
- Tile 9: Rotate once clockwise
Reward: Engraved Gold Earring
Strongbox #5 in Hernand Castle: How to Solve the Melody Puzzle
Safe Location
The final safe is located at the top of the keep in Hernand Castle. In the main tower, head upstairs past the shop where you can obtain high-quality armor, and climb to the third floor. Unlock the door with a key.

Puzzle Walkthrough
Inside the room, you’ll find a strongbox with a keyboard of eight keys arranged in two rows. You need to input a specific sequence to recreate a seven-note melody. First, listen to the target melody by winding up and releasing the gears on the right side of the mechanism.
Play the melody in this order:
- Top row, first key from the left
- Bottom row, second key from the right
- Bottom row, third key from the right
- Bottom row, second key from the right
- Top row, first key from the right
- Bottom row, first key from the left
- Top row, first key from the right
Enter the sequence correctly, and the strongbox will open.
Reward: Lavish Meal Recipe