

Bombardier Cells in Arc Raiders: Where do Elite ARCs spawn? Which weapons should you bring? How do you loot safely? This guide has every answer.
Bombardier Cells are among the most sought-after items in Arc Raiders. No surprise there: without these valuable resources, you won’t be upgrading your base any time soon. But where do you find Elite Bombardier ARCs, how do you beat them, and what should you do with the loot? Our in-depth guide walks you through everything.
Bombardier Cells: Why they matter so much
Bombardier Cells only drop from one enemy: the Elite ARC unit of the same name. These rare resources are crucial for one thing above all else: upgrading your refinery to level 3.
To upgrade, you’ll need:
- 6x Bombardier Cells
- 3x Motor
- 10x ARC Circuitry
Without these cells, your refinery will stay stuck at level 2 – and so will your long-term progress in Arc Raiders. If you don’t currently need the cells for upgrades, you have two alternatives: sell them for 5,000 Credits each or recycle them into 2x ARC Alloy and 2x Advanced Mechanical Components per cell.
Also worth a look:
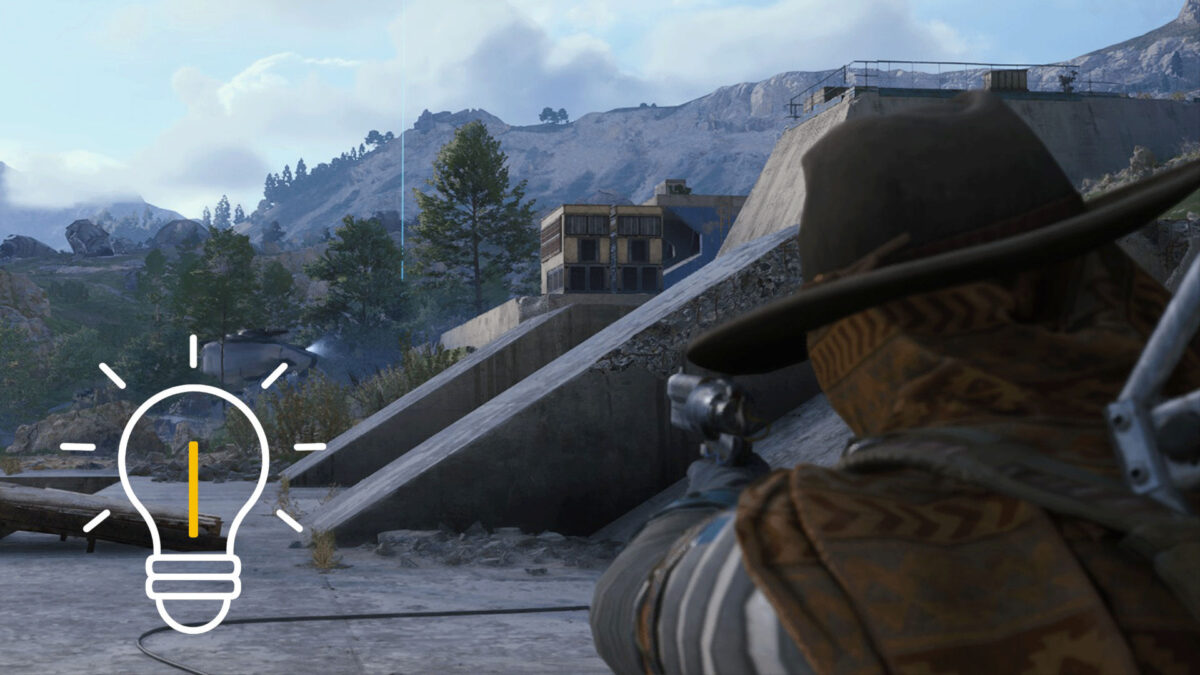
Spawn locations: Where to find Bombardiers
Bombardiers can spawn on every map in theory, but the chances vary a lot. Your best odds are in Buried City and at The Blue Gate. Here are the key spawn locations in detail:
Buried City – Your first choice
Buried City has the best Bombardier spawn rates in the game. Check these spots first:
- Marano Park is the single most common spawn point. You’ll almost always run into a Bombardier here. The downside: this open park has very little cover, so plan your escape routes in advance.
- Plaza Rosa and Santa Maria Houses are also reliable spawn locations. The surrounding apartment buildings give you plenty of cover options during the fight.
- The hospital exterior sees Bombardiers a bit less often, but the way the buildings are laid out makes the area tactically interesting.
- The parking garage (upper level) is a special case: if a Bombardier spawns up here, you can take it down extra efficiently with the right tactics – more on that below.
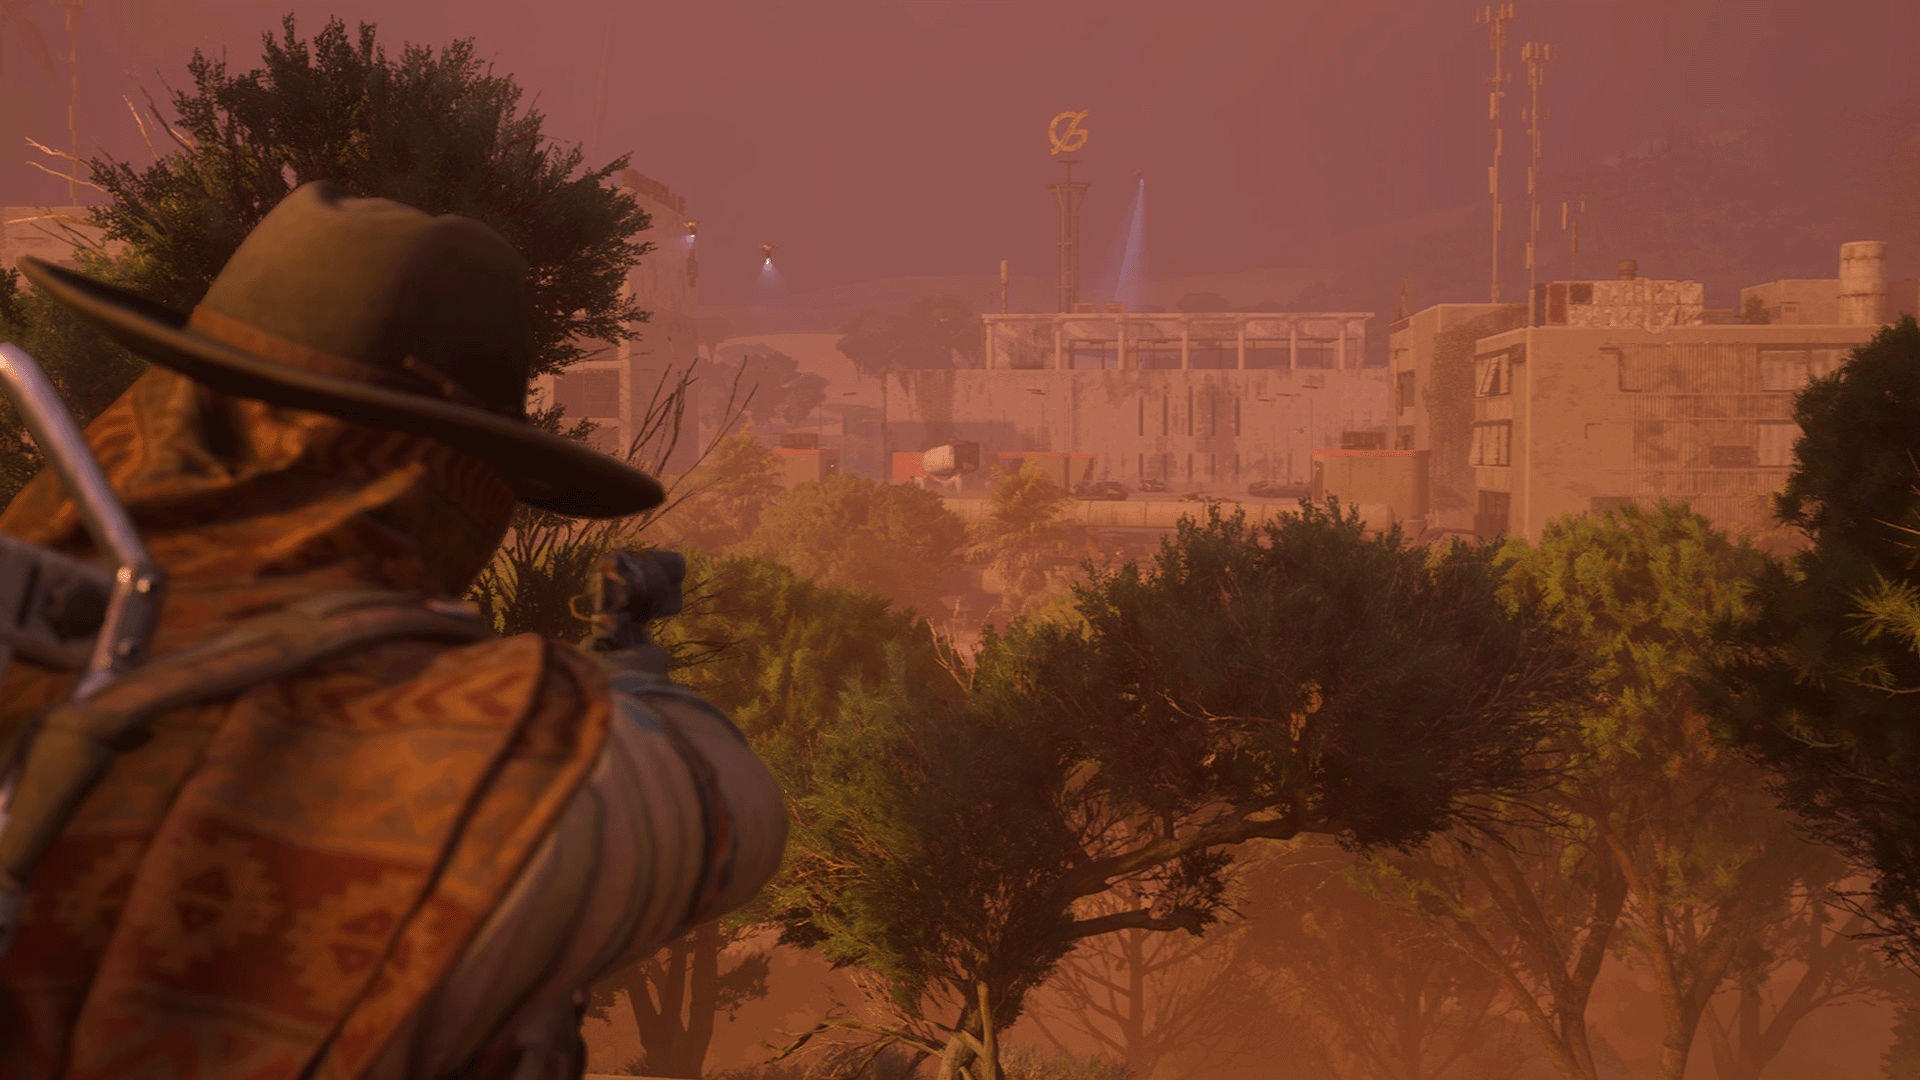
The Blue Gate – A solid alternative
You’ll also find Bombardiers regularly at The Blue Gate, though the terrain is more open overall.
- Raider’s Refuge in the forest sits in a wooded area with moderate cover. Here you especially need to watch out for other players.
- The warehouses in the industrial zone give you good hiding spots between the buildings.
- At the checkpoint, Bombardiers spawn in a fortified area – convenient, but often heavily contested.
- The ruins near the cliff edge offer great high-ground advantages, but they’re harder to reach safely.
Spaceport – Medium odds
At the Spaceport, Bombardiers spawn less often than in Buried City.
- Near the West Elevator, between the buildings, is one potential spawn point that also offers decent cover.
- The Shipping Yard exterior is extremely exposed – you’ll be very vulnerable to other players here.
Dam Battlegrounds – Rare, but possible
- North of the Hydroponic Dome, Bombardiers can spawn occasionally, but this is the map with the lowest Elite ARC spawn rates overall.
Our tip: Focus on Buried City, especially Marano Park and Plaza Rosa. You’ll have the best odds there and can rotate quickly between several spawn points.
Preparation is everything: The optimal loadout
A Bombardier is no regular ARC – it’s one of the deadliest enemies in the game. With the right gear, though, you can take it down solo. Here’s what you’ll want to bring:
Weapons: Armor penetration is non-negotiable
Bombardiers are heavily armored. Weapons without solid ARC armor penetration will barely scratch their health. Prioritize these options:
The Hullcracker is the absolute top pick if you can afford it. It has the best armor penetration in the game and tears massive holes in Bombardier armor. Buy it from Tian Wen for 15,000 Credits per day (one unit per day max) or craft it if you have the blueprint.
The Ferro is the budget option. You can craft it at the workbench or weaponsmith, and it has solid penetration. With roughly 160 rounds of Heavy Ammo (on weak spot hits), you can down a Bombardier.
The Anvil is a good middle ground. Tian Wen sells up to three per day at 15,000 Credits each. It fires six rounds instead of the Ferro’s single shot, which makes it more flexible.
Rattler and Bettina can also get the job done, but they’re less efficient than the weapons above.
You can craft Heavy Ammo for these weapons at the workbench using metal parts and chemicals.
Explosives: Your most important tool
Here’s where things really heat up: grenades are absolutely essential for Bombardier fights. Their slow movement and huge hitbox make them extremely vulnerable to explosives. Bring at least six grenades:
- Wolfpack grenades are designed specifically for ARC units and deal devastating damage. A few well-placed Wolfpacks can kill a Bombardier on their own.
- Trigger grenades are precise and powerful. You unlock the recipe through the “Sparks Fly” quest. The advantage: you place them first, then detonate manually.
- Blaze grenades deal area damage and ignite the Bombardier’s weak spots. It often stays in the fire, taking continuous damage.
- Snap grenades are easier to throw than Trigger grenades and still deal solid damage. A strong all-rounder.
Our tip: Combine 1–2 Wolfpacks with 3–4 Snap or Trigger grenades. That’s usually enough to heavily soften the Bombardier before you switch to your primary weapon.
Healing and support: How to survive the fight
Bombardier projectiles hit hard and accurately. Without enough healing, your run is over fast. Pack the following:
- 10x Shield Rechargers are your first line of defense. A Bombardier will break a shield in a single hit – you’ll need plenty of backups.
- 10x Bandages (or 6x Sterilized Bandages) keep your health up. Vita Shots work too, but they’re more expensive.
- 3–4x Adrenaline Shots fully restore your stamina and briefly boost regeneration. Perfect when you need to leave cover or chain extra dodge rolls.
- 3x Smoke grenades are essential for looting after the kill. You’ll need time to search all the parts – smoke keeps you safer from other players.
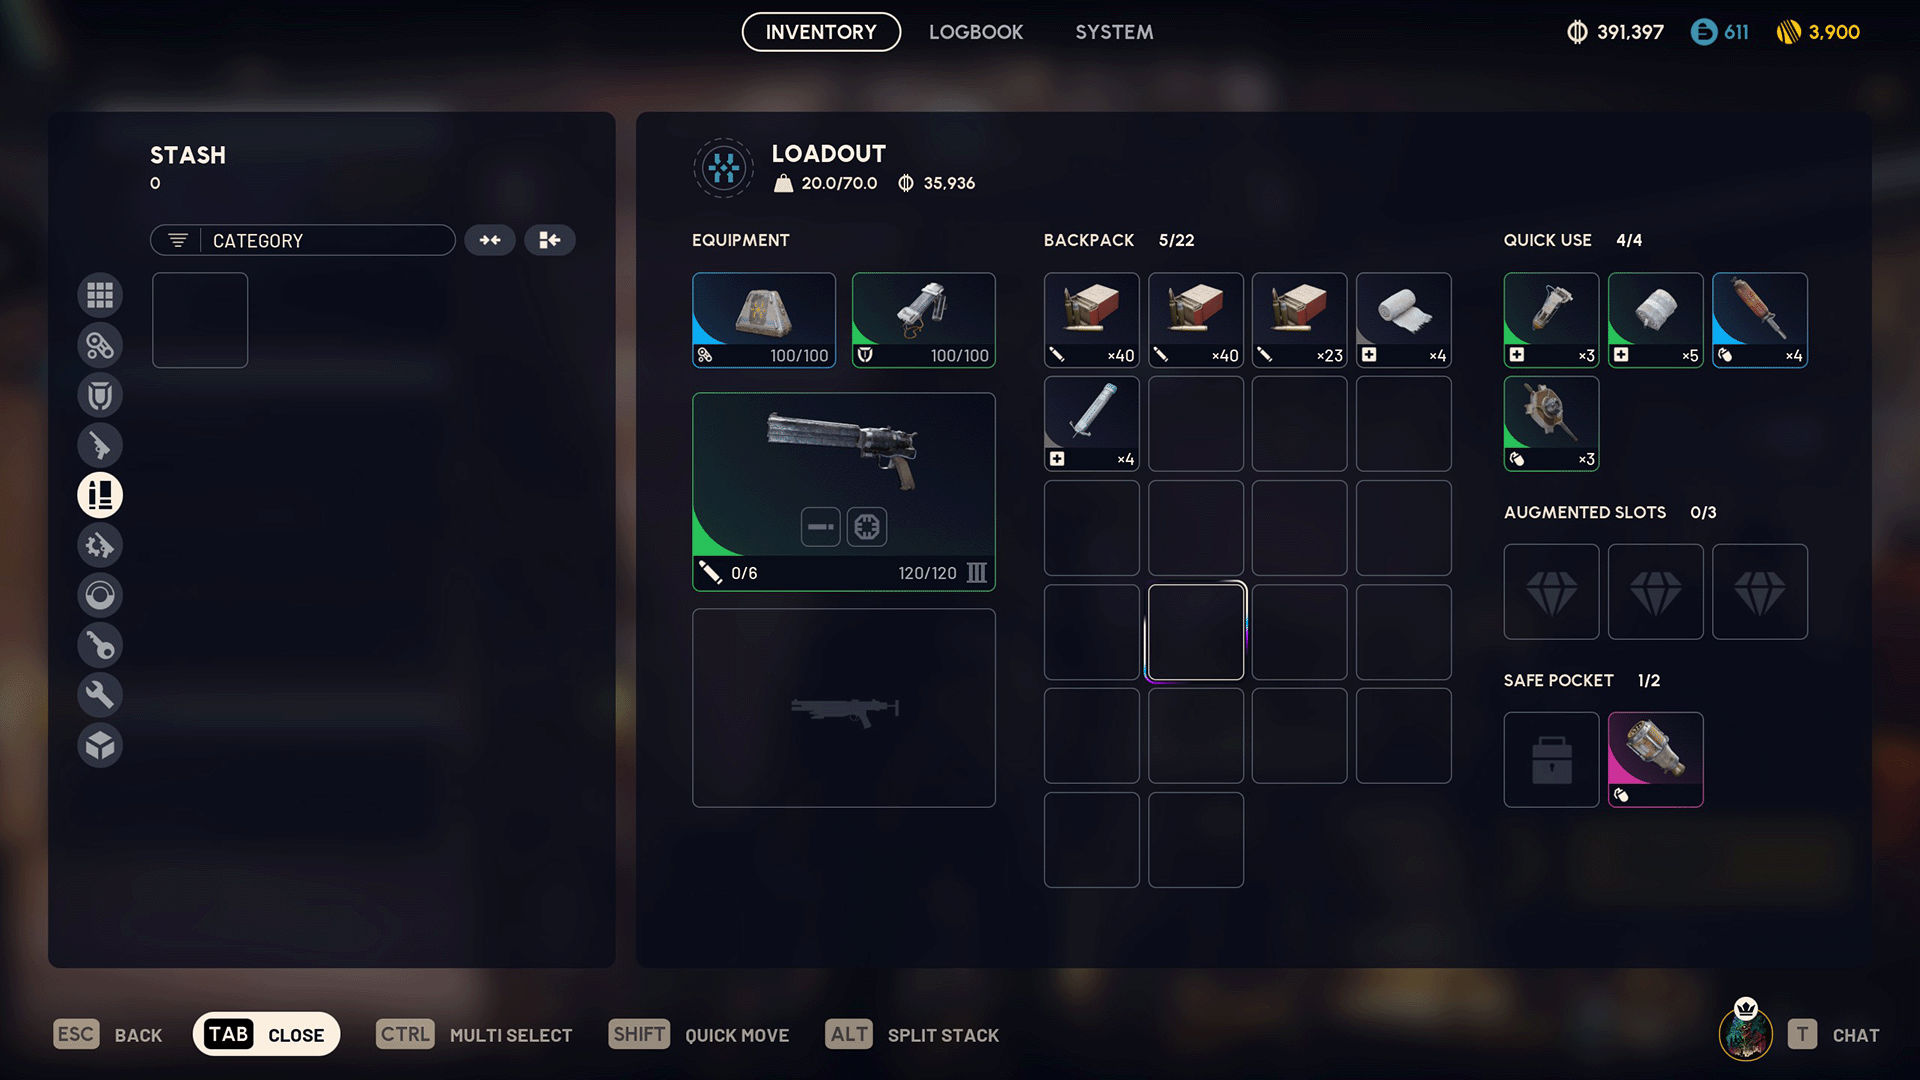
Gear: The right augment and shield
The Looting MK.2 augment is a must-have if you own it. It gives you two safe pockets that can each hold a stack of three Bombardier Cells – six cells total. Even if you die before extracting, you won’t lose the items in these pockets.
For your shield, you should use at least a medium one. Light shields only survive a single Bombardier hit; medium ones can take two to three. The Tactical MK.2 augment is also handy: it automatically throws a smoke grenade when your shield breaks.
Our tip for solo players: Start the raid with two Wolfpacks in your safe pockets. Only pull them out when you actually engage a Bombardier. That way you won’t lose them if you die earlier in the run.
The fight: How to beat the Bombardier
Now it gets serious. Bombardiers are scary, but with a good gameplan they’re absolutely doable – even solo. Follow this step-by-step approach:
Phase 1: Take out the Spotters
A Bombardier never travels alone. Two Spotter drones accompany it at all times and should be your top priority. These small fliers mark your position with a yellow laser, letting the Bombardier target you precisely – even through tiny openings.
The good news: Spotters don’t attack and go down in just a few shots. The bad news: they respawn after a short while. Always delete them immediately when they come back. Without Spotters, the Bombardier’s aim becomes much less accurate.
Phase 2: Find proper cover
Bombardier shots arc in from above and can slip through tiny gaps. You’ll need cover with these qualities:
- A fully closed roof is non-negotiable. Roofs with openings or gaps won’t protect you – the Bombardier can still land shots.
- Multiple exits give you room to maneuver. If the Bombardier zeroes in on your position, you can rotate to another exit.
- Few or small windows keep your hitbox small. The Bombardier can shoot through windows, but the fewer openings there are, the safer you’ll be.
The Plaza Rosa apartments in Buried City are ideal: solid ceilings, multiple rooms, small windows. Perfect for solo fights. The lower level of the parking garage in Buried City also gives you heavy concrete protection and is especially safe.
Warning: Do not stay out in the open. Even with a heavy shield, you’ll only survive three to four hits. Without cover, you’ll be dead in seconds.
Phase 3: Make your explosives work for you
Once you’ve found safe cover, it’s time to go on the offensive. Start throwing grenades at the Bombardier:
Aim for its back – that’s where you’ll do the most damage. With enough grenades, you can kill a Bombardier using explosives alone.
The parking garage tactic is especially effective: if the Bombardier spawns on the garage roof, place Trigger grenades directly on it, then drop down one floor and detonate them from below. The concrete floor will completely shield you from the blast.
Use Blaze grenades smartly: Bombardiers move slowly and often stand in the flames, taking constant damage over time.
Phase 4: Target the weak spots
Once you’ve spent your explosives, switch to your primary weapon. Now it’s all about precision. The Bombardier has six weak spots, all highlighted in yellow:
- The four leg joints are the easiest to hit. Destroying a joint slows the Bombardier and briefly stuns it. Leg parts will also drop off, giving you extra loot spots later.
- The rear cylinder has the highest damage multiplier of all weak points. The catch: it’s hard to hit, especially solo. If you get a clean angle, take it.
- The inner mechanism is exposed once you destroy the cylinder. It takes even more damage than the cylinder itself.
Combat tips for this phase
After each shot, the Bombardier has a short downtime of about one to two seconds. That’s your window: step out from cover, focus fire on weak spots, then duck back in.
With a Ferro or Anvil, you’ll need around 160 rounds of Heavy Ammo if you consistently hit weak spots. Plan ahead and bring a secondary weapon.
Medium shields can take two to three hits, heavy shields slightly more. Recharge your shield after every hit – don’t wait until it breaks completely.
The bold shotgun tactic: If you like to live dangerously and have a shotgun, sprint straight to the Bombardier’s rear. That weak spot is completely exposed. Fire into the cylinder at point-blank range. It’s extremely risky but incredibly effective – especially if you’ve stunned the Bombardier with a grenade first.
After the kill: Looting safely without dying
The Bombardier is down – but this is actually the most dangerous part. The noise from the fight will have attracted other players. Here’s how to loot without throwing away your run:
The loot strategy
Immediately throw smoke grenades – this is the single most important step. Three smokes are enough to fully cover the area while you loot. Toss them right on top of the wreckage.
Loot the large body parts first – torso and legs. These have the highest chance of dropping Bombardier Cells. On average you’ll find 3–4 cells, with up to 6 if you’re lucky.
Then loot the smaller leg pieces – they have a lower chance to drop cells, but it’s still possible.
Stay alert for other players. Even in smoke, you’re not invisible. If you hear footsteps, stop looting immediately and fall back into cover.
What the Bombardier drops
In addition to the coveted Bombardier Cells, you’ll find:
- Guaranteed: ARC Alloy, ARC Energy Cell, ARC Performance Steel, Mechanical Components, Medium Weapon Parts
- Rare: Advanced ARC Energy Cell, Launcher Ammo
Your main goal: Bombardier Cells (3–4 on average, up to 6 if RNG is on your side)
Common mistakes – and how to avoid them
From the community and from our own experience: these mistakes will cost you the kill or your loot.
- Fighting without cover: Bombardier projectiles are deadly accurate. Even with a heavy shield, you won’t last 30 seconds in the open. Always fight from cover with a solid roof.
- Ignoring the Spotters: If the Spotters tag you, the Bombardier will land every shot. Kill them immediately, even if the respawns are annoying.
- Shooting the armor: Don’t waste ammo on gray armored plates. Always aim for the yellow weak spots – the damage difference is huge.
- Looting for too long: Every extra second increases the odds of another squad showing up. Loot fast, loot smart, get out.
- Looting without smoke: You’re a glowing target for every sniper nearby. Smoke is mandatory.
- Using a light shield: Two hits and you’re done. Minimum medium shield, ideally heavy.
- Bringing too little healing: Overprepare instead of underprepare. It’s better to carry extra meds than to die with a Bombardier at 5% HP.
Bombardier Cells in Arc Raiders: Key takeaways
You now have everything you need. Here’s the full process in a nutshell:
- Preparation: Ferro or Anvil + 2 Wolfpacks and Trigger grenades + Looting MK.2 augment + 3 smoke grenades + 10 Shield Rechargers + 10 Bandages + medium or heavy shield
- Location: Buried City, ideally Marano Park or Plaza Rosa
- Fight: Kill Spotters → find cover with a solid roof → throw grenades → focus weak spots → recharge your shield after every hit
- Looting: Throw smoke → loot large parts first → extract quickly
With this strategy, you should be able to farm all six Bombardier Cells needed for the refinery upgrade in just one or two successful kills. The fight is tough – but the payoff is absolutely worth it.