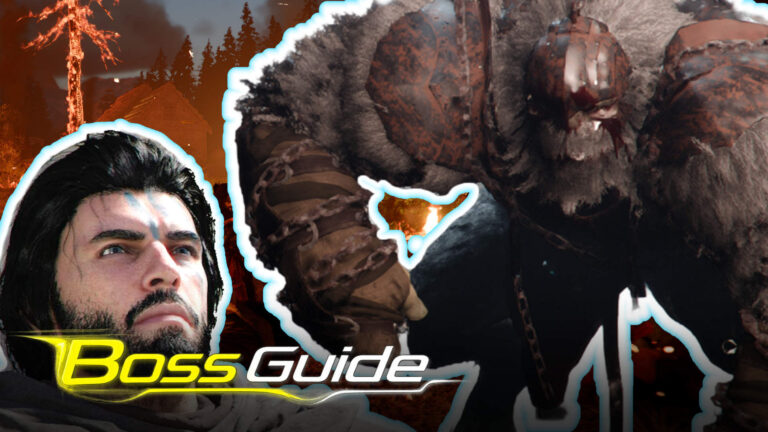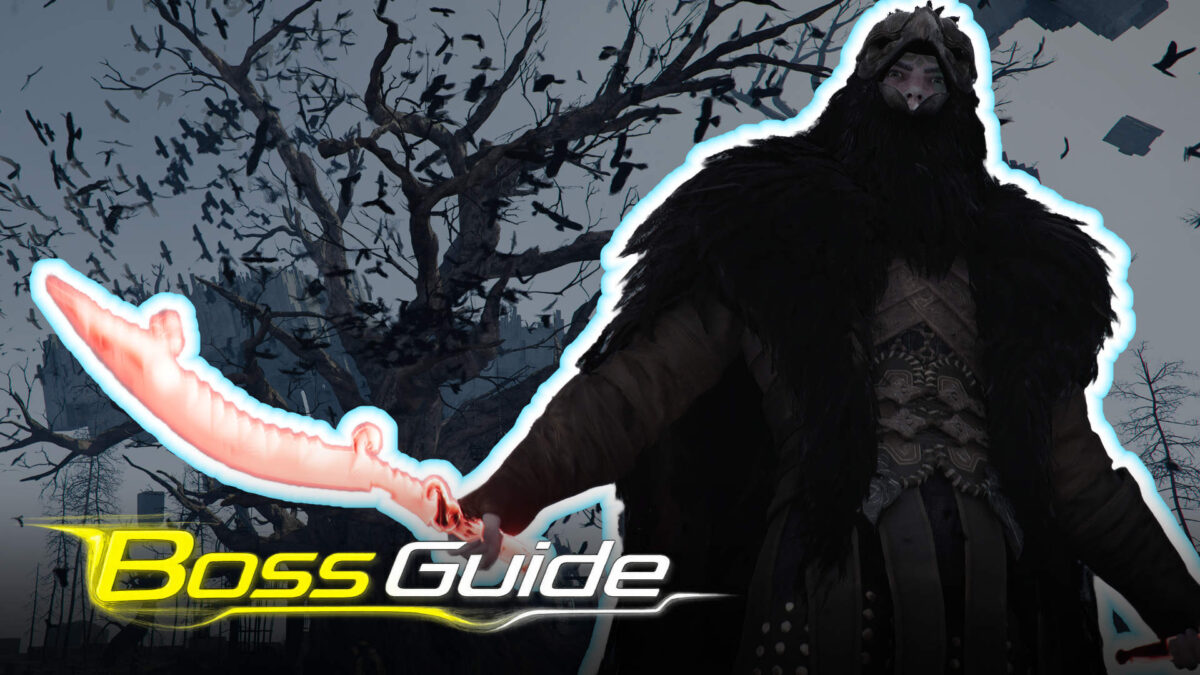

The Crowcaller in Crimson Desert is aggressive, fast, and relentless. With our boss guide, you’ll still be able to take him down.
At the end of Chapter 5 in Crimson Desert, the Crowcaller awaits—a boss that will push you to your limits. With rapid combos, aerial attacks, and a three-phase fight, this encounter is just as demanding as the battle against the Reed Devil. Go in unprepared, and you’ll be overwhelmed in seconds. This guide shows you how to prepare and handle each phase cleanly.
Preparing for the Crowcaller
Before entering the arena, take a close look at your build. Upgrade your entire gear set to at least level 4, and make sure to bring a shield—blocking and parrying are essential for survival in this fight.
For weapons, the Sword of the Lord is ideal thanks to its range and speed. You earned it during the Chapter 2 boss fight. Pair it with a sturdy shield like the Bekker Greatshield or Sydmon-Dr. to maximize your defensive options.
Your build matters just as much. Health and stamina should be at least level 4, while Spirit should be at least level 2. In our Crimson Desert tips guide, we also highlight two armor sets that can carry you through a large portion of the game.
For skills, aim for Armed Combat at level 4 or higher. And as always, stock up heavily on healing items.
Core Strategy: How to Fight the Crowcaller
The Crowcaller has three phases, but the core strategy stays the same: react to his combos, build stagger, and capitalize on short vulnerability windows.
- Important: Button-mashing won’t work here. If you attack blindly, you’ll get punished.
The yellow stagger bar is your best friend. Fill it with heavy attacks and well-timed parries, then follow up with powerful strikes.
Your highest burst damage comes from fully charged heavy attacks. Hold R2/RT and release at full charge when the boss is staggered.
Avoid These Mistakes
The most common mistake is entering the fight with underleveled gear. Equally problematic is playing too defensively—waiting for openings instead of applying pressure yourself.
Many players also dodge too early during dive-bombs, which ironically causes them to get hit. Don’t underestimate your healing needs either—going in with too few supplies will leave you empty-handed in Phase 3.
Finally, a lot of players waste their biggest damage window by not counterattacking immediately after a successful parry. This fight rewards active aggression, not passive play.
Phase 1: Learn the Patterns
In the first phase, the boss teaches you his basic patterns. Pay close attention to his movements and commit them to memory. Later phases become faster and more intense, but they don’t fundamentally change.
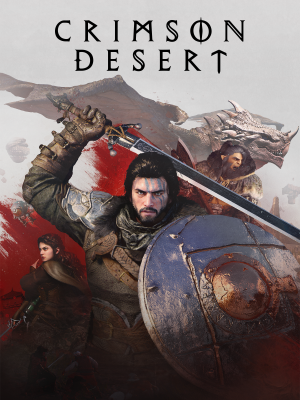
Be ready right after cutscenes—the Crowcaller always attacks immediately. He relies heavily on fast melee combos and rarely keeps his distance.
Some of these quick combos are perfect for parrying. A successful parry negates damage, knocks him back, and opens a short window for punishment. Use strong attacks like Forward Slash or Stab.
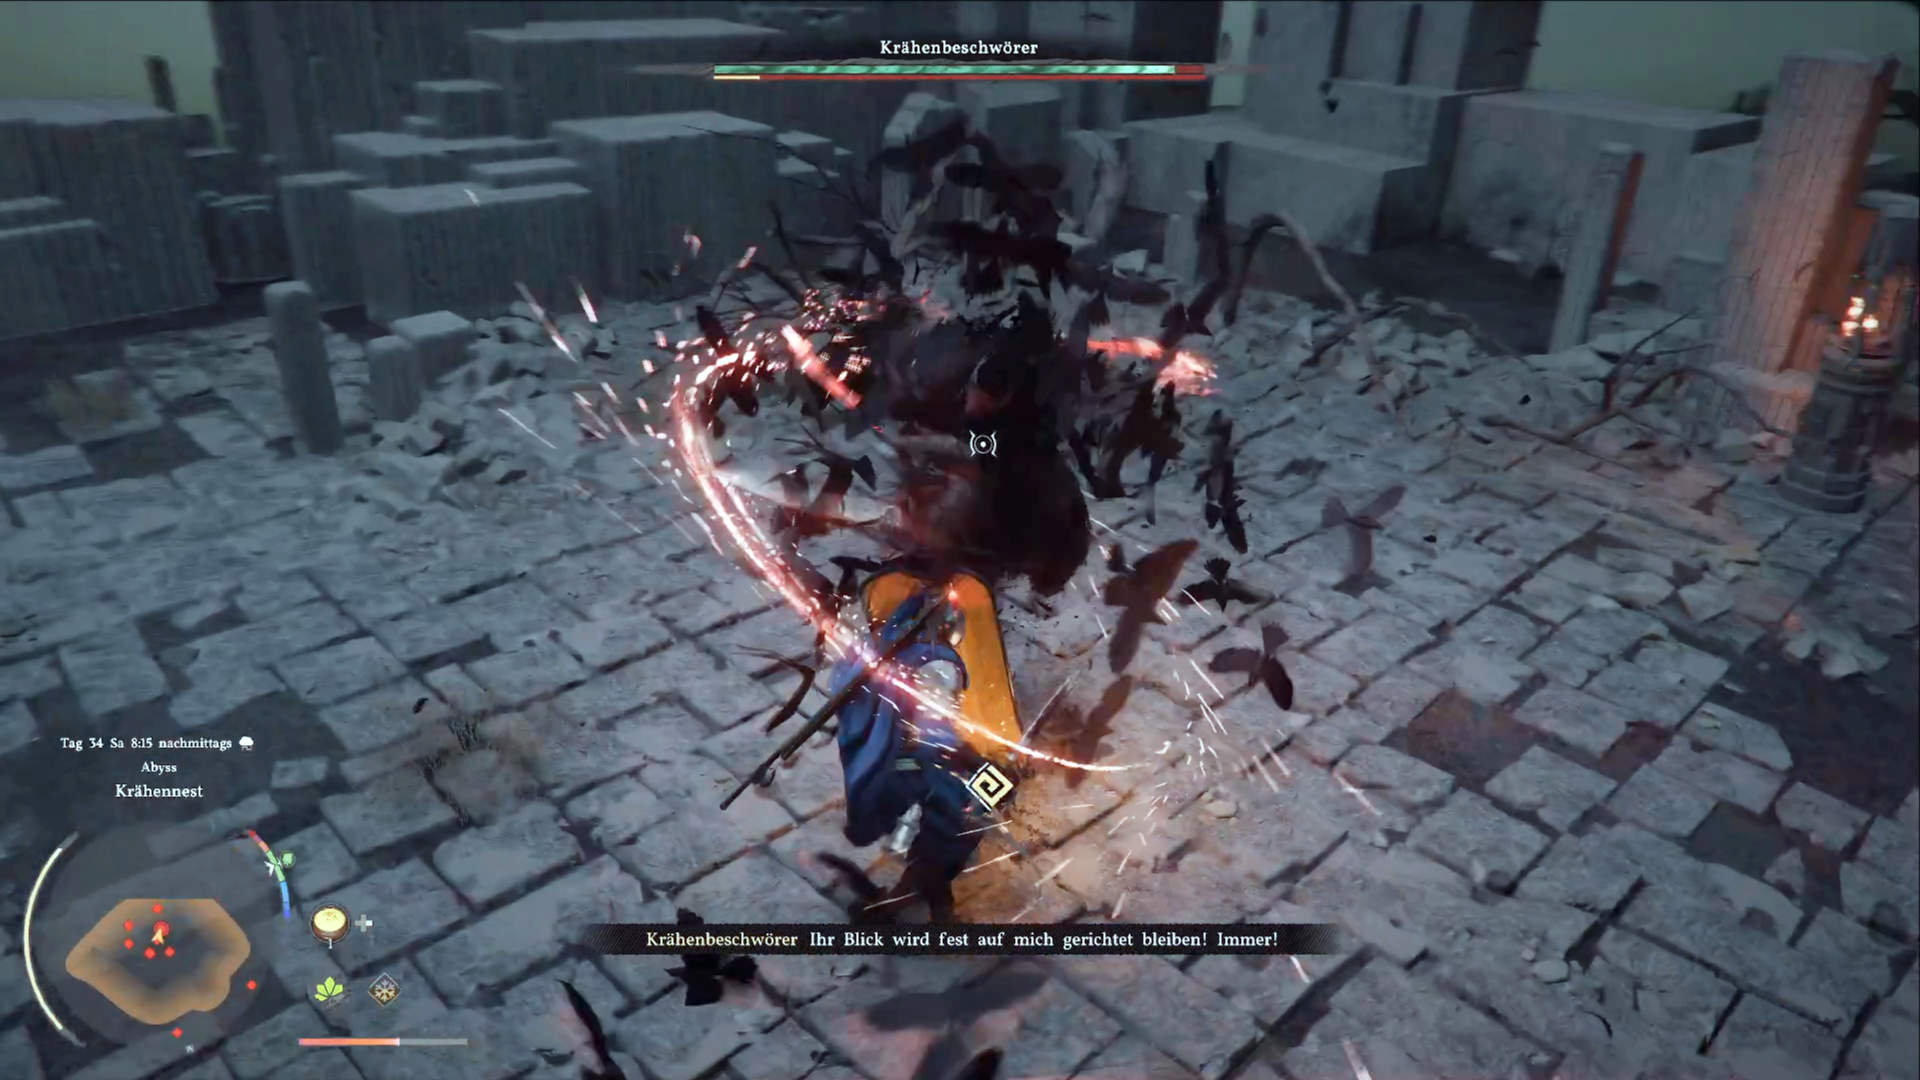
- Warning: If you get too close, he’ll grab you. Keep a mid-range distance and dodge sideways.
One combo ends with the Crowcaller standing still, crossing his swords above his head, then slowly bringing them down—this is the perfect opening for a heavy attack like Stab. Block the combo beforehand with your greatshield to stay close and immediately counter.
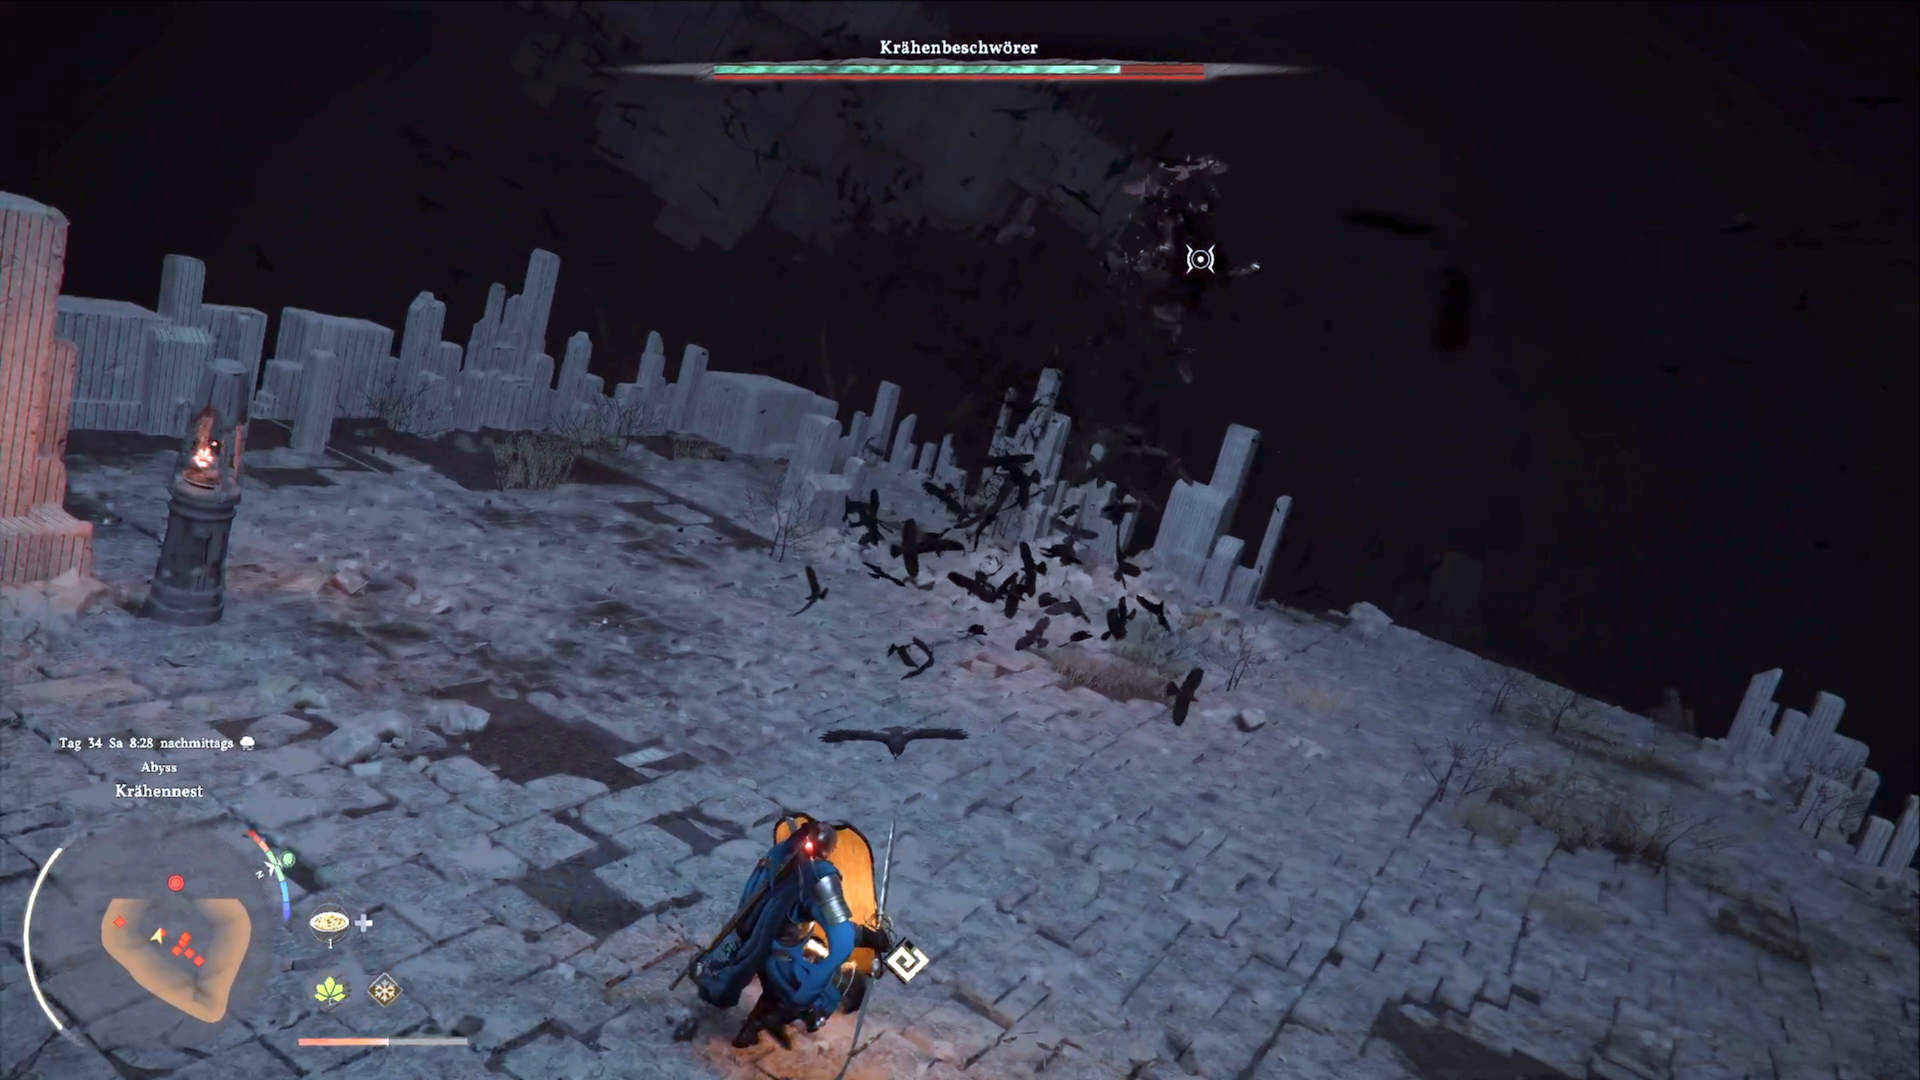
When the Crowcaller surrounds himself with crows, he usually takes to the air. Get ready for a fast dive-bomb attack! Timing is key—wait until the last possible moment before dodging. Alternatively, you can sprint sideways and spam dodge rolls, which becomes especially useful in later phases when these attacks increase.
- Tip: Use Hard Lock (D-pad down) to stay locked onto the boss. This makes blocking and parrying much easier.
Phase 2: Explosive Crows and Dive-Bombs
Phase 2 gets significantly more chaotic. The boss now summons crows that attack you from a distance. Keep your shield up and wait for him to close the gap again—use these moments to recover.
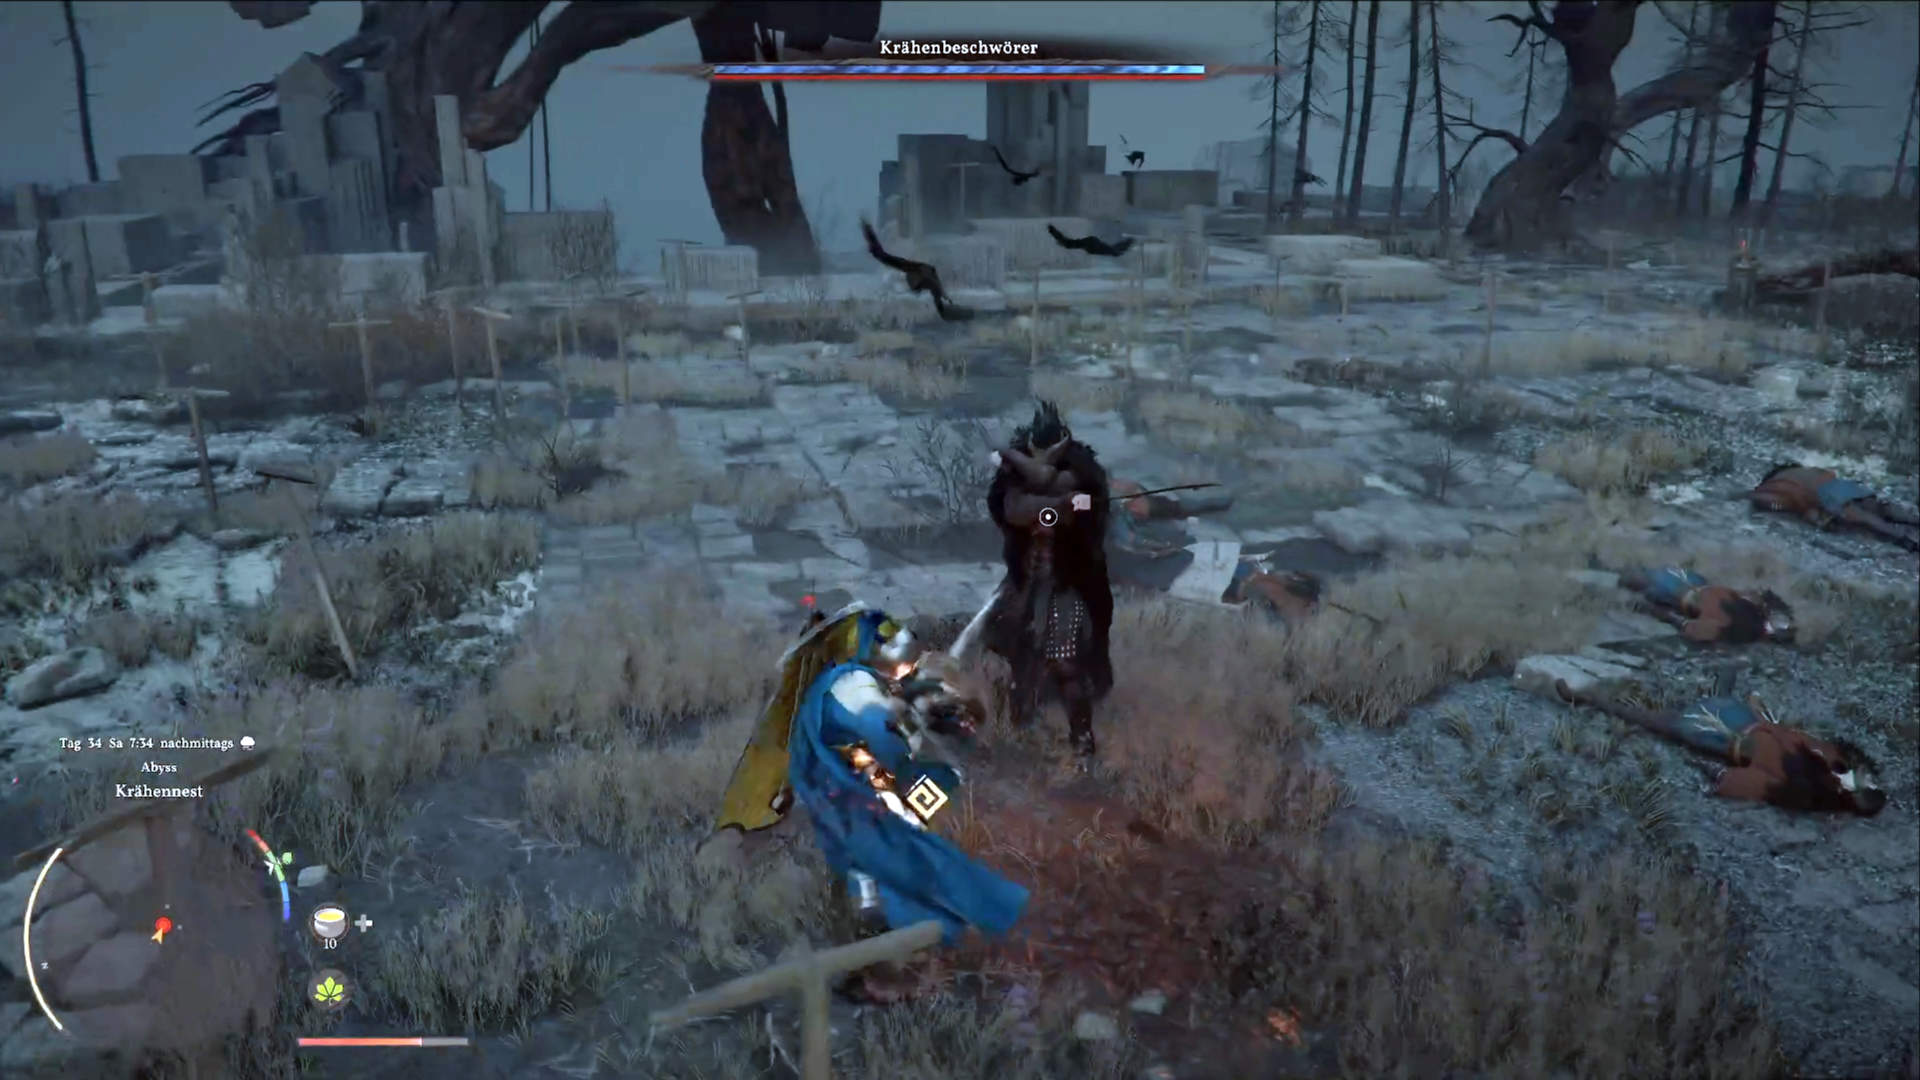
The dive-bomb attacks also evolve. He may glide sideways in the air before diving, instead of attacking immediately. Don’t let this throw you off—stick to the same timing and dodge just before impact.
Before these attacks, he stands upright and crosses his swords in front of his chest—don’t try to attack him here. He’s protected by a glowing blue shield that negates your damage.
Phase 3: No Room for Mistakes
In Phase 3, he combines everything and becomes much more aggressive. He can now chain up to three dive-bombs in a row. The core strategy stays the same: block his melee combos, wait for an opening, then strike hard.
Build stagger consistently and unleash charged attacks with high Spirit when he’s vulnerable. Stay calm during aerial attacks—the timing is identical to Phase 2, just more frequent.
The charged thrust attack, where he lunges forward with drawn swords, is best avoided with a well-timed sideways roll.
Don’t let the additional distractions throw you off—stay focused on the patterns you’ve already learned and keep your composure.
Defeating the Crowcaller: Your Rewards
After the fight, you’ll receive:
- Blackwing Leather Armor with three Abyss Core slots
- Blackwing Mask
- Tauria Curved Sword with Crow’s Pursuit I
- Ability to learn Aerial Roll
Defeating the Crowcaller completes Chapter 5 of Crimson Desert.