

Confusing platforms and a tricky energy puzzle: the “Toward the Nest” quest is no walk in the park. With this guide, you’ll learn how to activate the Skybridge.
The “Toward the Nest” quest can be incredibly frustrating for many players in Crimson Desert. You’ll need to climb across hard-to-navigate platforms, solve a complex puzzle, and the game offers very little guidance. To keep you from wandering in circles, we’ll walk you through the key steps and highlight what really matters.
Activating the Skybridge: What Do You Need to Do?
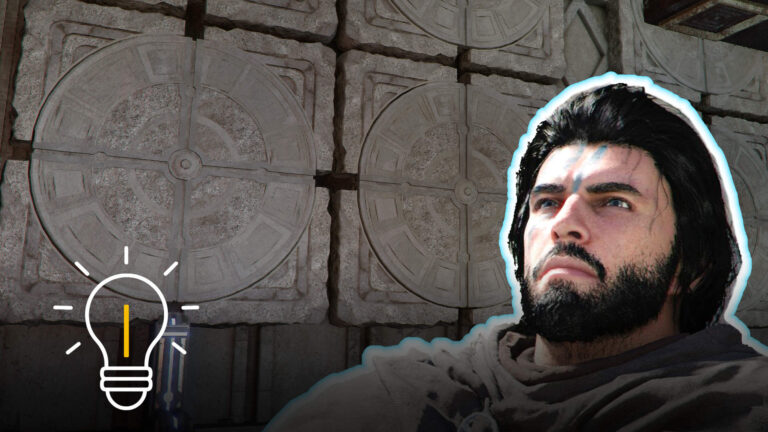
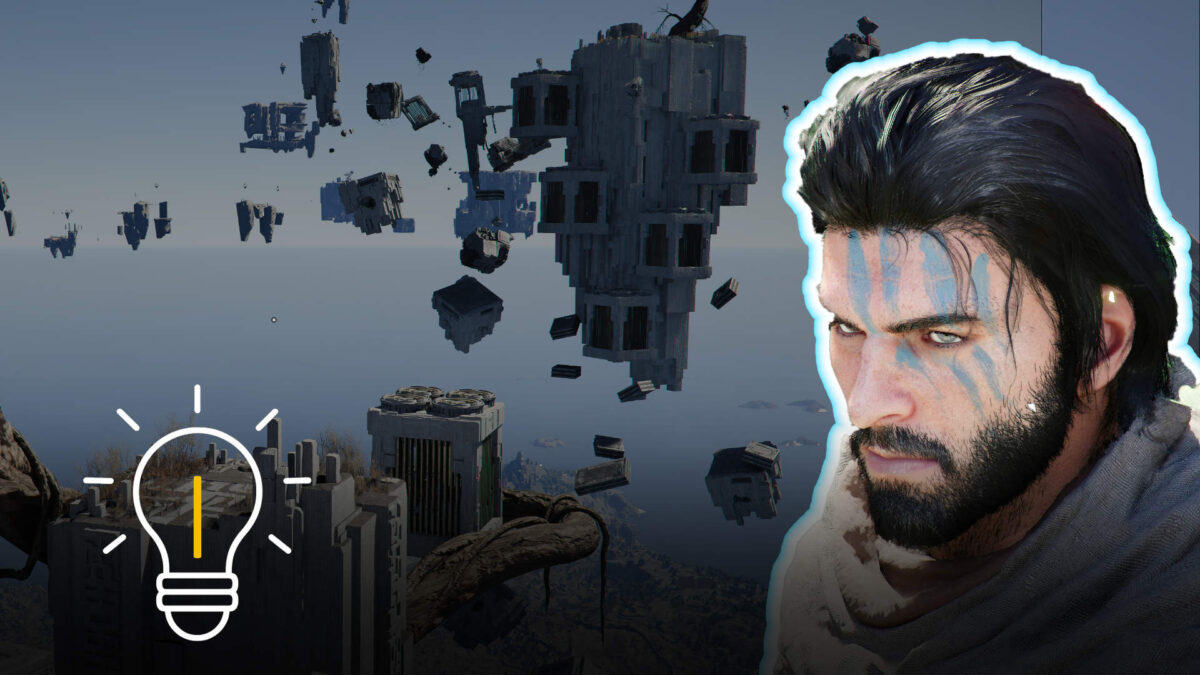
Once you reach the Abyss, you’ll find yourself on the lowest level of a tower-like structure with multiple platforms.
What’s the objective? To activate the Skybridge, you need to align several energy orbs so their light beams hit the opposing switches. On top of that, you’ll have to reconnect two cables and then activate the main switch.
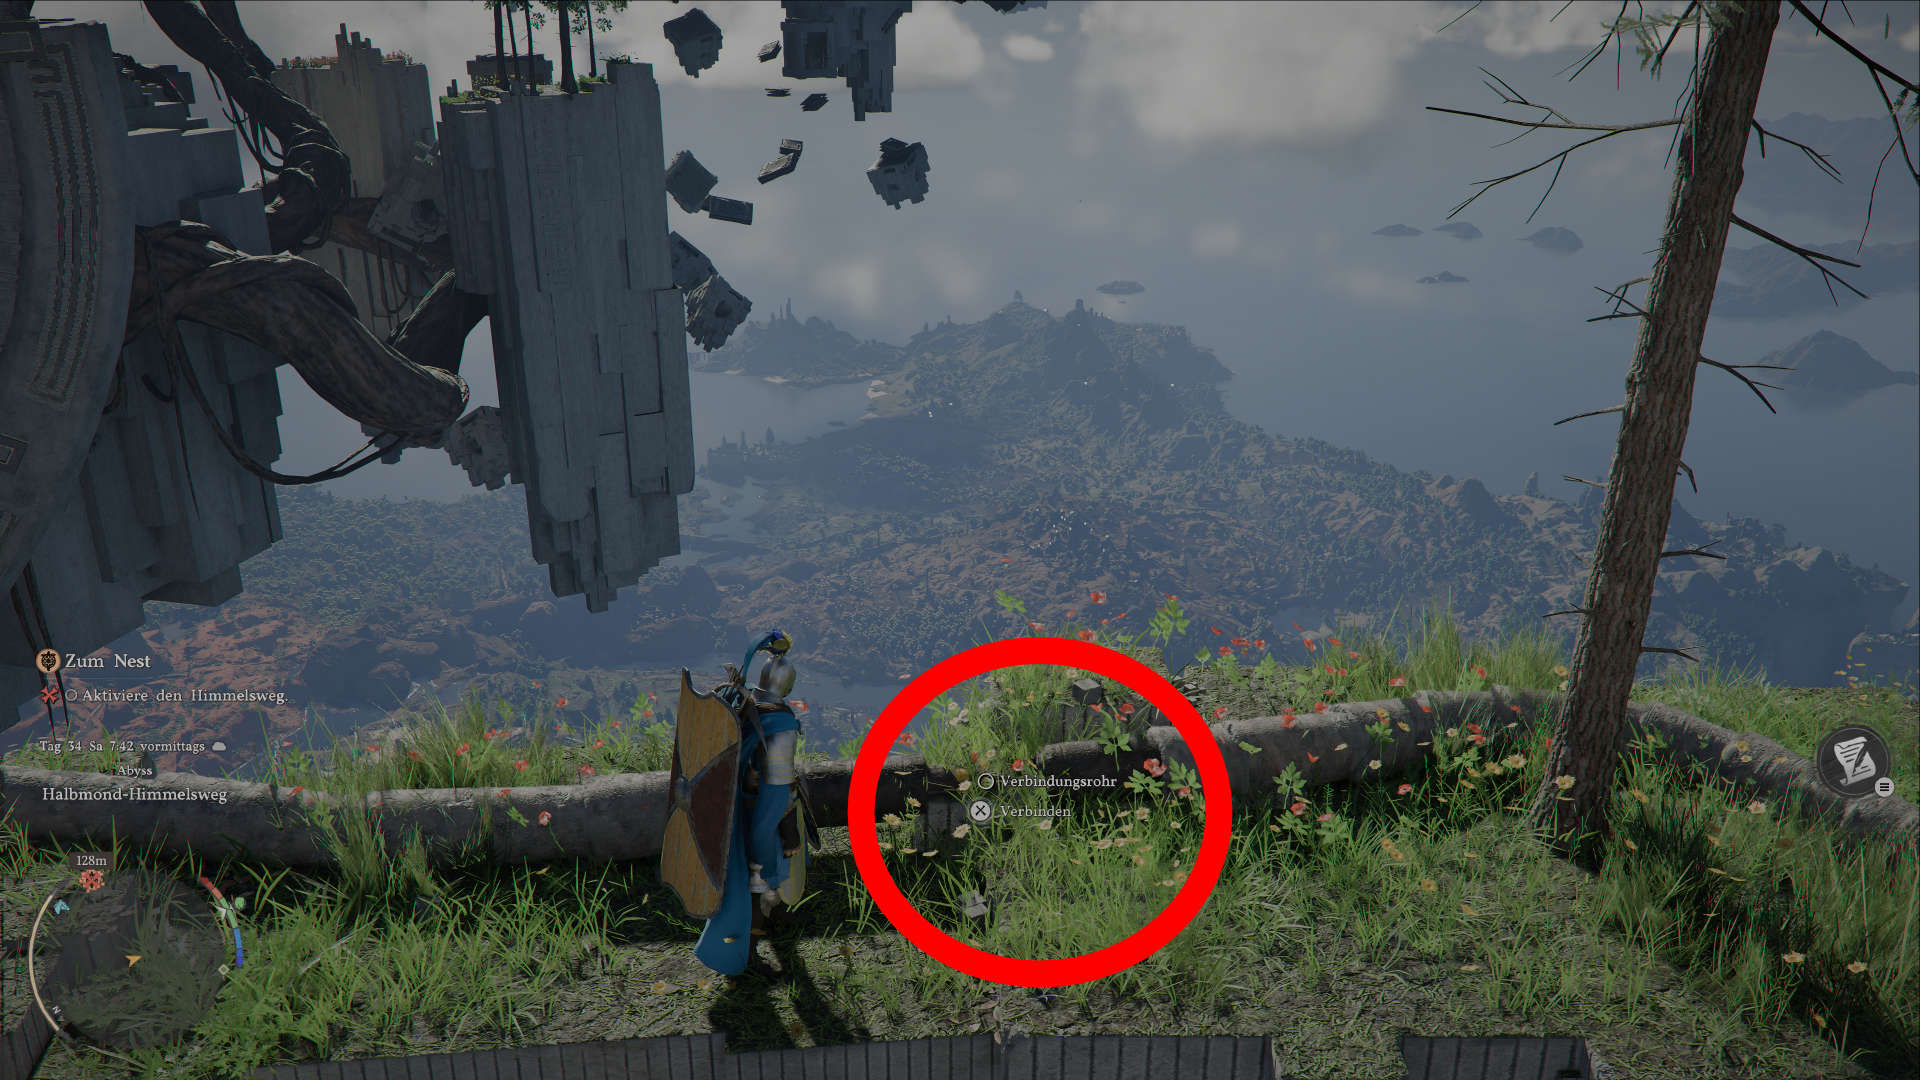
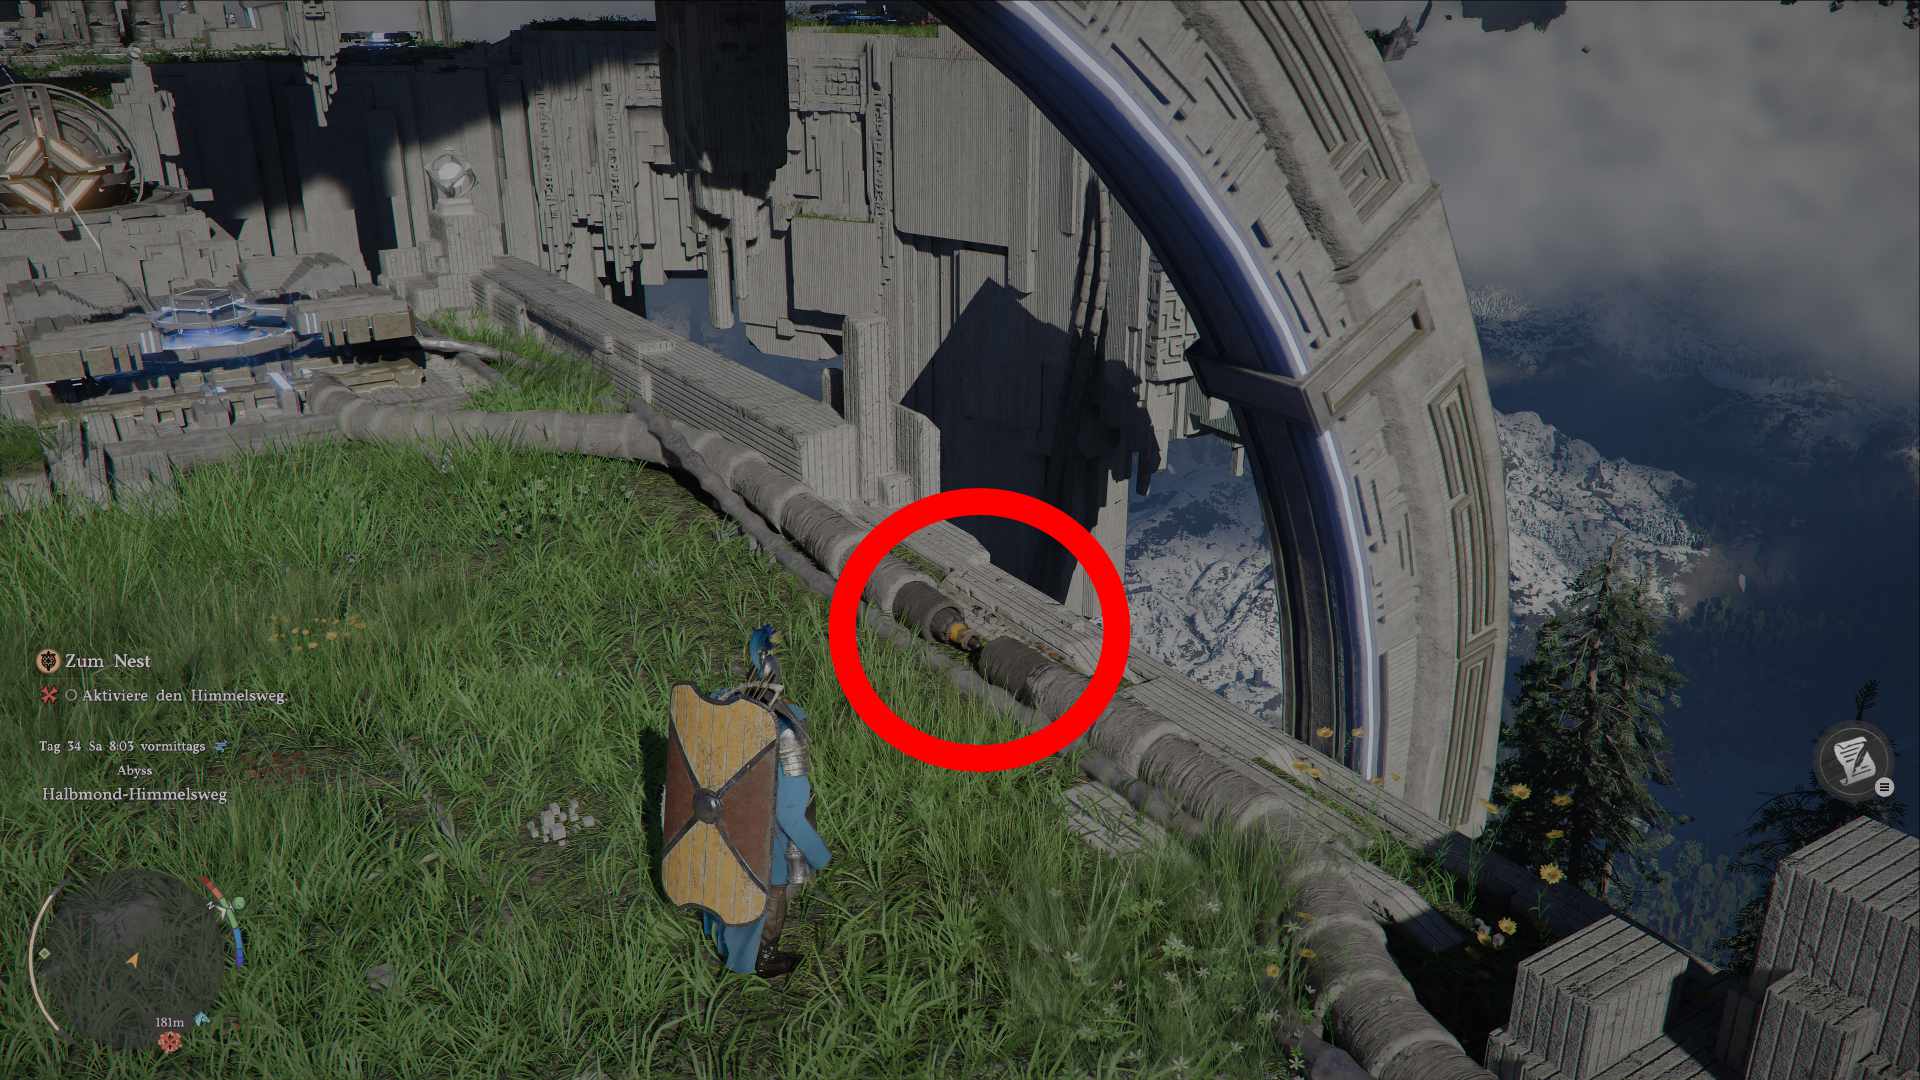
Step 1: Reconnect the Cables
Start by climbing to the top platform and follow the stone cables. Move along them in both directions until you find the two loose connectors, then plug them back together. The image gallery below shows both their in-game locations and their positions on the map.
- Important: Watch out for the poisonous blue flowers on the platforms—even brief contact can be deadly.


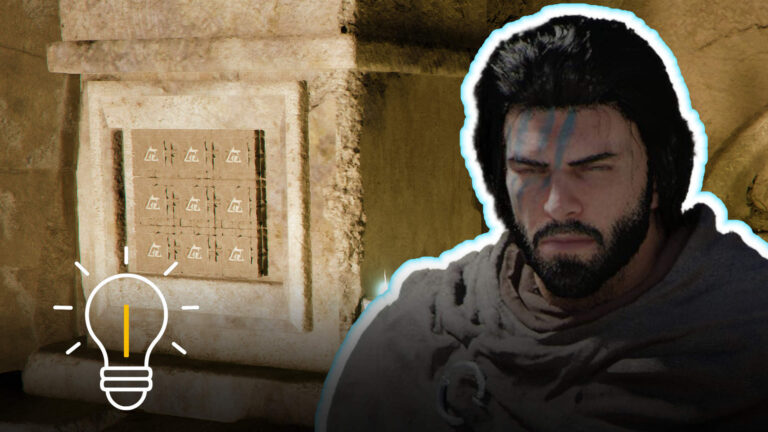
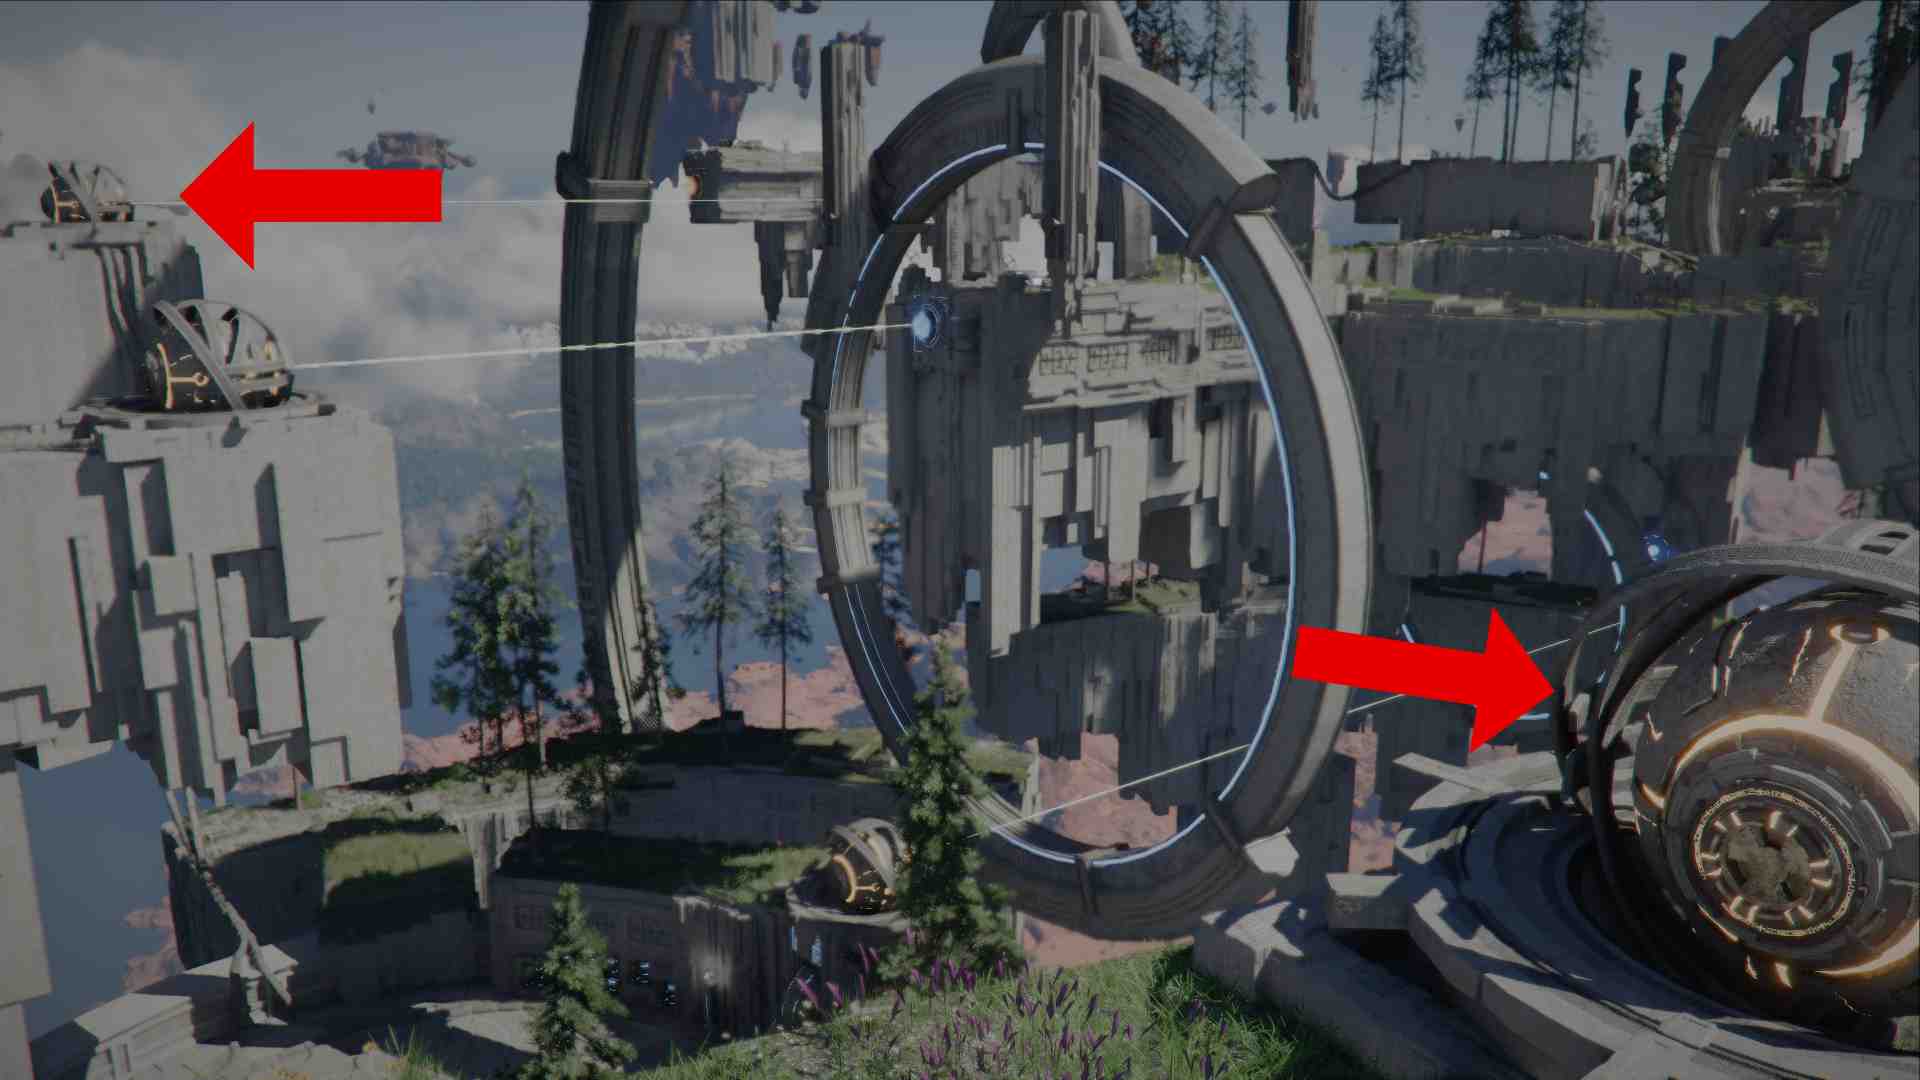
Step 2: Align the Energy Orbs
At the ends of the outer platforms, you’ll spot two glowing yellow orbs. Move behind them and use the Axiom Force to direct their beams toward the opposing plates. This restores power to the mechanism above.
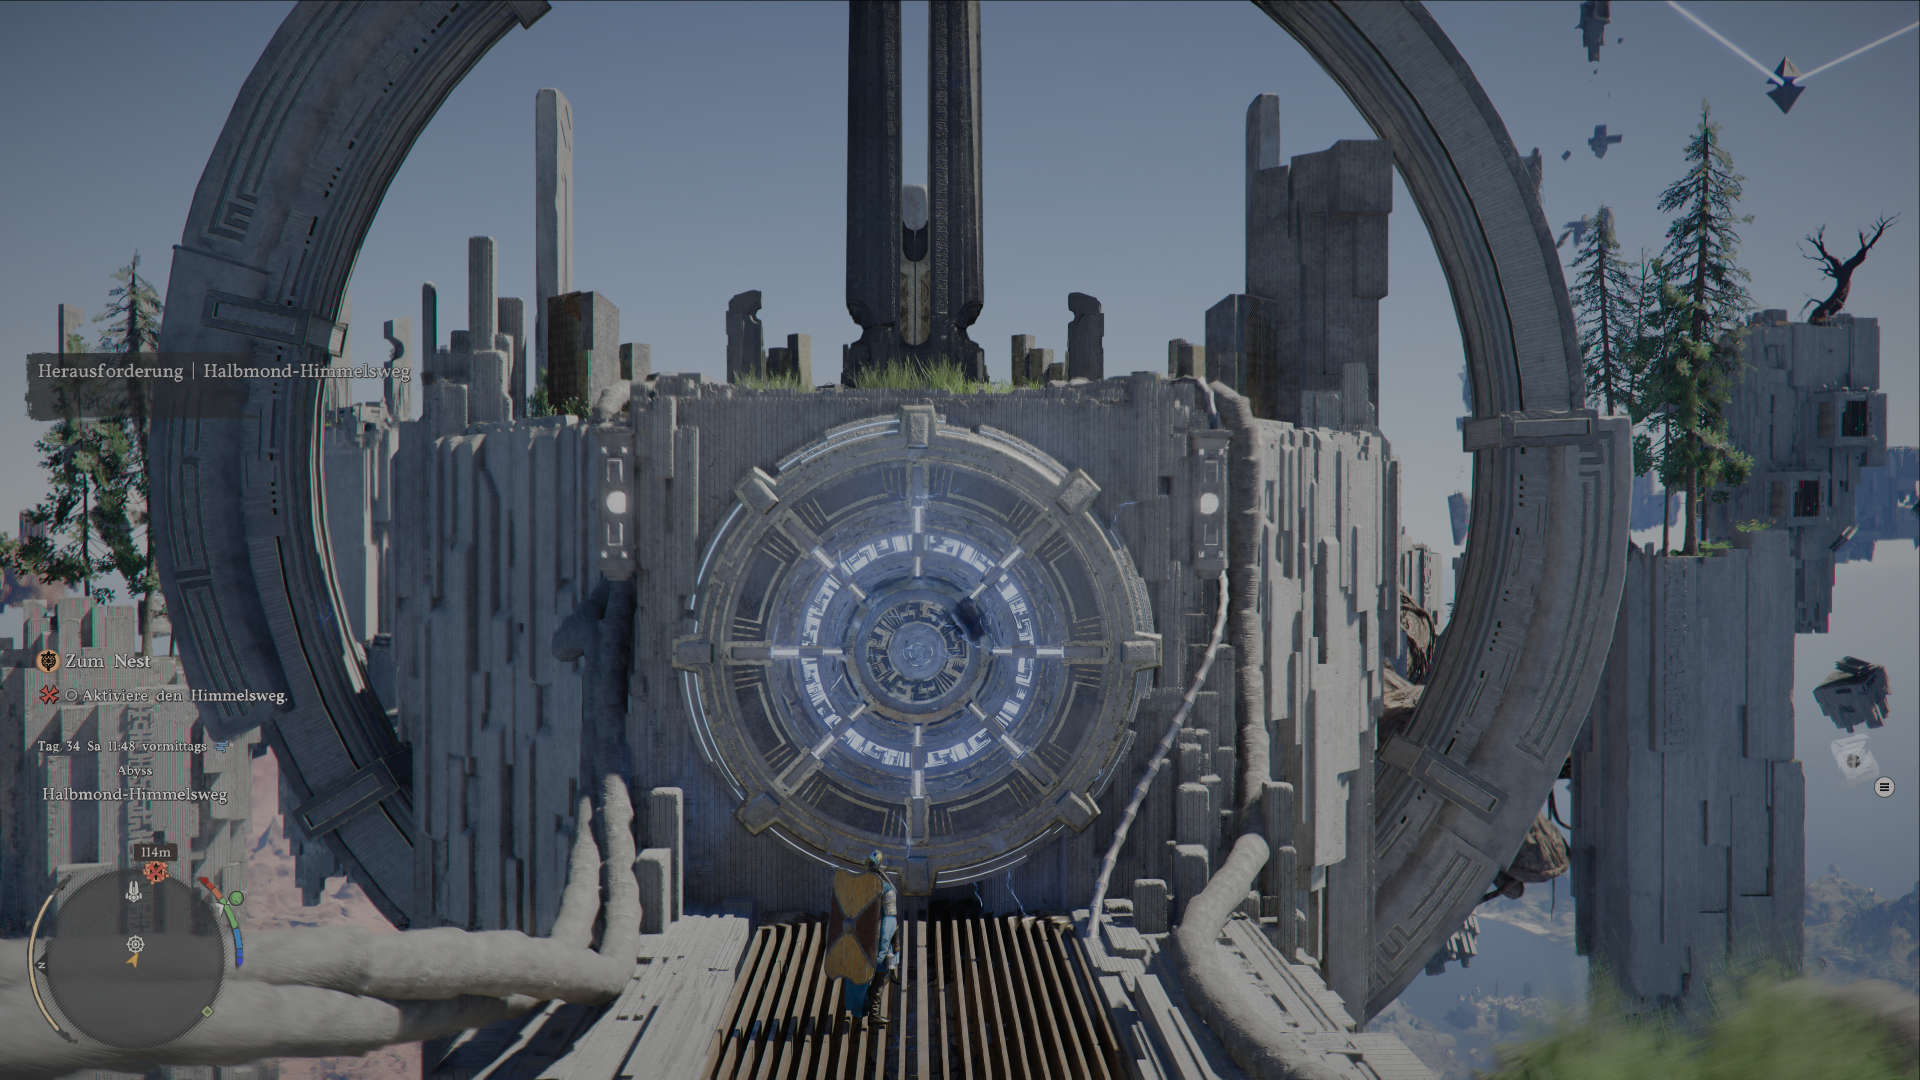
Step 3: Activate the Switch
Once power is fully restored, activate the main switch using Force Palm to open the path to the Skybridge. Climb over the switch, grab the Abyss artifact in front of the glowing tower, and then head toward the large root.
Behind the triangle, another switch appears, which you can grab and rotate using the Axiom Force (L3). Turn it until the Skybridge opens, then prepare for the boss fight against the Crowcaller.