


The Reed Devil is an extremely tough boss that will give you trouble early on in Crimson Desert. With our boss guide, you’ll take him down in no time.
The fight against the Reed Devil in Crimson Desert only begins once you’ve ridden up the pass to the Reed Field. Several encounters await you along the way, where you’ll have to fight his minions. You can either rush past them on horseback or take them on. To stop more enemies from spawning, you need to destroy all of the scarecrows, the small spinning posts. At the top of the field, the boss himself will be waiting.
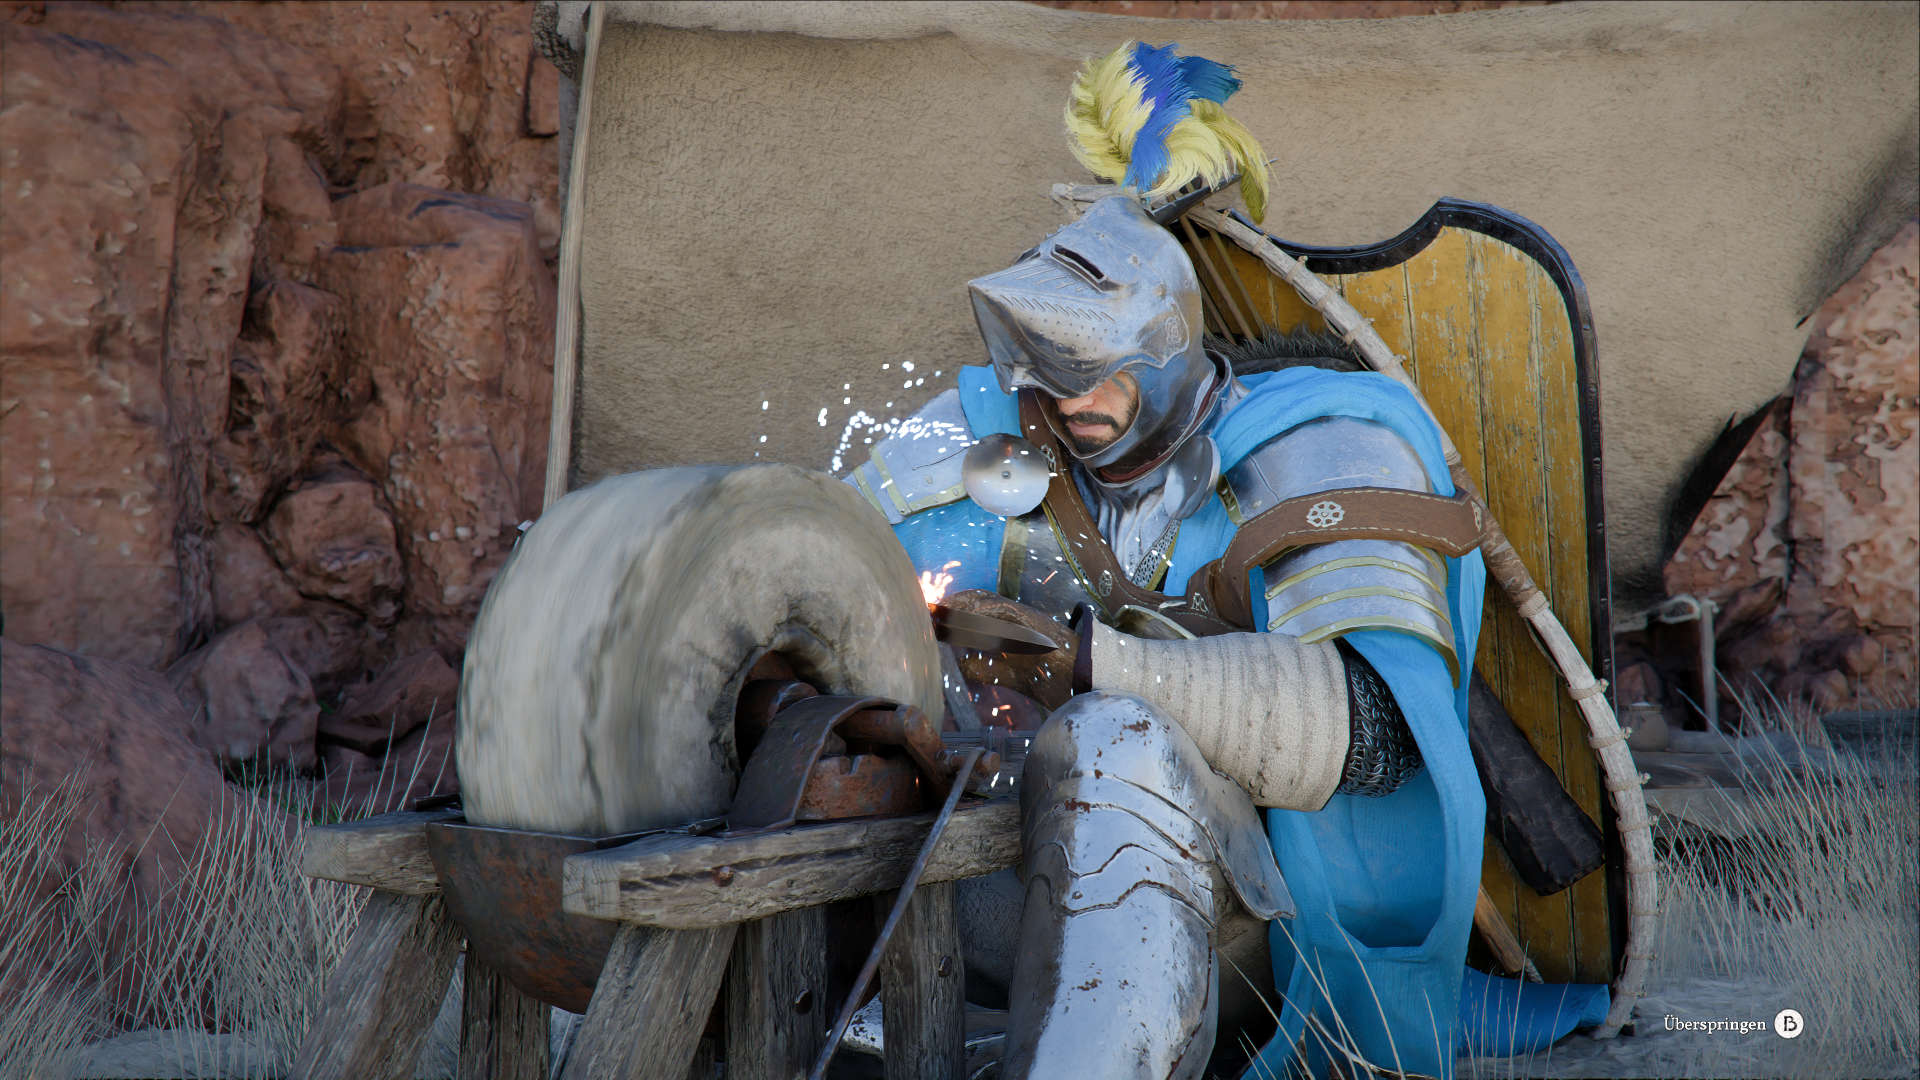
Reed Devil: The Perfect Preparation for the Boss Fight
Abilities and Level
To avoid biting into your controller in frustration, you should level Kliff up a bit before taking on the Reed Devil. If you’ve only followed the main quest up to this point, chances are you’ll be underleveled and poorly equipped.
To stand a solid chance against this devil of the reeds, your base Stamina and Health should be around level 4 to level 5. Spirit is optional and mostly depends on your preferred combat style.
For our strategy, you should aim for roughly the following stats:
- Kliff’s Health should be above 600
- Stamina should be around 200
- For Spirit, a low value of around 40 is enough.
Gear
To stand your ground against the extremely fast Reed Devil, you want to make Kliff as sturdy as possible. Your goal should be a defense rating well above 20.
To do that, pick up the Bolton Armor Set from the Contribution Shop in Hernand Castle. You don’t need every piece, but you should at least get the plate helm, chest armor, and boots.
If you haven’t unlocked enough Contribution Points for those rewards yet, you can alternatively buy the Canta Armor Set from merchant Rhett at the Equipment Shop in Hernand. Both armor sets give Kliff’s defense a major boost.
Absolutely essential for survival: stock up on plenty of provisions. If you think you have enough food in your inventory to restore health, bring twice as much. There’s no such thing as carrying too many healing items into this fight.
Weapons and Shield
For our offensive strategy, we need a fast one-handed sword. The ideal choice is the Sword of the Lord, which you should have obtained during the main quest by defeating the head of the Goldleaf Guild. If you already have enough materials, a Refinement at the blacksmith in Hernand certainly won’t hurt.
Make sure to sharpen your sword one more time before the fight to gain an attack bonus. Right before the boss battle, you’ll still come across a Grindstone on the left side of the reed field.
Essential for defense: a large shield. Even a basic one will do, such as the Bekker Large Shield, which you can loot from bandits or buy from merchants on the way to the boss.
Reed Devil: The Best Strategy for Phase 1 & Phase 3
The Reeddevil immediately shows just how fast and aggressive he is. His most dangerous moves are rapid combo attacks, where he briefly vanishes, then suddenly reappears in front of you and unleashes several lightning-fast strikes in quick succession.
Make sure you raise your shield in time. If he still gets through or Kliff runs out of stamina, dodge immediately with a roll or a short jump to avoid taking massive damage.
Most of the time, you’ll see smoke rising around Kliff two to four times before the first hit comes in. Once you’ve learned this attack rhythm, you can also dodge right away and counter with a quick slash from the side, though this tactic is very risky because the Reed Devil can counter just as quickly.
- Tip for advanced players: If you’re good at parrying, you can shut down the Reed Devil immediately during these combo attacks and break his posture after a few well-timed parries. Once that happens, he collapses and becomes extremely vulnerable to heavy attacks.
Other attacks and how to defend against them:
- Lightning Slash: This is an attack Kliff can learn himself. The Reed Devil crouches down and reaches for his sword to charge it up. The best option is to dodge sideways as soon as he comes sliding toward you.
- Long-range knife throw: If the Reed Devil creates distance and reaches for his belt, several knives are about to come flying at you. Raise your shield or dodge quickly to the side several times.
- Sonic Boom: In the third phase, he upgrades the knife throw with three to four chained volleys of energy projectiles. Keep your shield raised, stay mobile, and dodge sideways if you run out of stamina. Getting hit here can kill you very quickly.
- Doppelgänger attack: In the final phase, a clone will occasionally sneak up behind you. If you keep your shield raised, it can hardly do any damage.
Best Window to Attack
After finishing a combo attack, the Reed Devil jumps backward and sheaths his sword. That’s your perfect opening for a counterattack. Stay close with your shield up and close the gap quickly when he hops back.
Now hit him with the Stab skill: hold right shoulder button + Y/Triangle to charge it. If it connects, follow up with the right shoulder button. Alternatively, keep your large shield raised and go for a light slash, or use the learned Lightning Slash.
Stab and thrust attacks come with two major advantages: the large shield protects you while attacking, and the Sword of the Lord can inflict Bleed with these strikes, causing the Reed Devil to keep losing health passively. This tactic is especially reliable for securing the win in phase three.
Reed Devil: The Cursed Phase 2
Between these two direct duels lies an incredibly annoying second phase, where the Reed Devil unleashes an entire horde of doppelgängers on you. They attack wildly, without coordination, and at lightning speed from every direction.
Your goal here is not to kill them all, but to destroy the five poles that have now appeared in the arena.
Important: Keep your shield up at all times, stay on the move, and dodge in zigzag jumps. Watch the minimap and try to keep as many Reed Devils in front of you as possible so you don’t get blindsided. Carefully move backward from pole to pole with evasive jumps and destroy each one with a charged heavy attack.
Reed Devil: The Boss Fight in Video
In this video, you can watch the boss fight against the Reed Devil using our defensive tank strategy, which is especially well suited for beginners.