

At one point in Resident Evil Requiem, you must free Emily from the basement. In this guide, we show you step by step how to solve the puzzle and escape.
The sanatorium basement in Resident Evil Requiem is one of the game’s most intense sections. Dark corridors, narrow cells and the relentless shadow creature constantly put you under pressure. Playing as Grace, your objective is now to locate all three joint plugs, restore the power supply and free Emily from her cell. However, reaching that goal involves several puzzles where timing is crucial. We explain exactly how to proceed and how to reach Emily’s cell without unnecessary detours.
- Our ultimate Resident Evil Requiem guide will make your playthrough even easier.
Resident Evil Requiem: How Does The Plug System In The Basement Work?
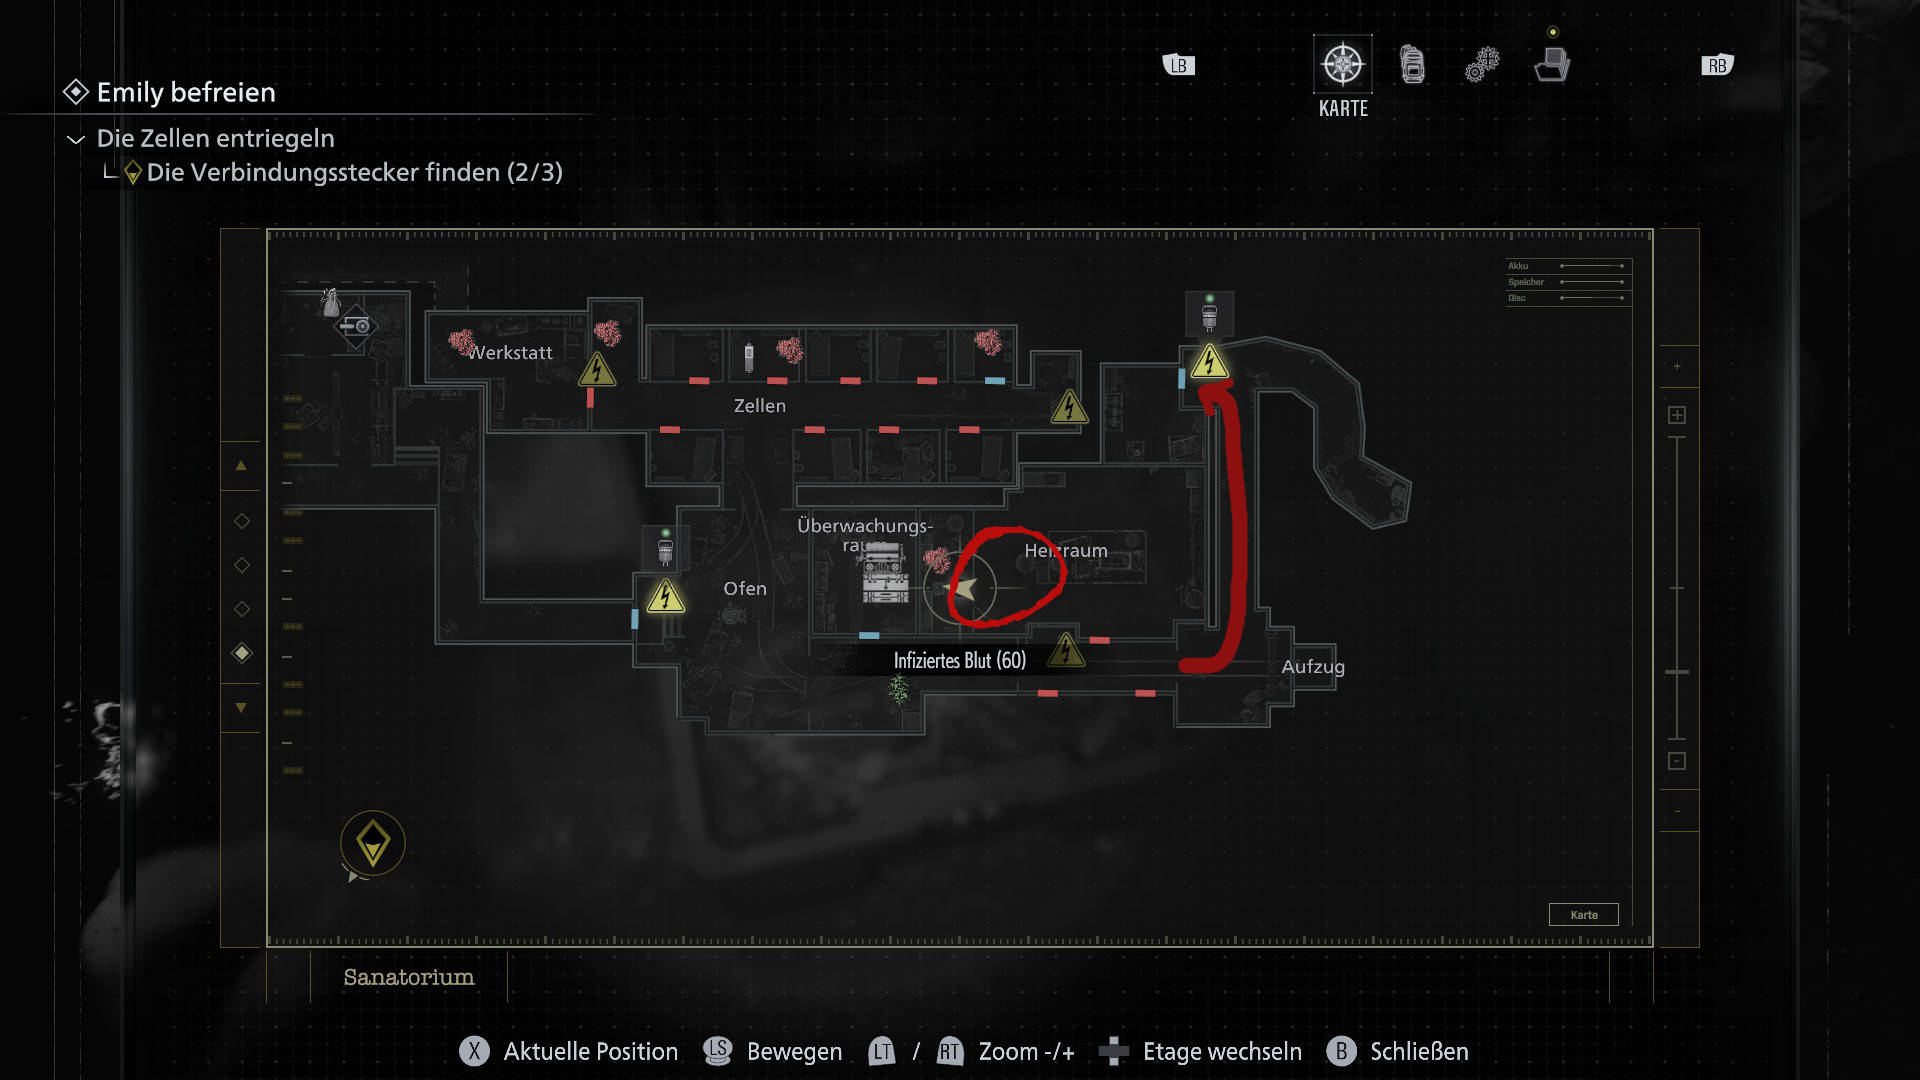
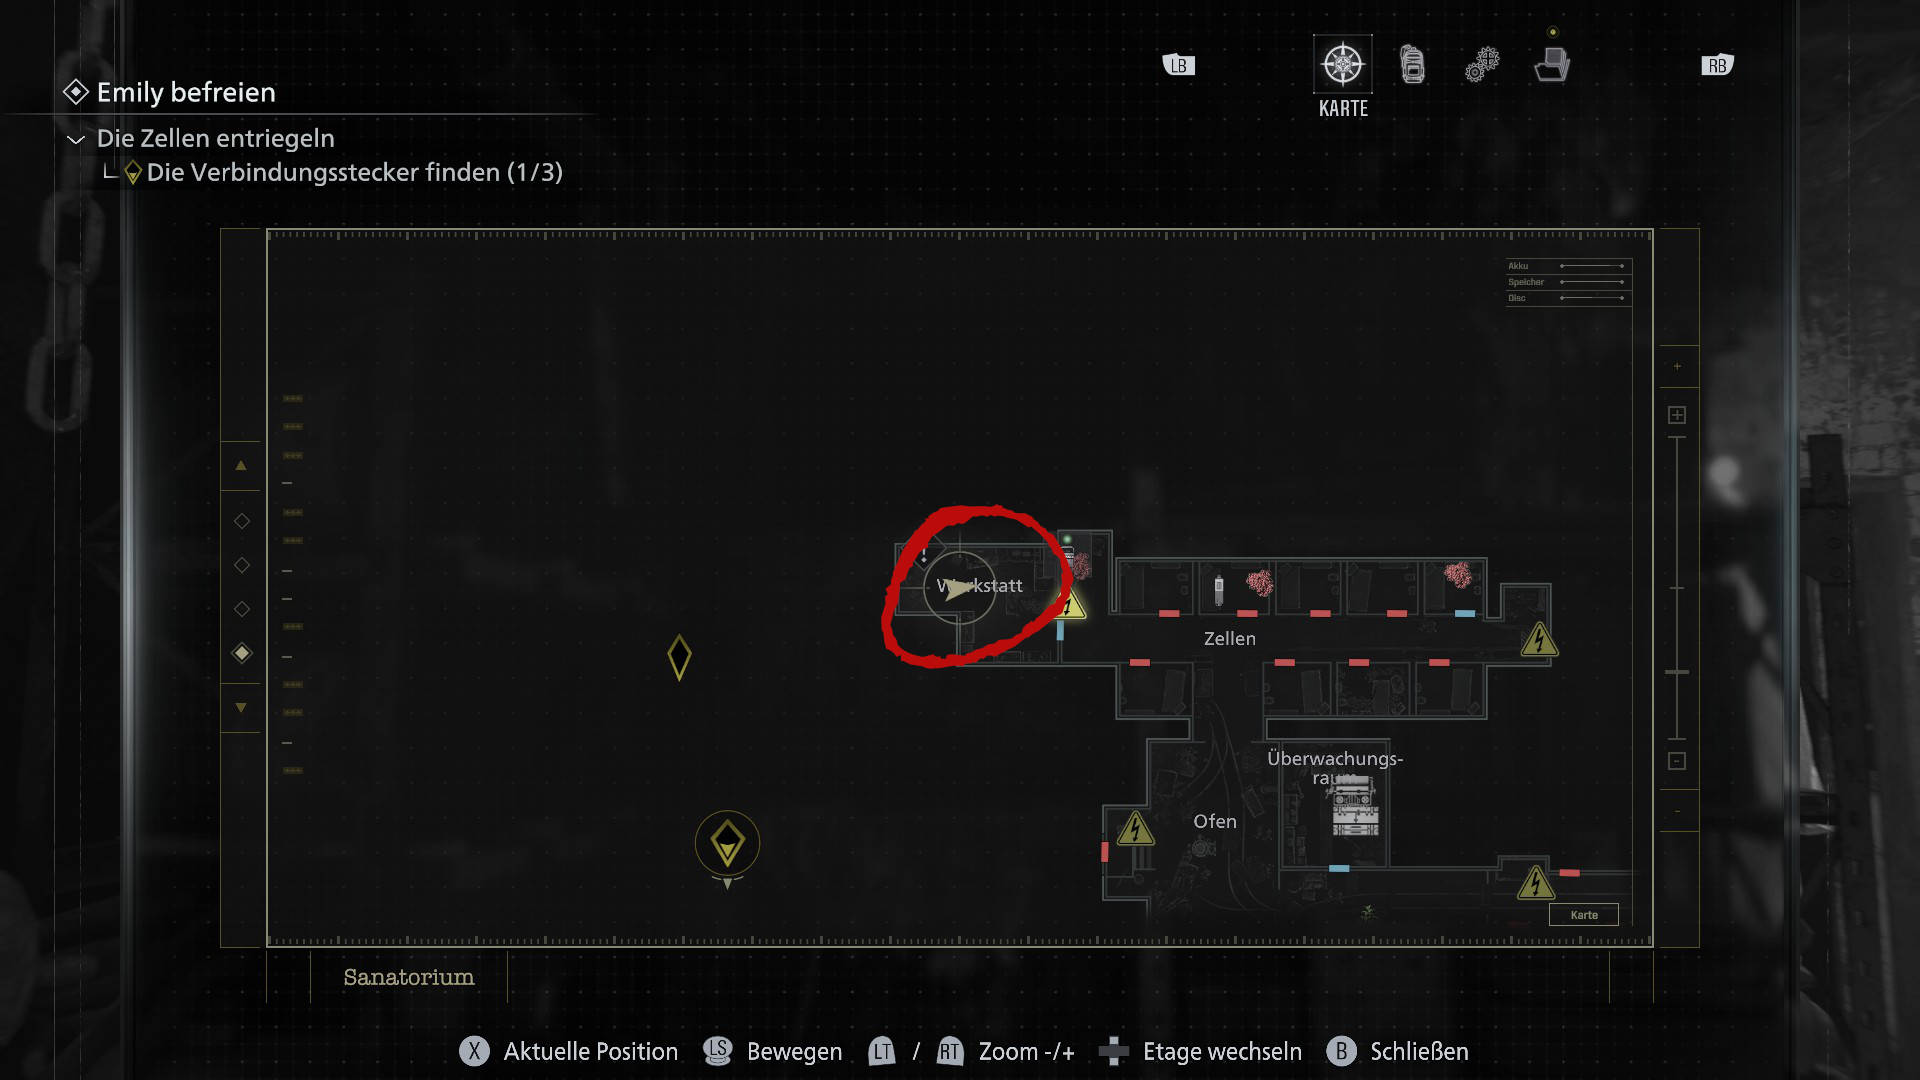
After falling into the basement with Grace, follow the dark corridor ahead. Along the way you will already pass several sockets where an energy source appears to be missing in the center. You can ignore them for now and continue until you reach the furnace and the cell block behind it.
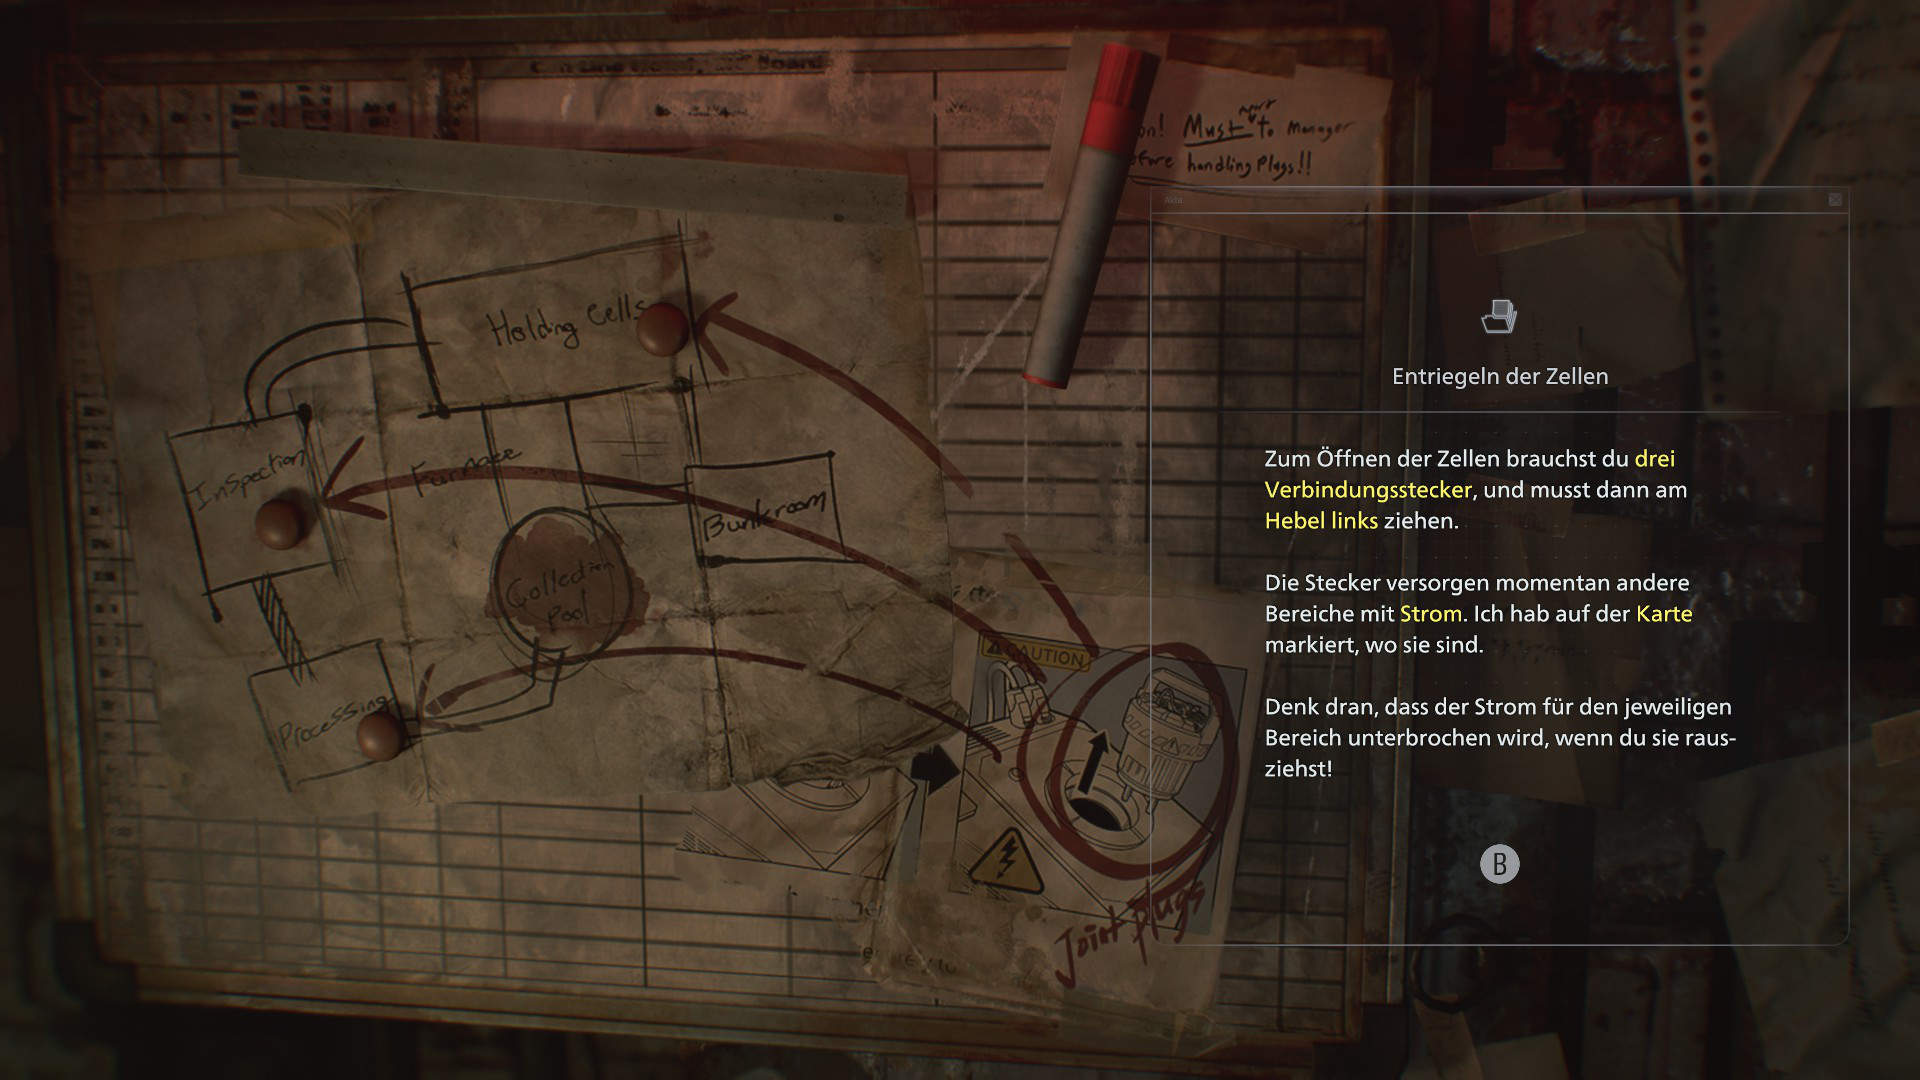
At the end of the hallway in the cell block you will discover a console where all three joint plugs must eventually be inserted. As soon as you remove the first plug, the lights go out and the shadow monster begins roaming the corridors. Quickly hide in the first open cell until the creature disappears.
Important to know:
- Plugs supply specific areas with electricity
- If you remove a plug, another area will lose power
- Some doors remain open only while they are powered
- Light temporarily drives the monster away
First Joint Plug In The Cell Block
Once you have your first joint plug and the shadow creature has left the cell block, you can activate new areas. Whenever you encounter a console with a socket, additional rooms are usually hidden behind it.
Open The Boiler Room And Retrieve The Tool
Take the joint plug and head back toward the basement entrance. There you will find a secured door that can be opened using the plug. Behind it is a small storage area.
- Insert the plug
- Move the crate with the yellow tape on the left
- Crawl through the opening in the fence
- Enter the boiler room
Inside the boiler room you will find green herb and an empty bottle. Further back, next to a corpse, you will discover the square socket wrench inside a box on the floor. You will need this tool later.
Once you pick it up and return toward the heating area, the monster will appear again. Stay crouched and turn off your flashlight. When the creature starts moving, quietly sneak away in the opposite direction and crawl back through the broken fence into the corridor. Do not forget to take the joint plug with you again.
Workshop And The Second Joint Plug
Return to the cell block and keep left. Here you will find another console that can be activated with the joint plug. Directly behind it the workshop awaits.
Inside the workshop:
- Collect the metal parts
- Crawl through the narrow shaft
At the end you will reach a forklift. Right next to it you will find the second joint plug. Leave it in place for now, otherwise the lights will go out. Diagonally across from it you will see an office, which you should loot first.
- Note: There is also a safe inside the office that can be opened with a specific code. You can find all codes in our safe guide.
Afterward, remove the second plug from the console. As soon as the area goes dark, the monster will become active again. Move quickly so you can get back into the tunnel before the creature can harm you. You should now have two plugs in your inventory.