
Stuck in the Dark Shrine? Here’s how to crack the mural puzzle in Silent Hill f — from fox statues and emblems to hidden doors and key collectibles.
In the Main Hall of Silent Hill f, you’ll face a layered mural puzzle that requires not only brainpower but also rewards you with valuable collectibles and trophies. With this walkthrough, you’ll find every scroll, emblem, and clue to solve it successfully.
Mural Puzzle in Silent Hill f
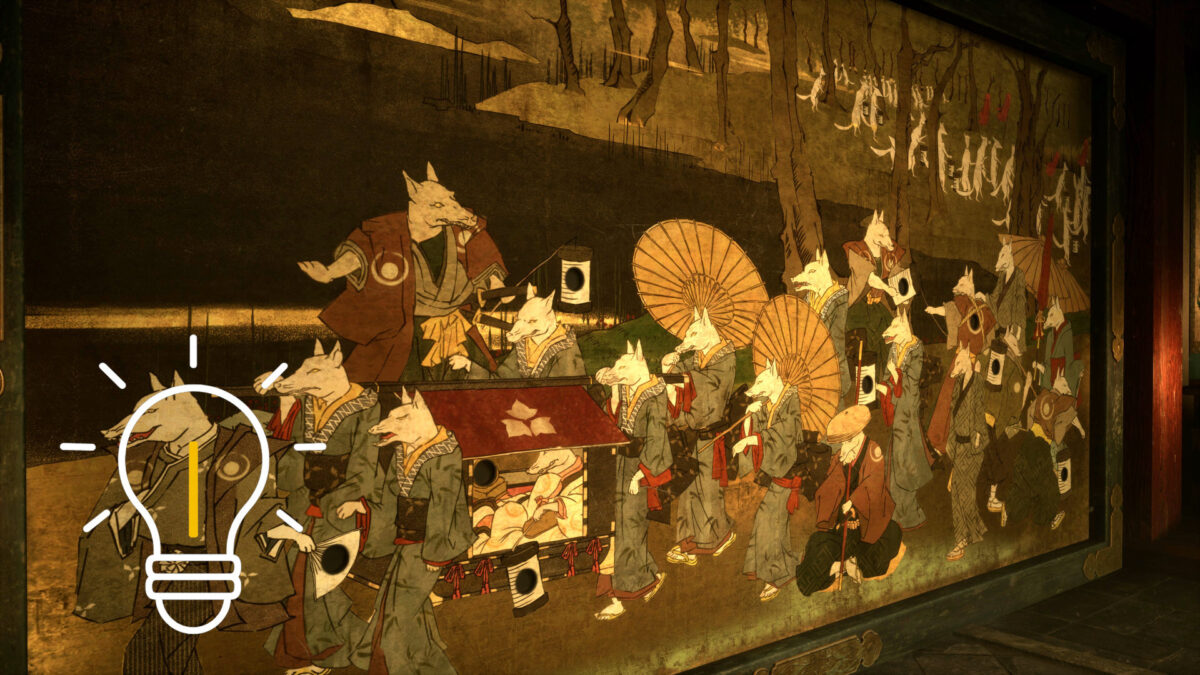
Important: There’s no map in this chapter. You’ll need to navigate on your own. In the first room after the save shrine, you’ll see a huge mural flanked by two tapestries. Looking at them triggers the first puzzle.
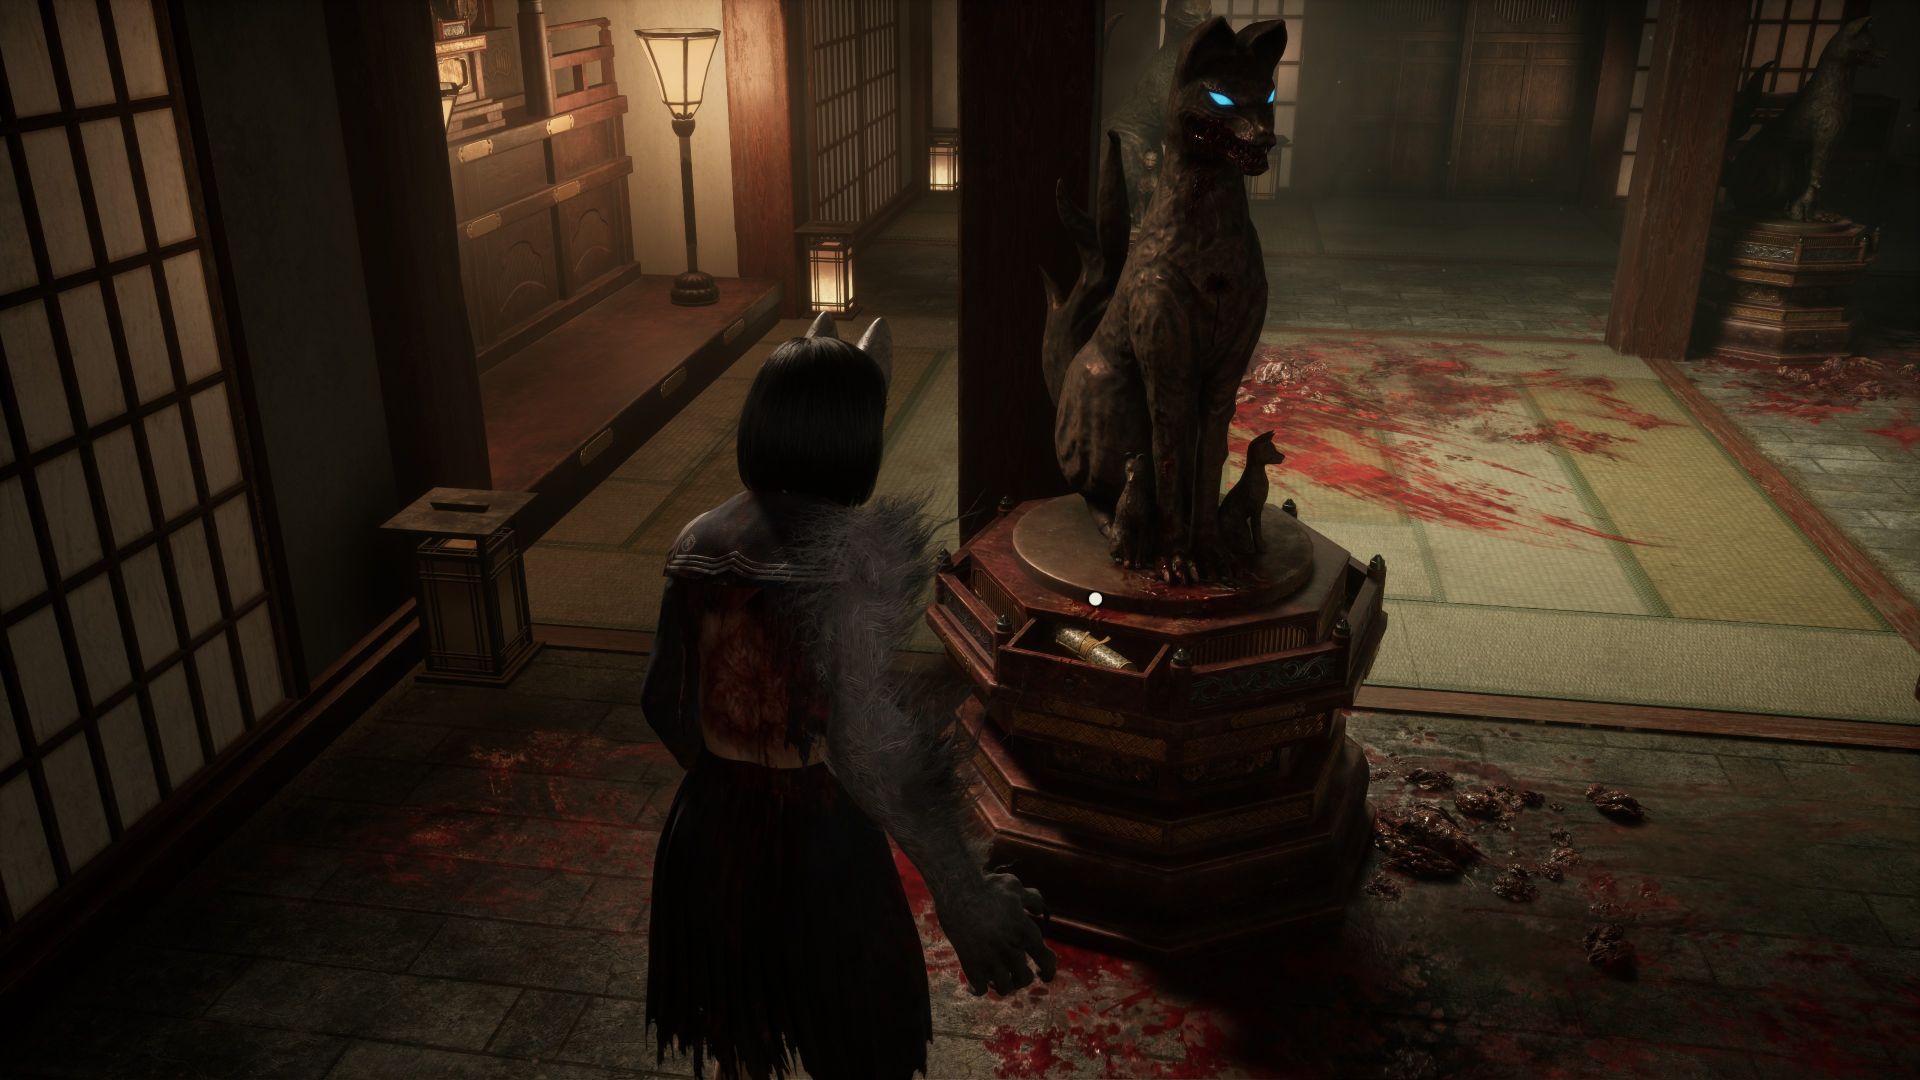
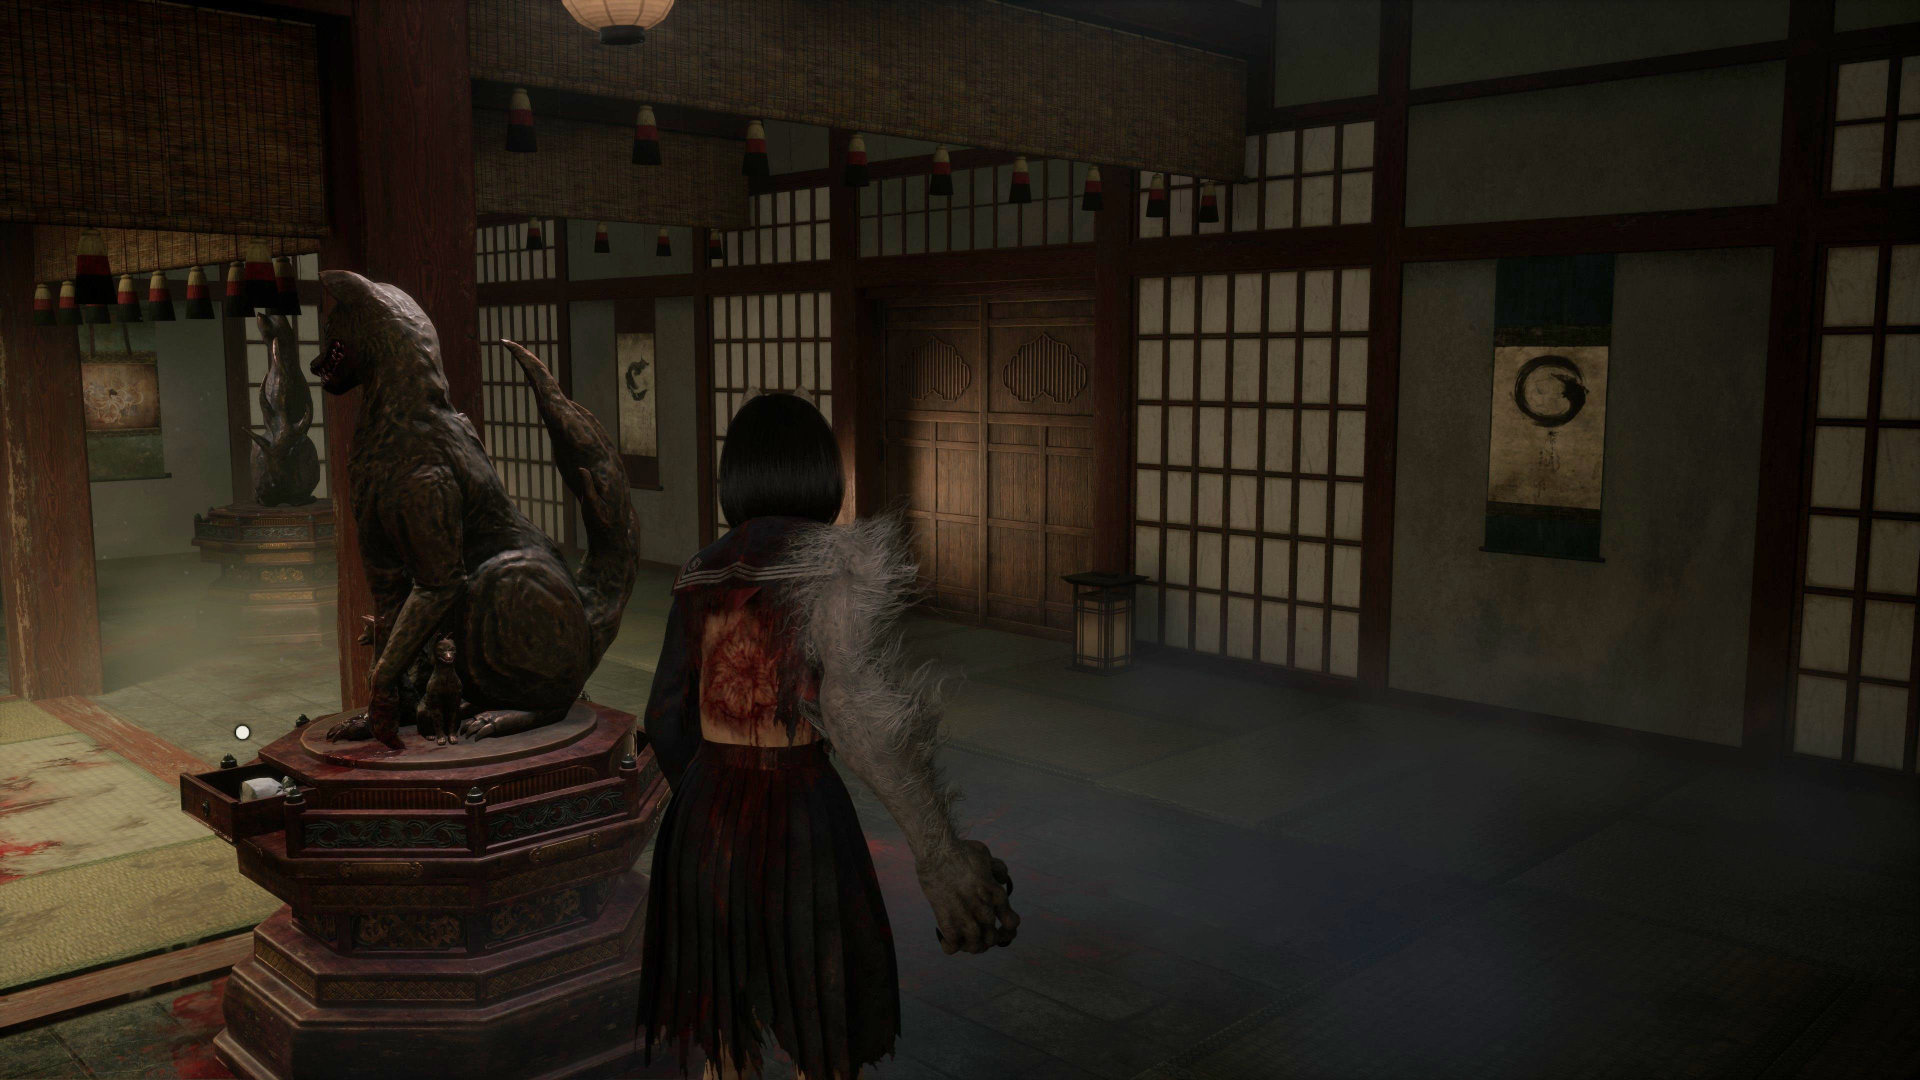
Head through the left door, and you’ll see four large fox statues. Inspect the statue in the back left, pull out the shard, and you’ll receive the ornate scroll. The statue turns, and its glowing eyes show the direction you need to go next.
- Tip: At the small altar in the middle, you’ll find the note Doctor’s Record, needed for the trophy “The Truth About the Tsuneki Family.”
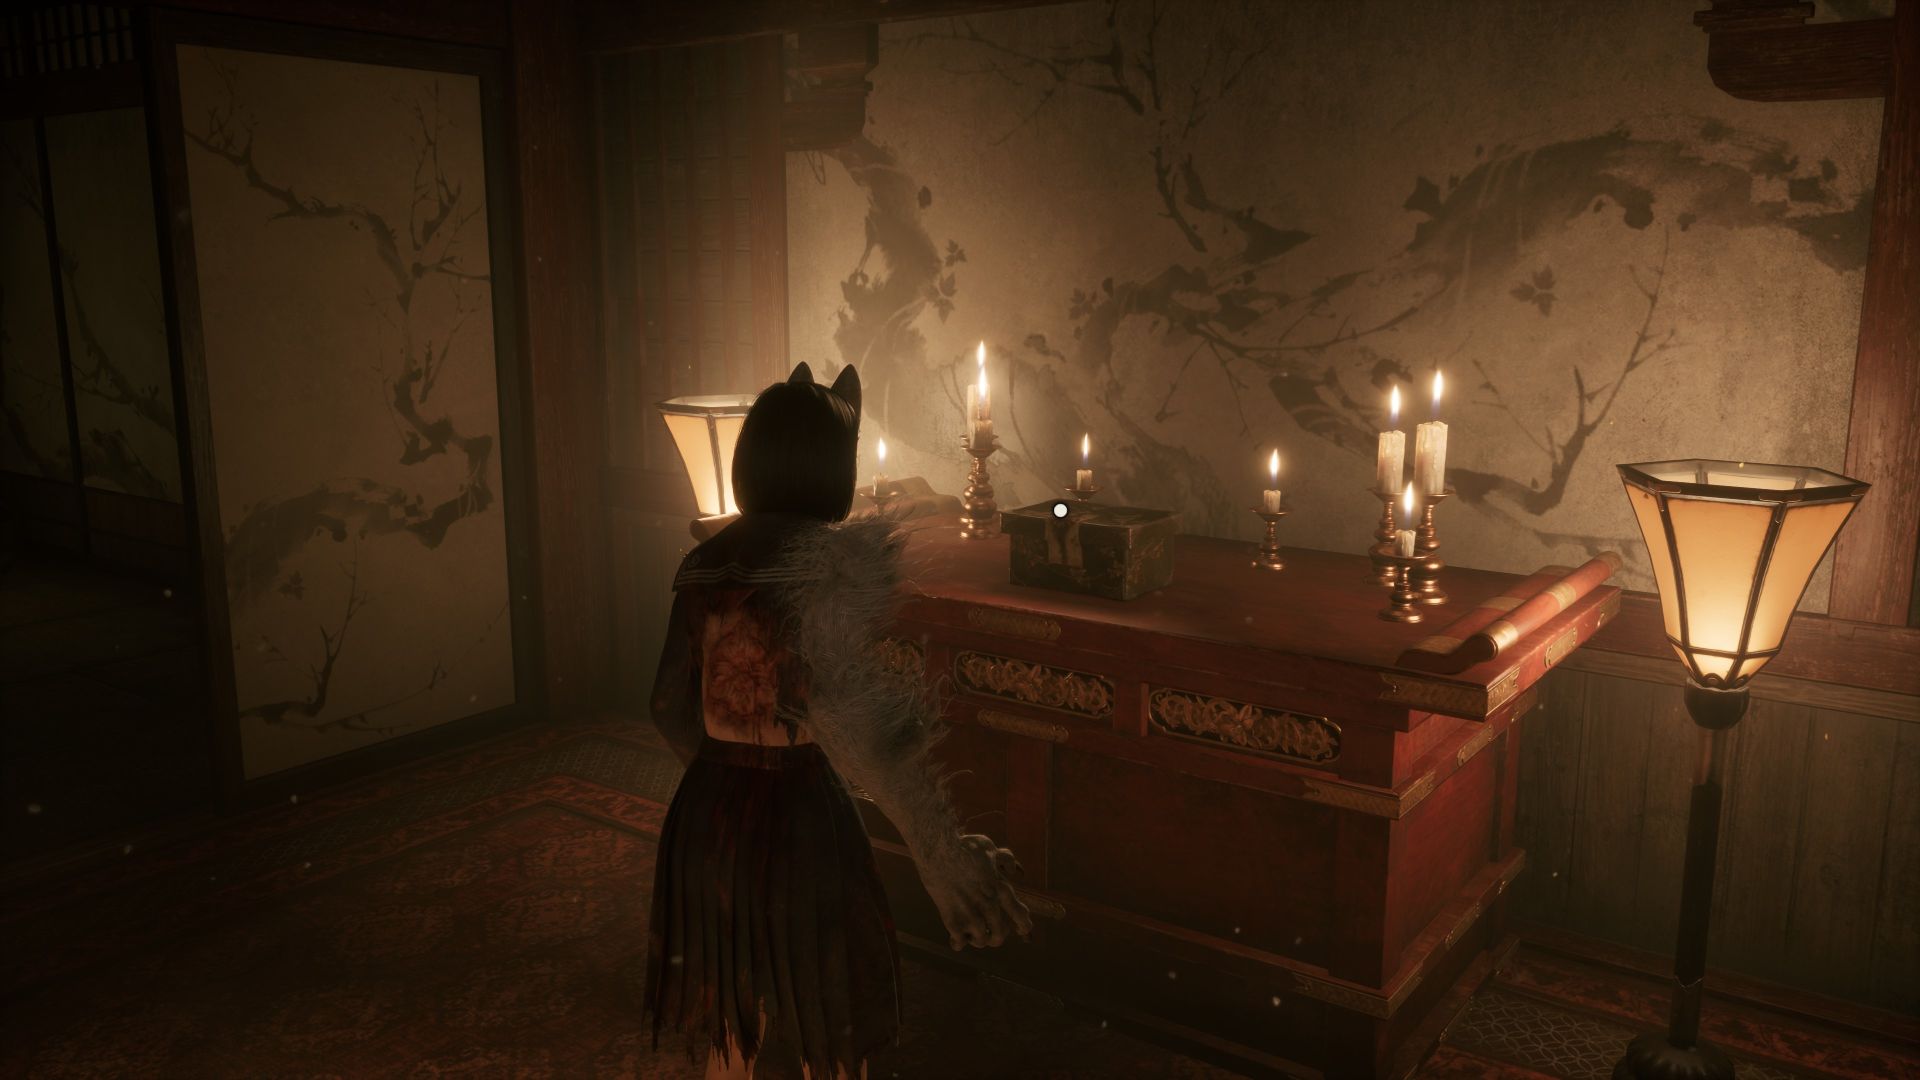
Go through the left door into a corridor with several chambers. In the first chamber on the right, you’ll find the Omamori “Hunting Dog”. The other chambers contain consumables. Head straight into the next area, open the box on the altar, and take the Black Sparrow Crest.
- Tip: In the chamber left of the altar, you’ll find the Maid’s Note, also needed for the “Truth About the Tsuneki Family” trophy.
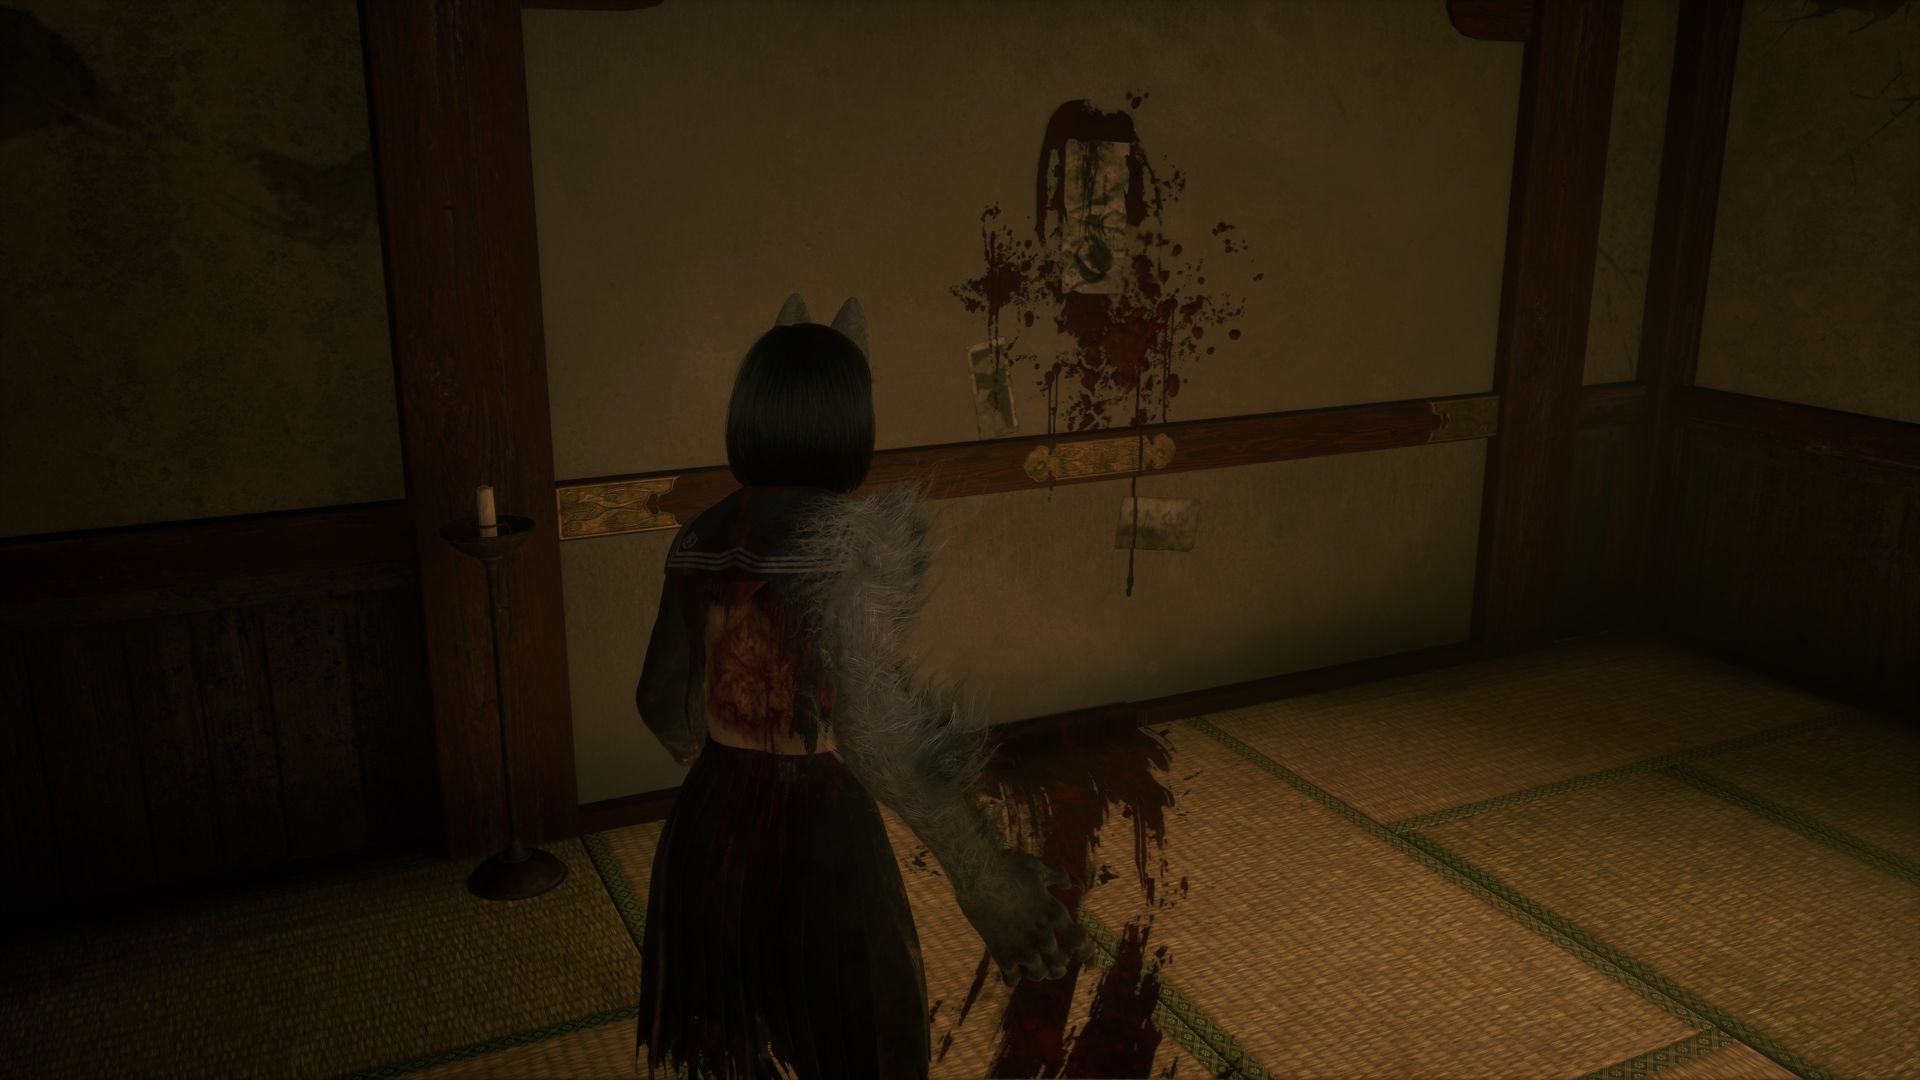
In the chamber to the right, open the secret passage (use Focus Power on the bloody wall) and take the door to the right. You’ll circle back to the mural chamber. Grab the ornate scroll from the table near the save shrine and head through the adjacent door.
- Tip: In front of the fox statue, you’ll find the Maid’s Note, another piece required for the “Truth About the Tsuneki Family” trophy.
Take a quick detour through the torture chamber, then head back. Go through the opposite door.
- Tip: Near one of the columns lies the note Letter from a Strict Mother, also needed for the “Truth About the Tsuneki Family” trophy.
This room now has fox statues plus four columns and four doors, each flanked by wall hangings. Choosing the wrong door drops you into a torture chamber with two enemies, and you’ll need to beat them before you can leave.
Go through the door flanked by a red hanging on the left and a green one on the right. Inside, a Drum Monster awaits. Kill it, then use Focus Power again to open the hidden doors.
You’ll reach another altar with a box, this time containing the White Sparrow Crest. Back in the mural room, grab another ornate scroll from a side table. Through the door on the right, you’ll re-enter the fox statue chamber, now even more unsettling than before.
- Tip: Beside the right-hand door, you’ll find the last note (Letter from a Strict Mother), the final piece for the “Truth About the Tsuneki Family” trophy.
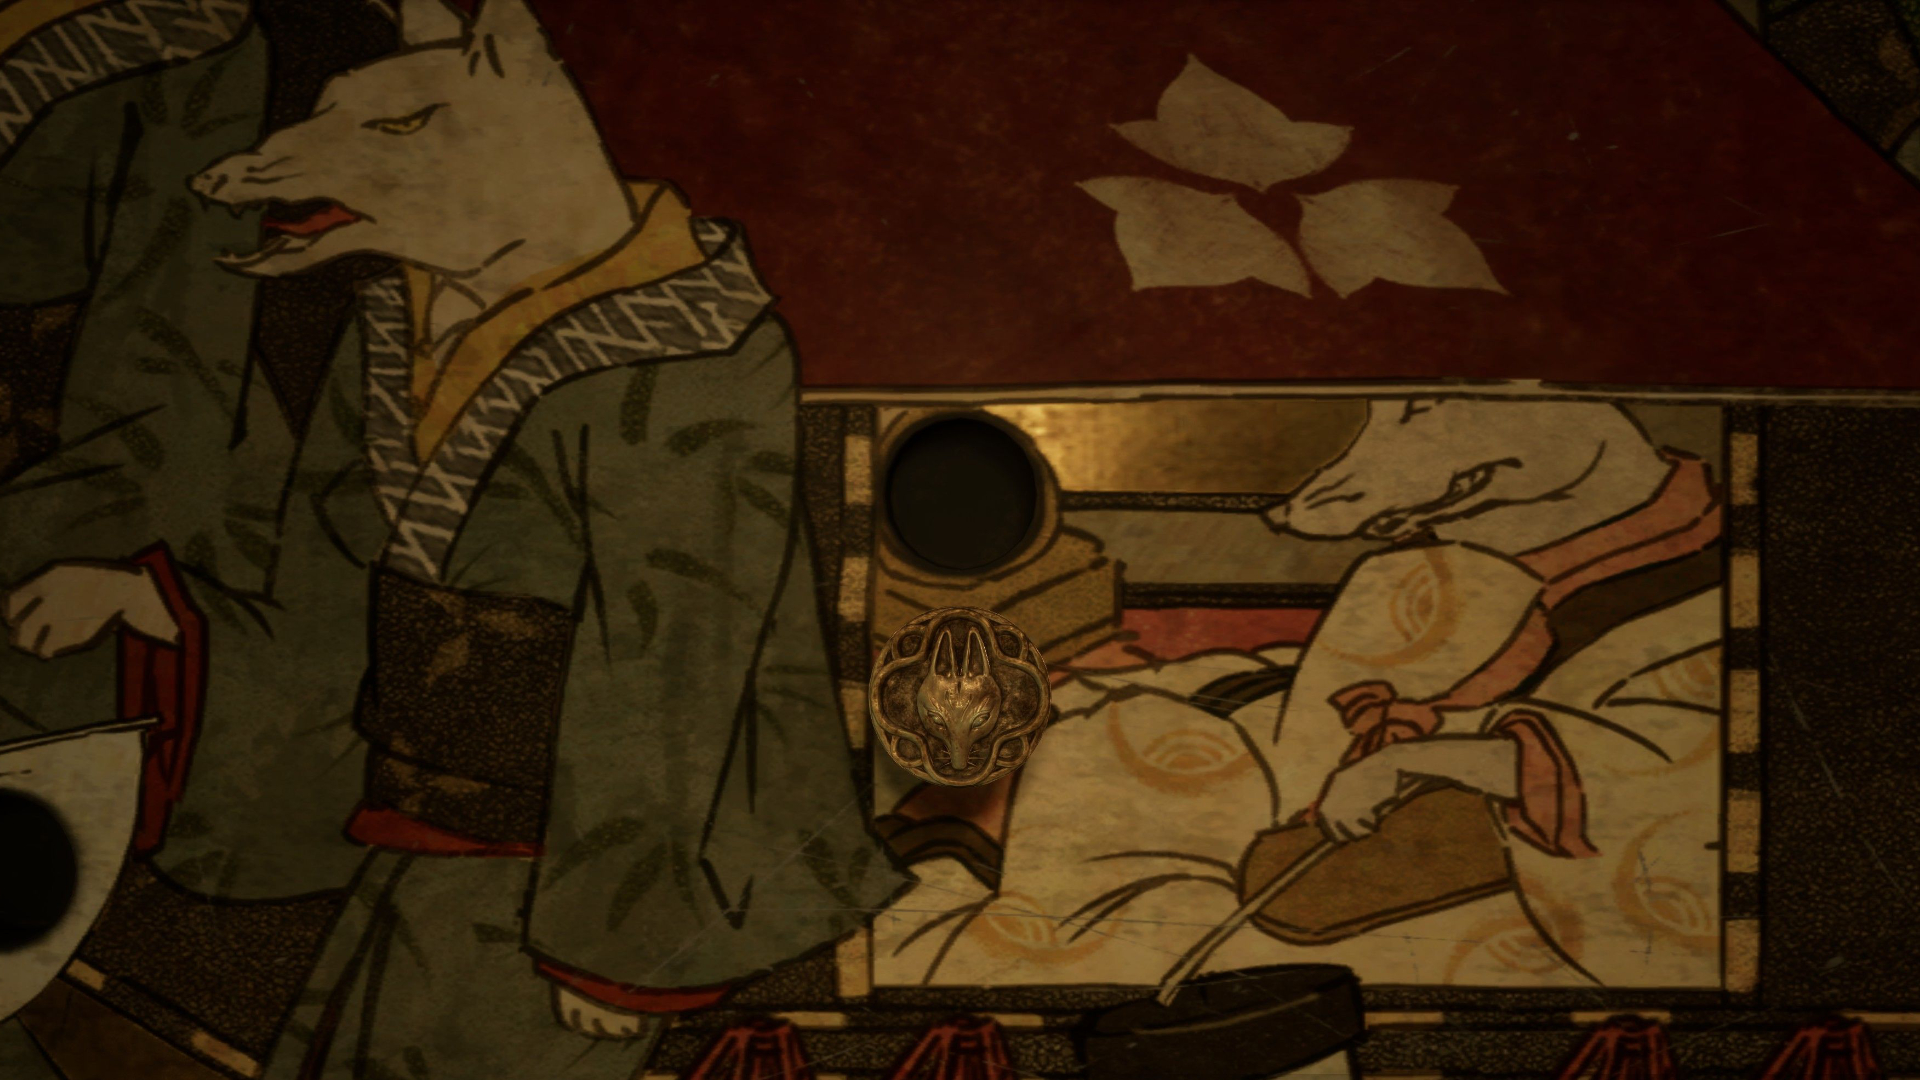
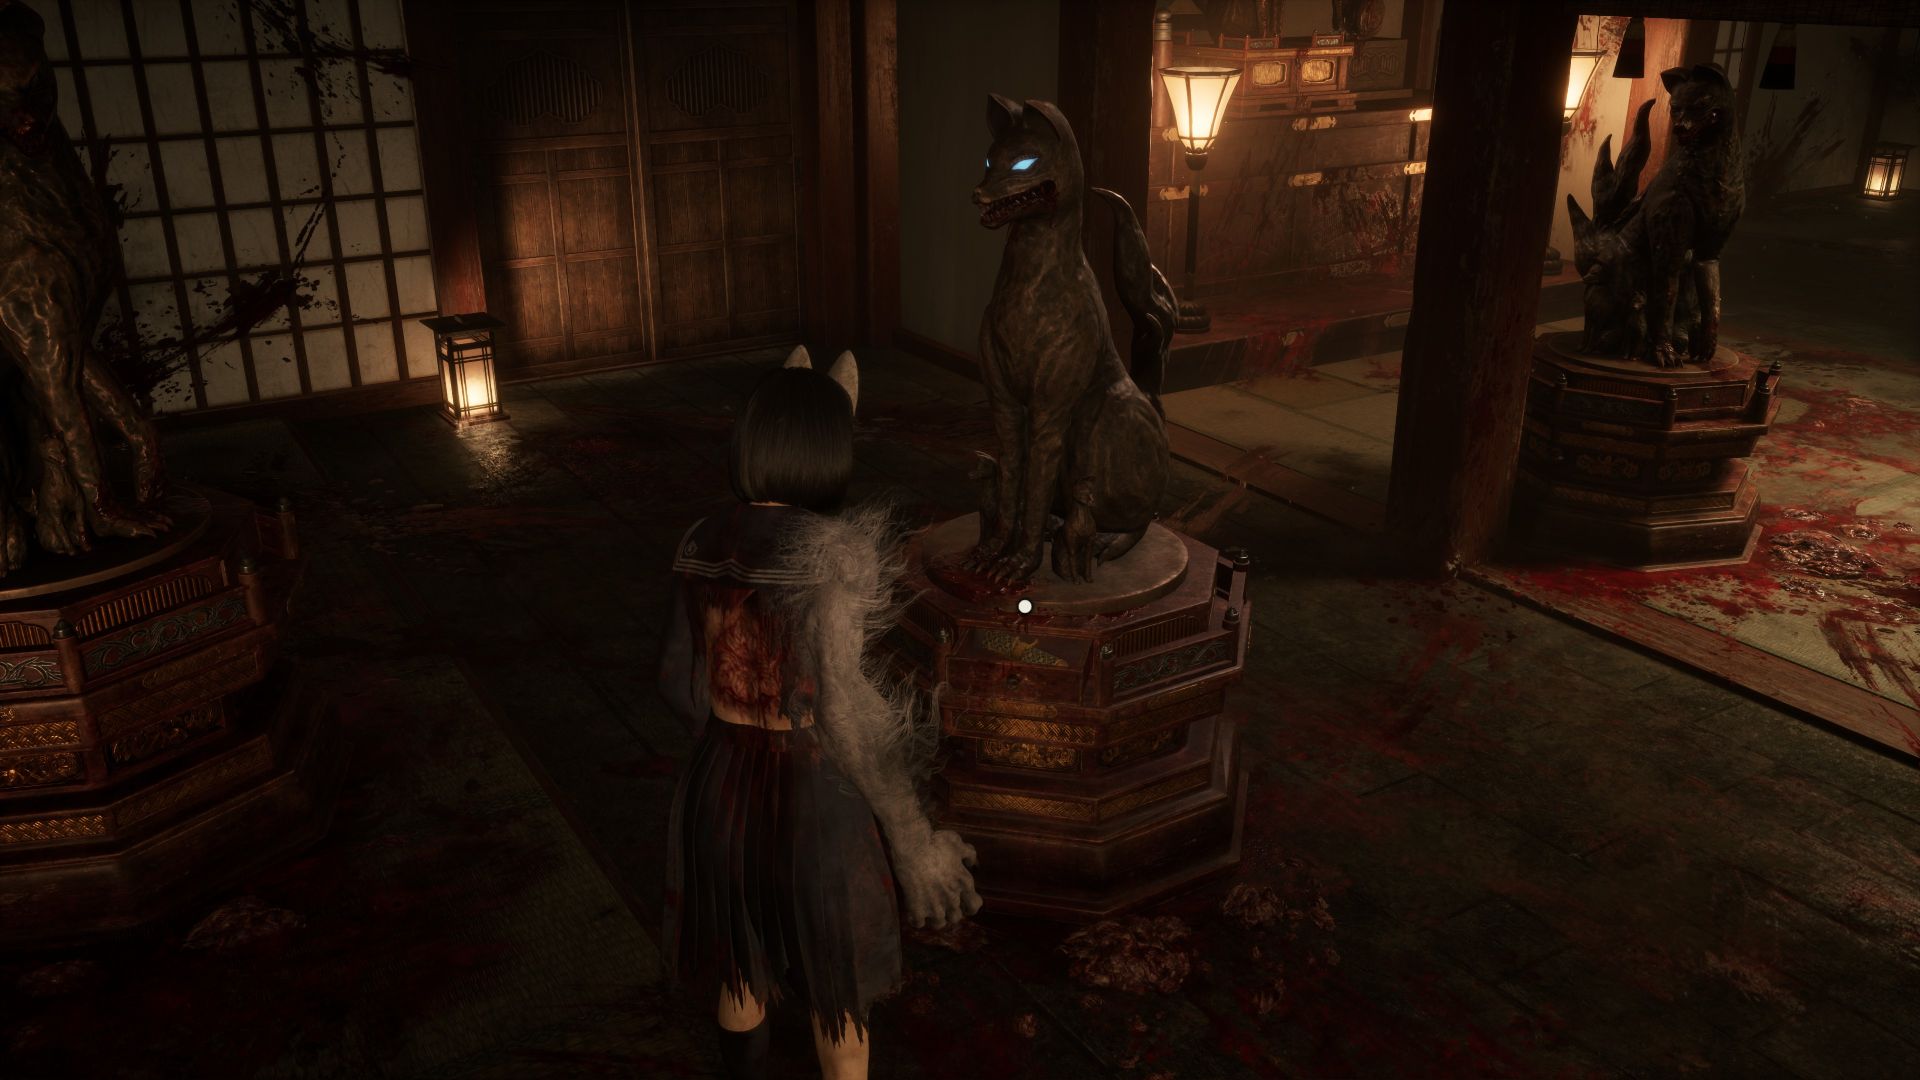
From the entrance, head left and interact with the second fox statue from the left (see image below). Remove the shard, take the ornate scroll, and follow the door it now faces.
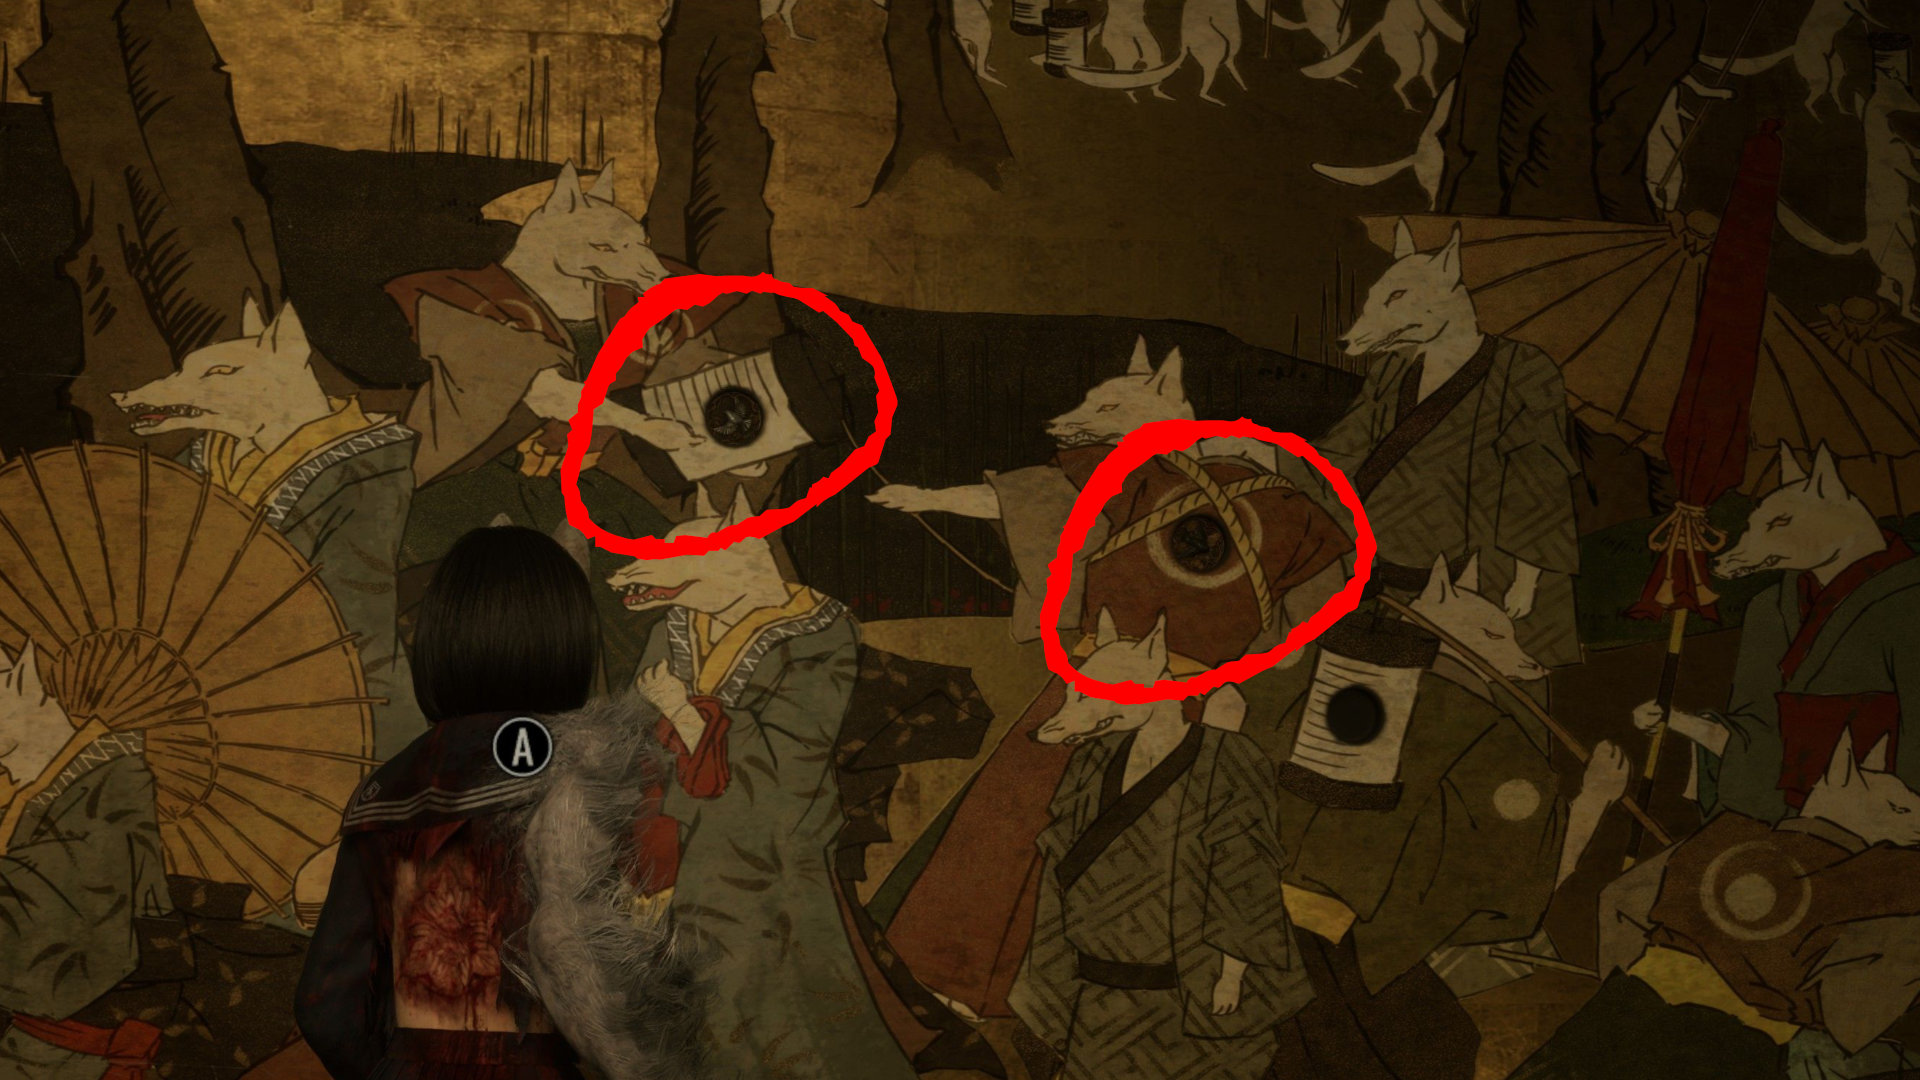
Before you can open the box with the final crest, you’ll need to clear the room of enemies. After the cutscene, return to the mural and place the emblems according to the riddle in the note to complete the chapter:
“The black bird wants to take the white bird with it. The white bird resists. The fox proudly leads his followers, unaware of the two birds in conflict.”
“Prove your intent with the three crests. Show what lies deep in your heart. Follow the line of foxes. Offer the crests and reveal your soul.”
The solution for the Mural Puzzle in Silent Hill f:
- On the right side, two foxes are fighting. Place the white bird with the right fox and the black bird with the left fox.
- On the left side, one fox marches proudly in front of the palanquin. Place the fox emblem here.